
Garden Room-Part 2
INSULATION & PLATER WALLS
So after the installation of the garden room last summer, I decided to do the rest of the work myself.
I started with the insulation and decided to use 8 polystyrene boards of 2400 x 1200 x 50mm to fit in the recessed space of the internal walls. I paid £134 for 8 boards on Selco. Made from expanded polystyrene, these were very lightweight and easy to cut but did produce a lot of particles. I then just push them inside each opening very easily.
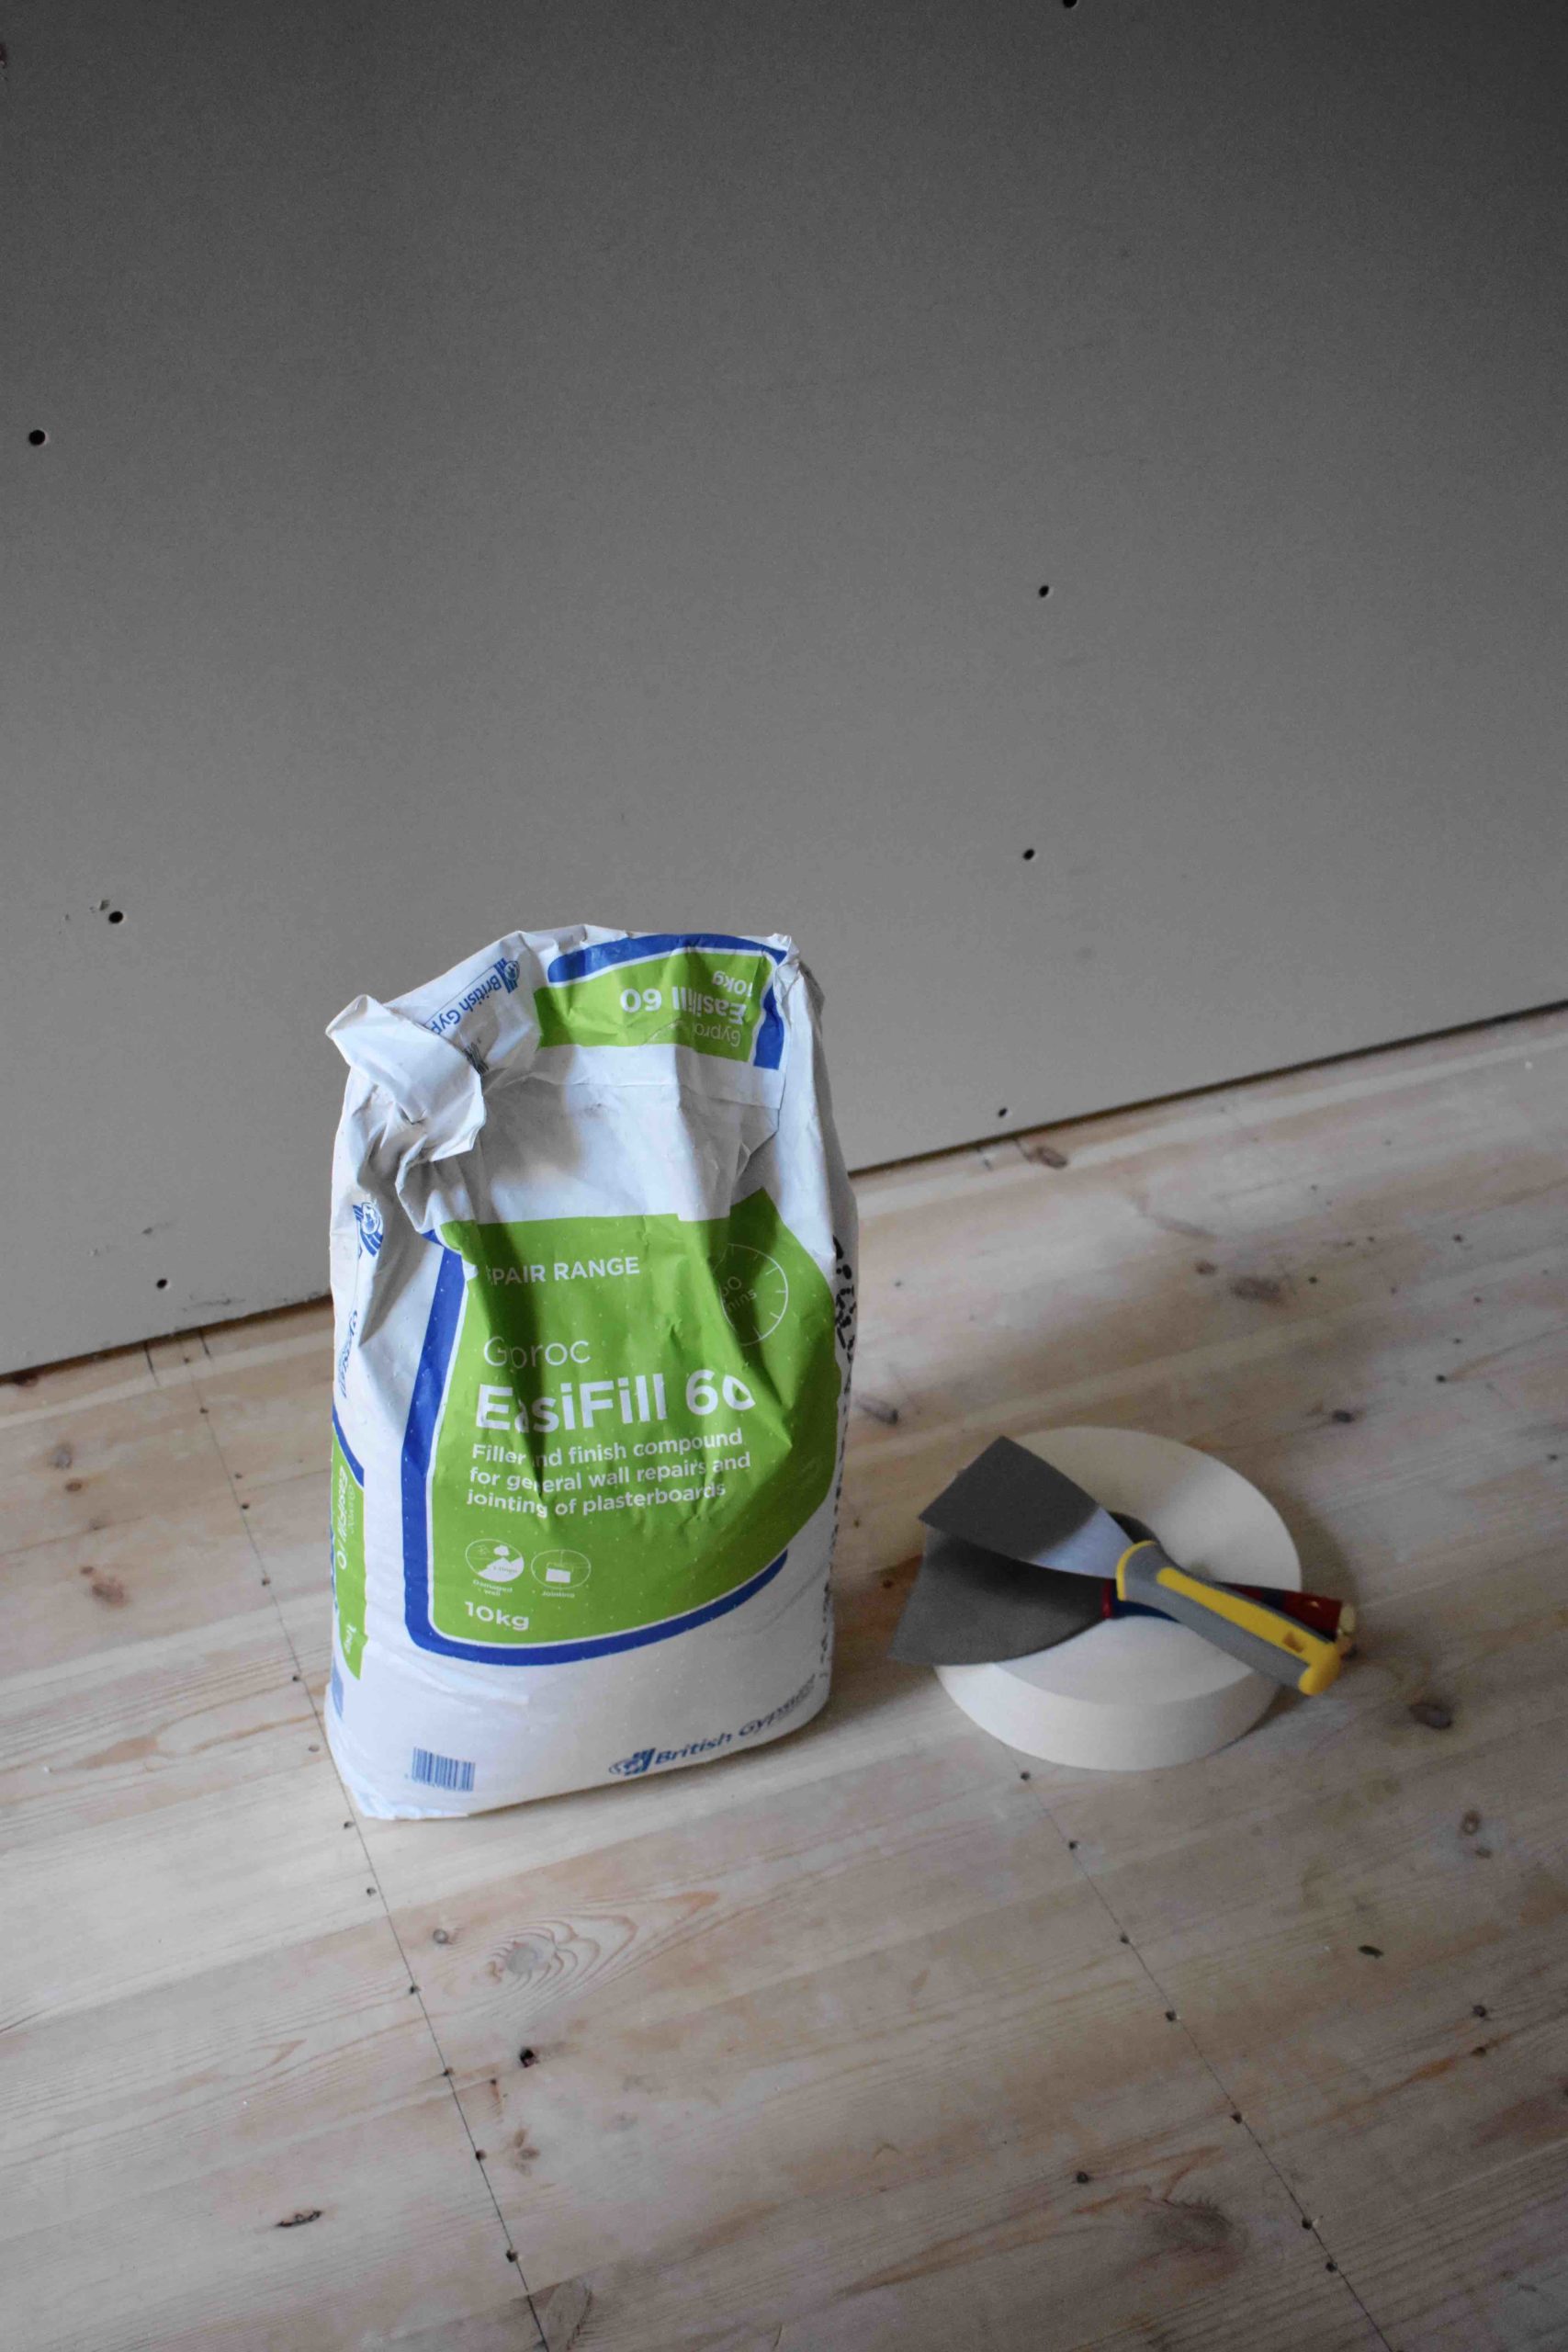
I also ordered 8 plasterboards of 2400 X 1200 X 12.5MM, with a bag of 10kg plaster compound with joint tape and a 6″ jointing knife. I paid £128 for everything with free delivery from Selco. I think this is the most essential basics you need to do the plaster walls. You might need different quantities depending on the surface you need to cover. I still have plenty of filler and tape left.
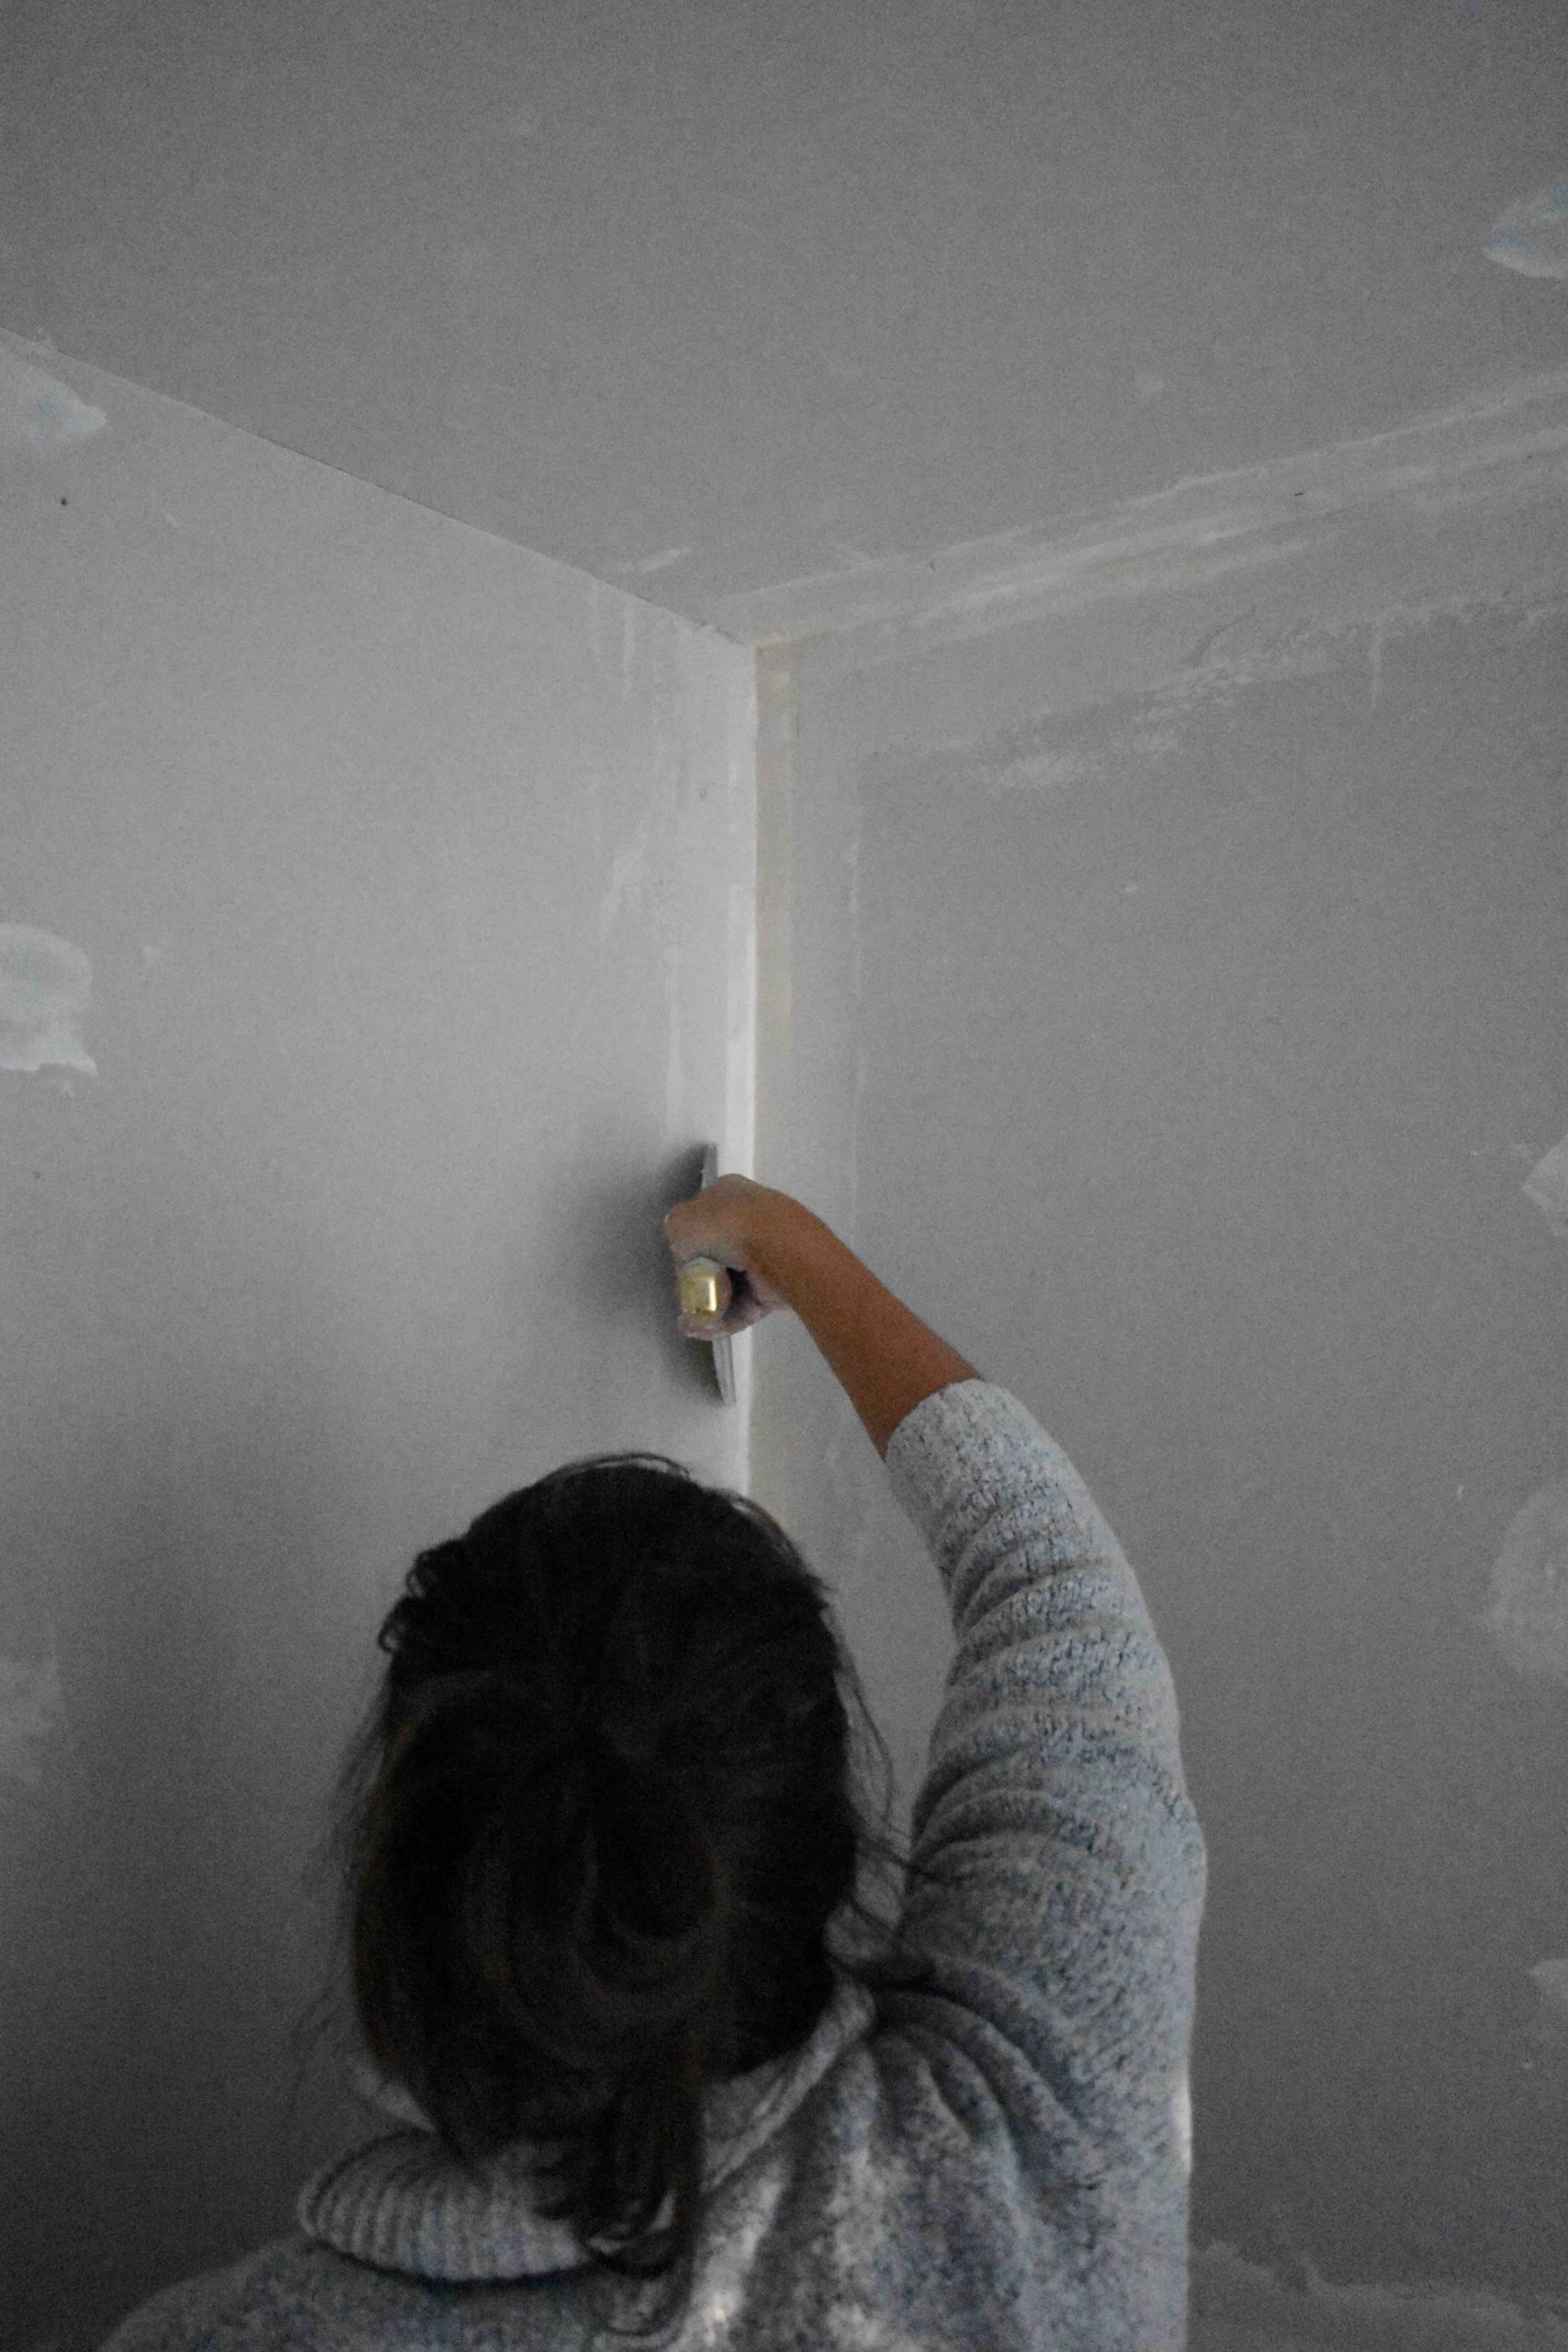
You definitely need two people to lift/install the plasterboards, especially for the ceiling part. I also recommend mixing a small amount of filler at the time as it dries quickly. I had a lot of issues with taping and I think it takes some practice to get this right. I will suggest applying a good quantity of filler before the tape or get an expert to do it!
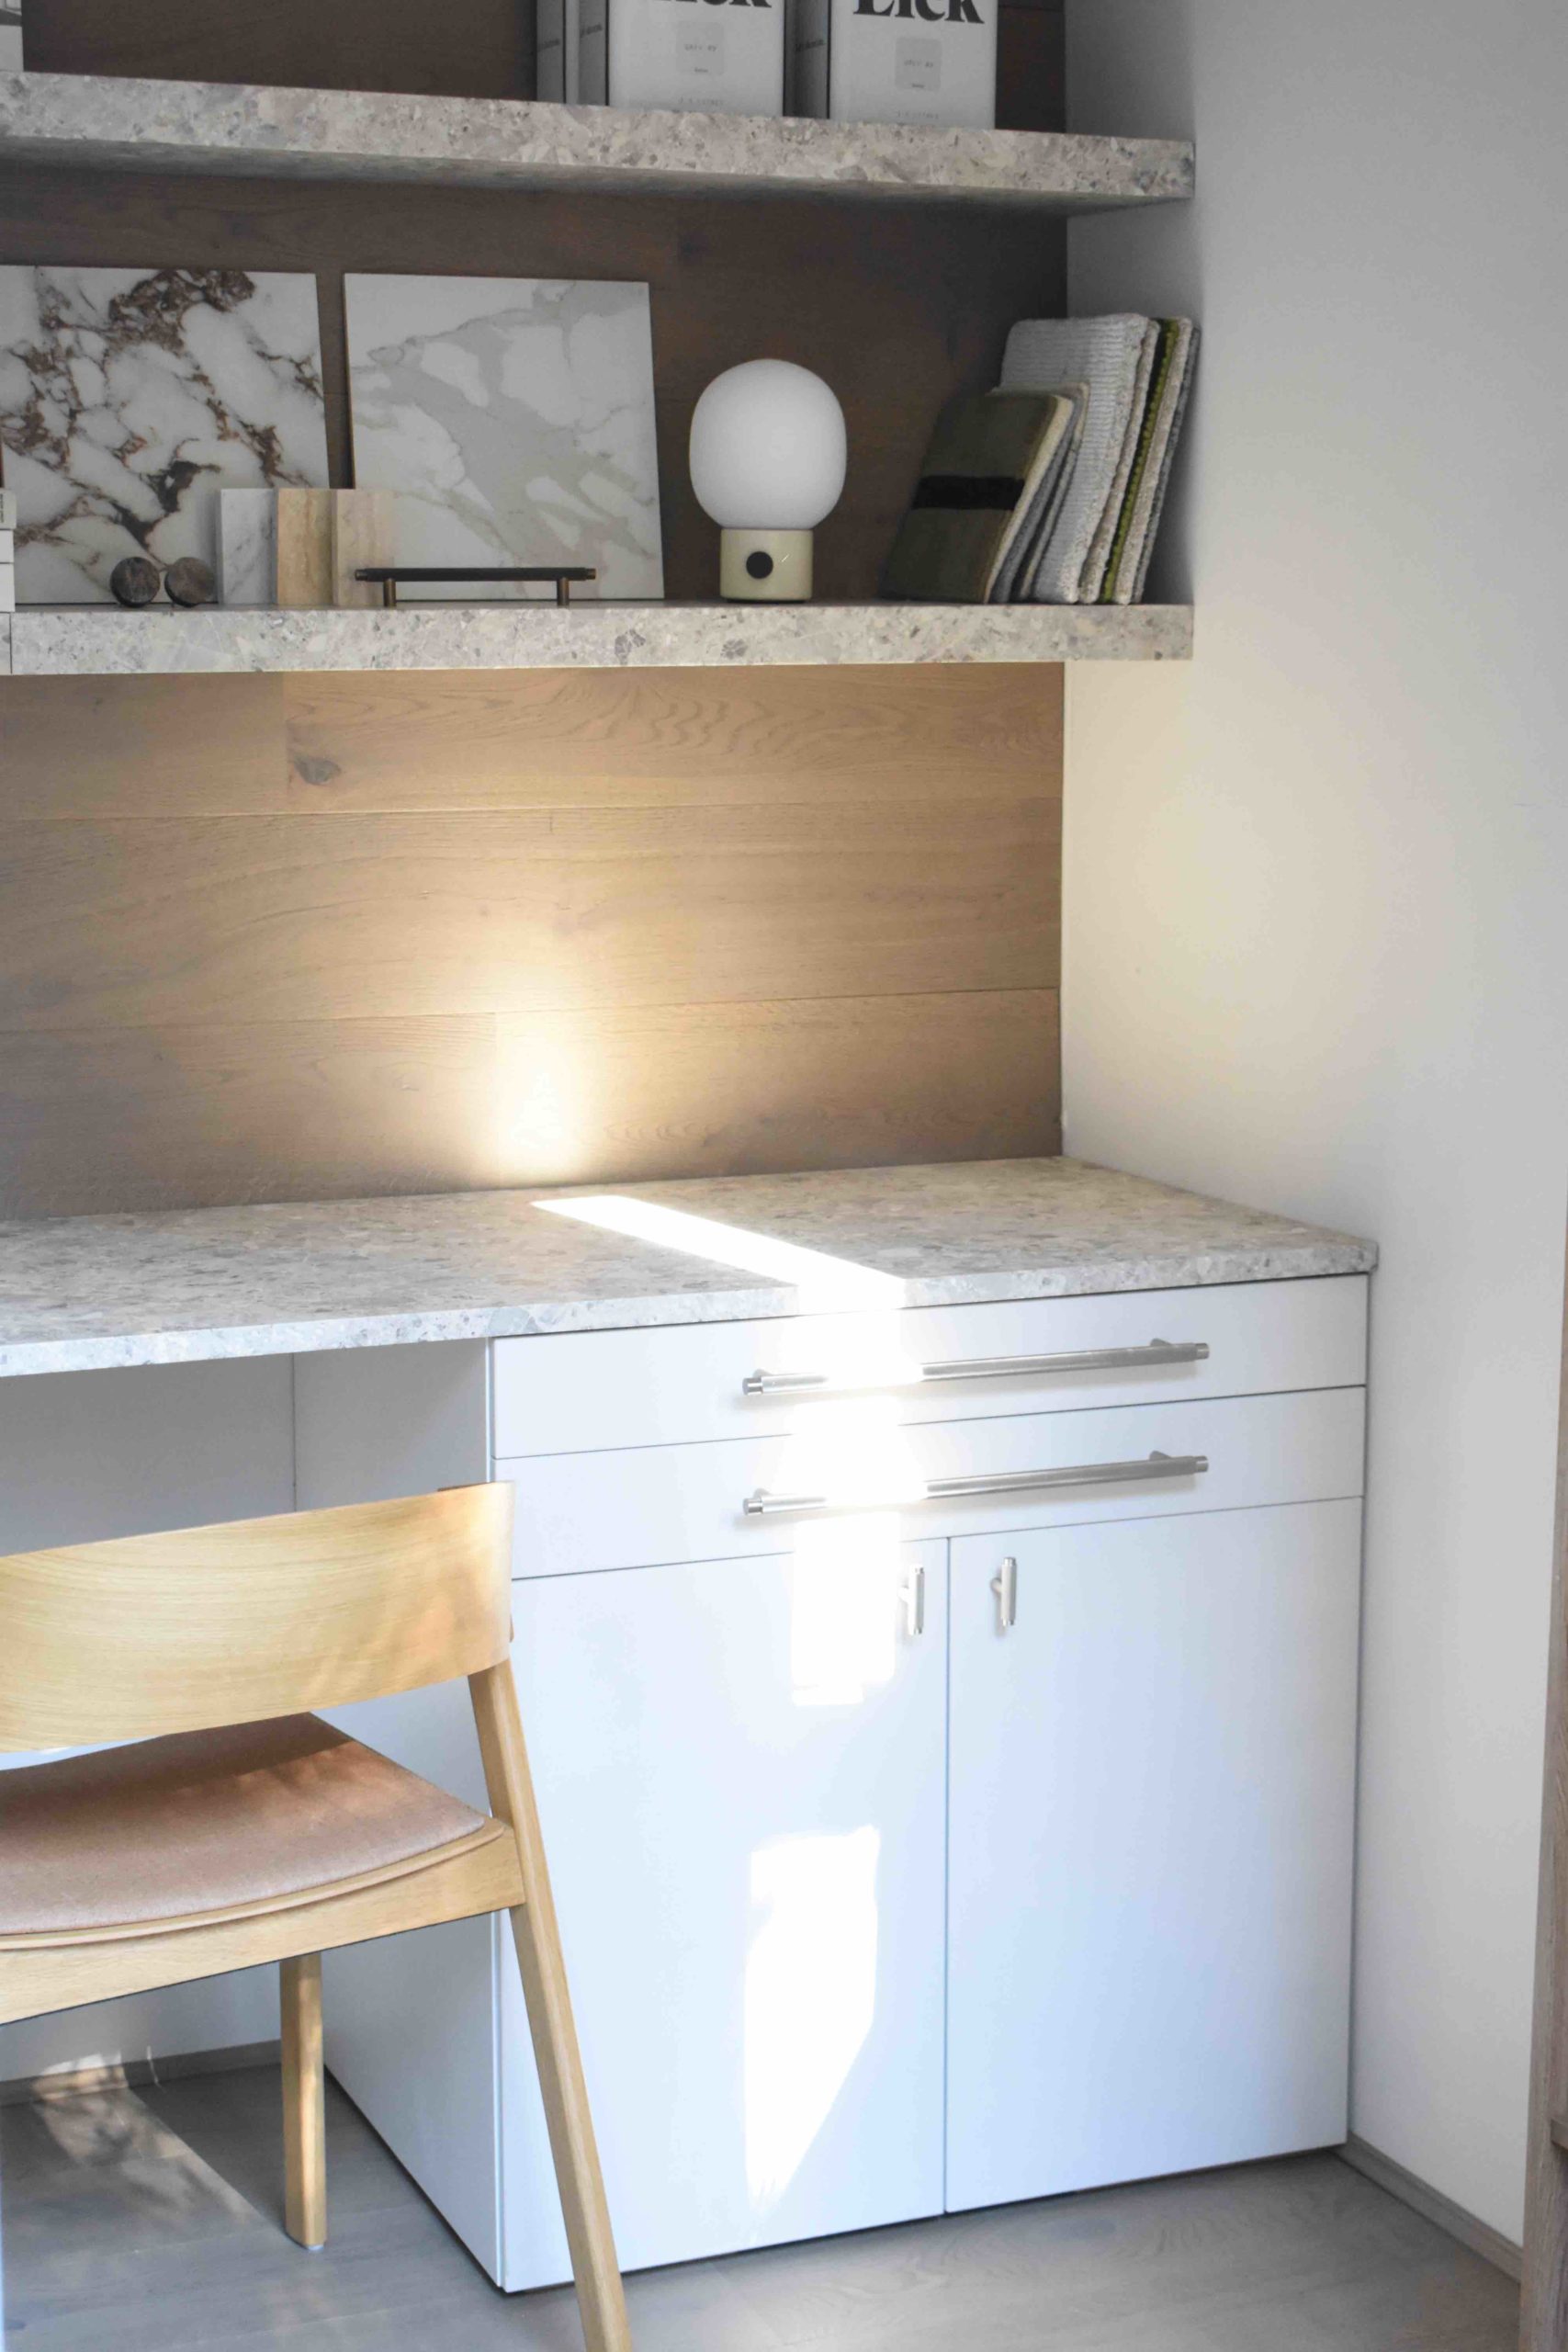
FLOORING
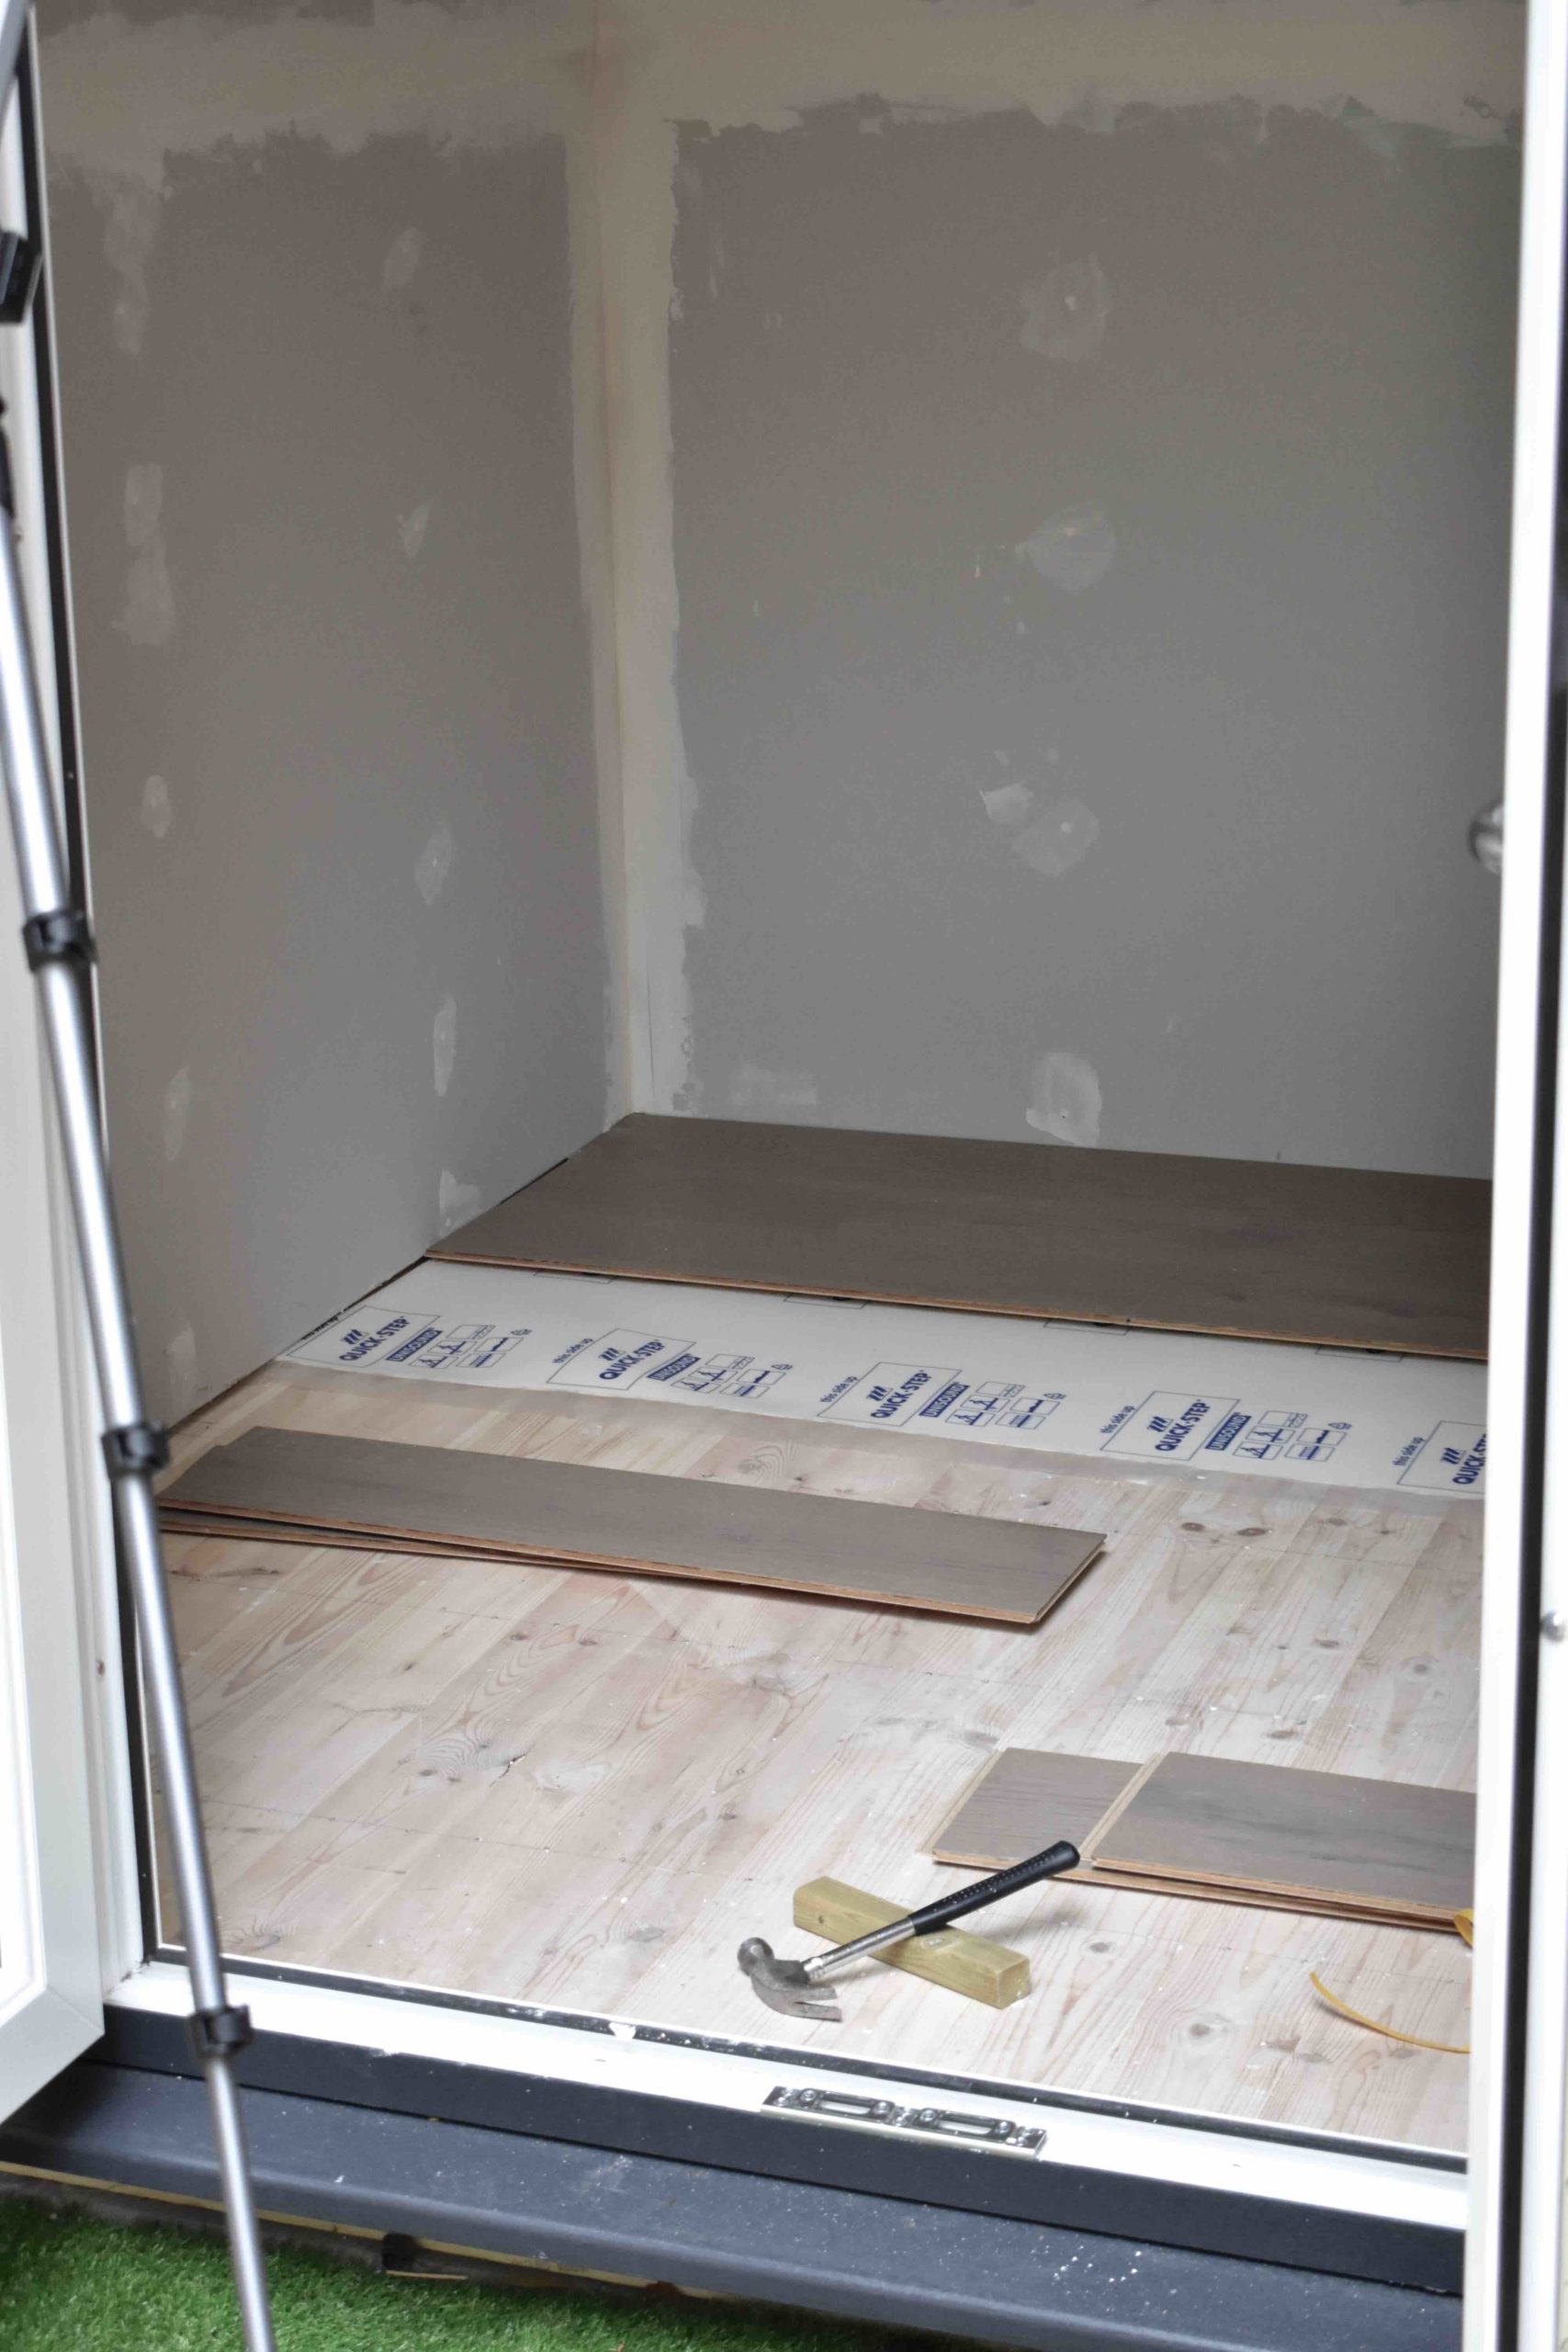
I always love installing flooring and this was my favourite part of the job! It was very straightforward as it is a small square space.
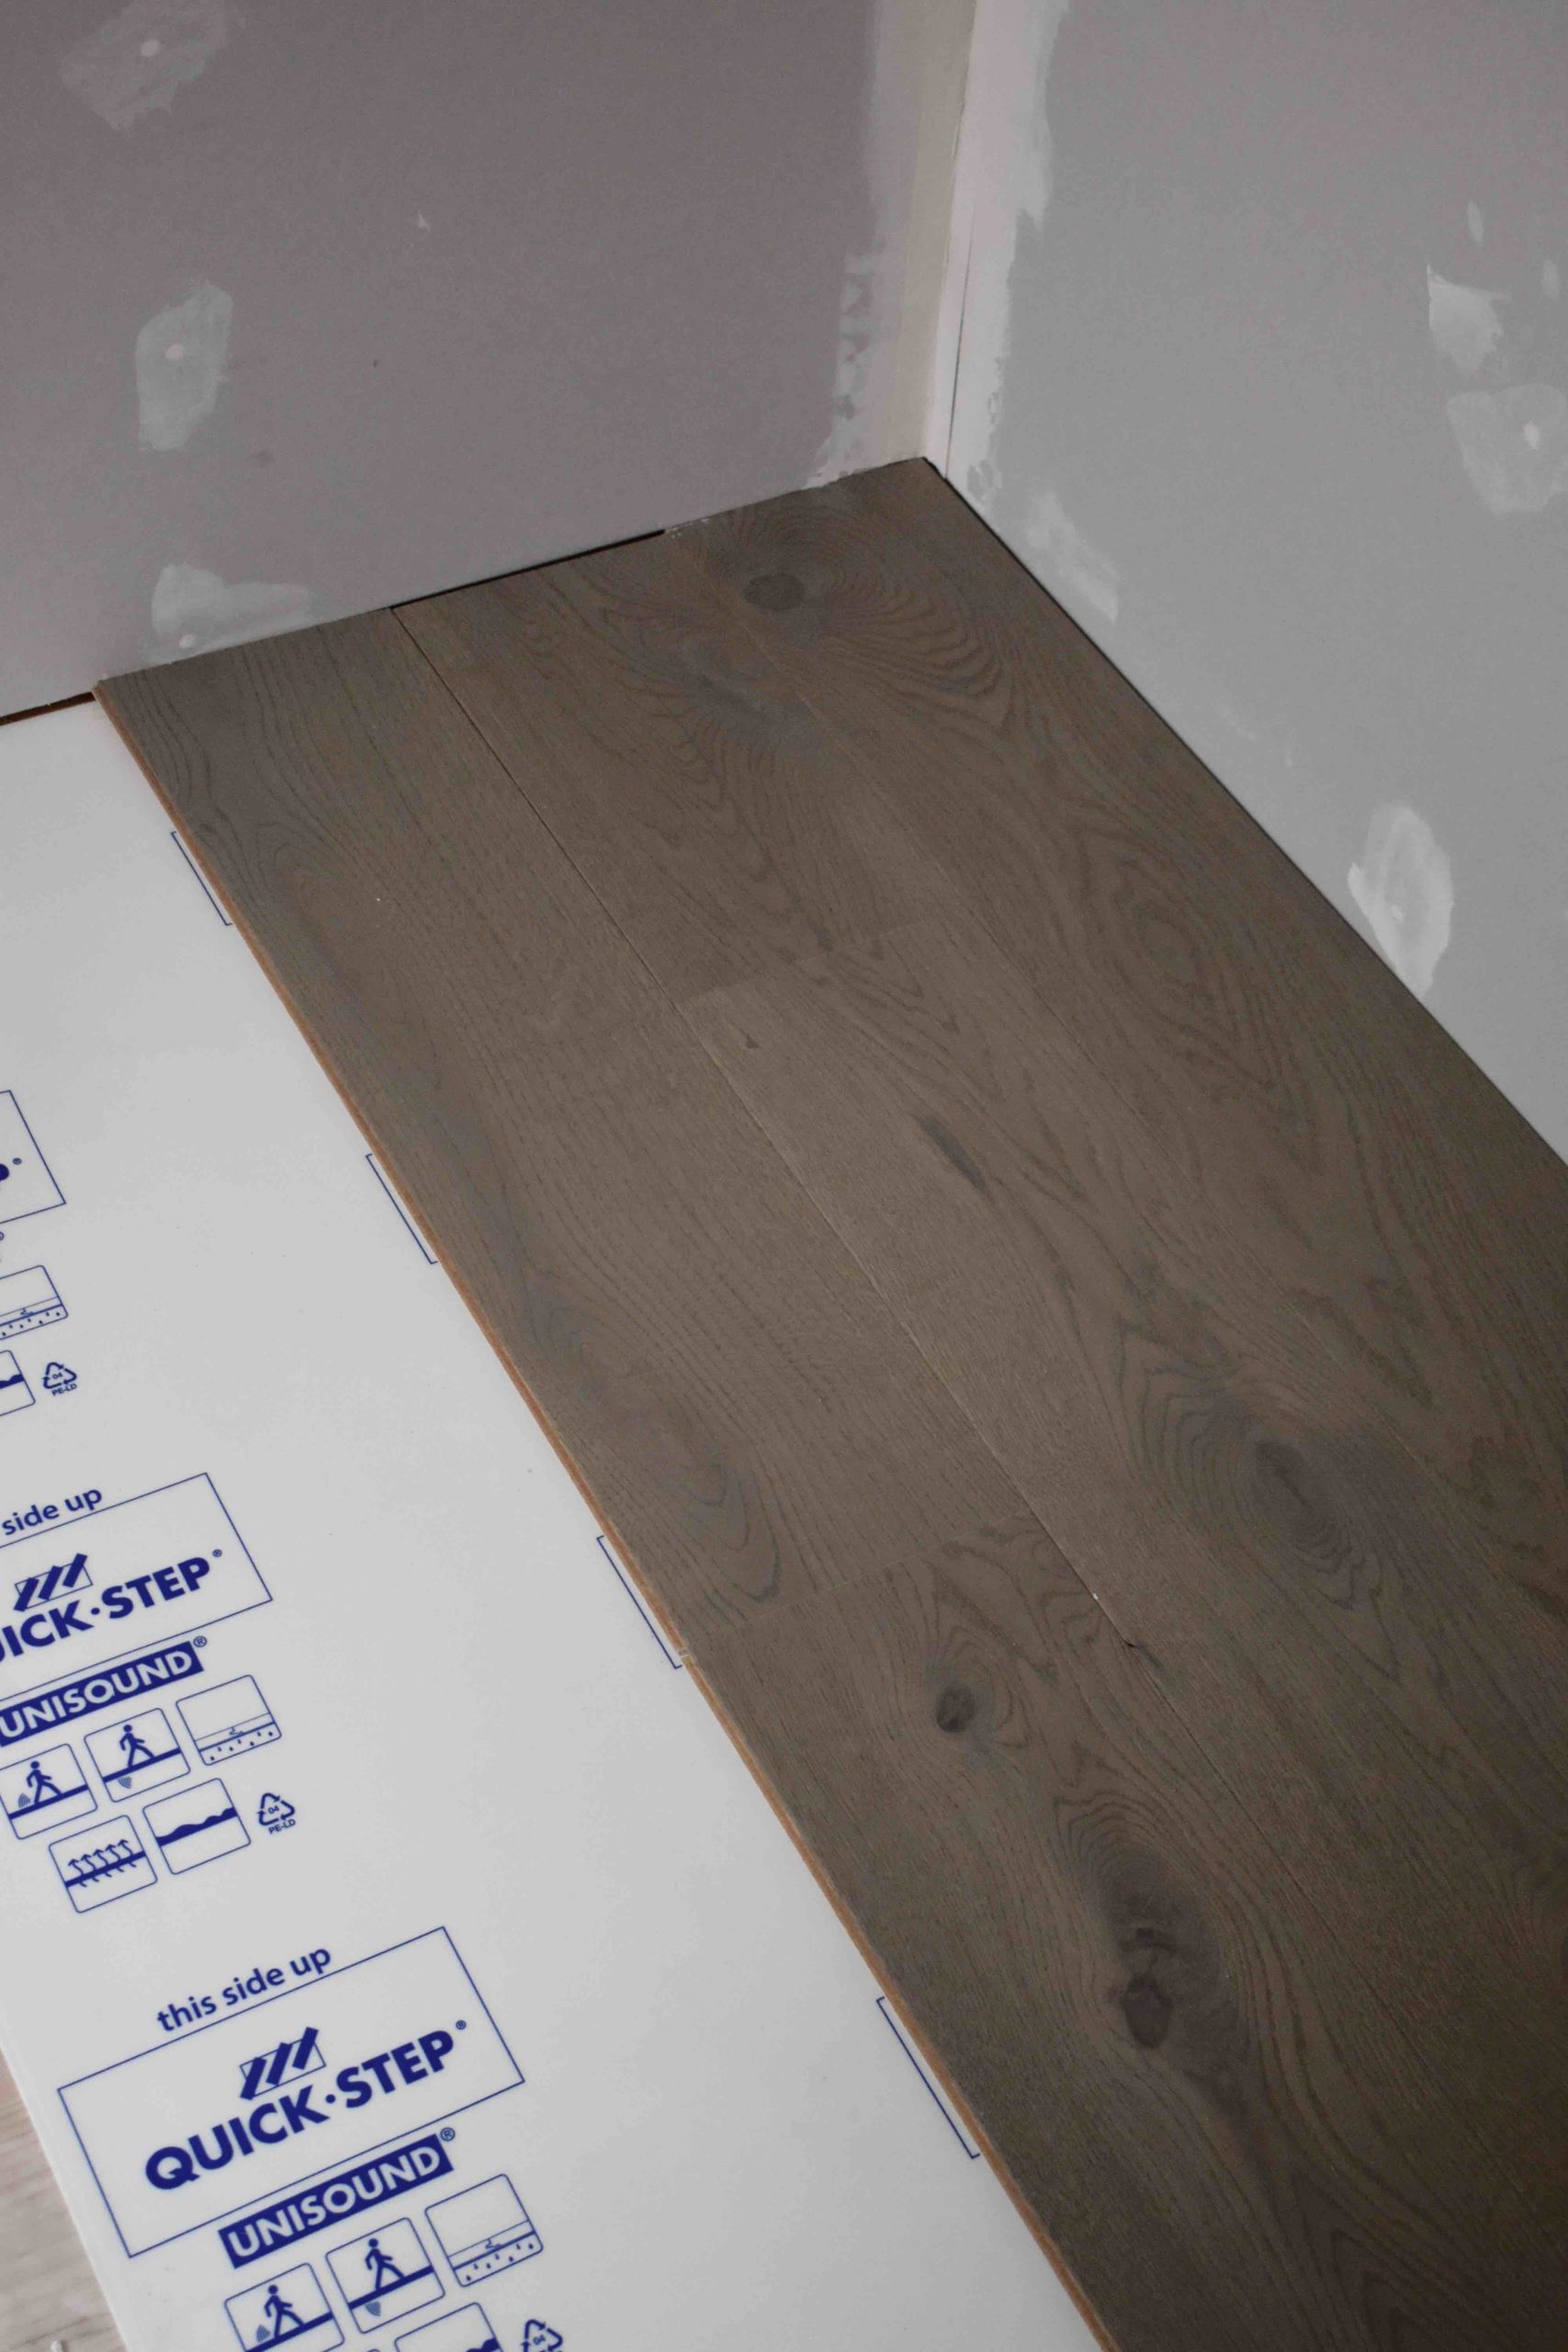
I used the timeless Cotton grey oak extra matt from Quickstep. It’s a hardwood of 1820mm plank by 190mm width. These are very good size planks to give an elegant expensive look. The lacquered finish allows durability while the extra matt gloss level gives it a very modern touch.
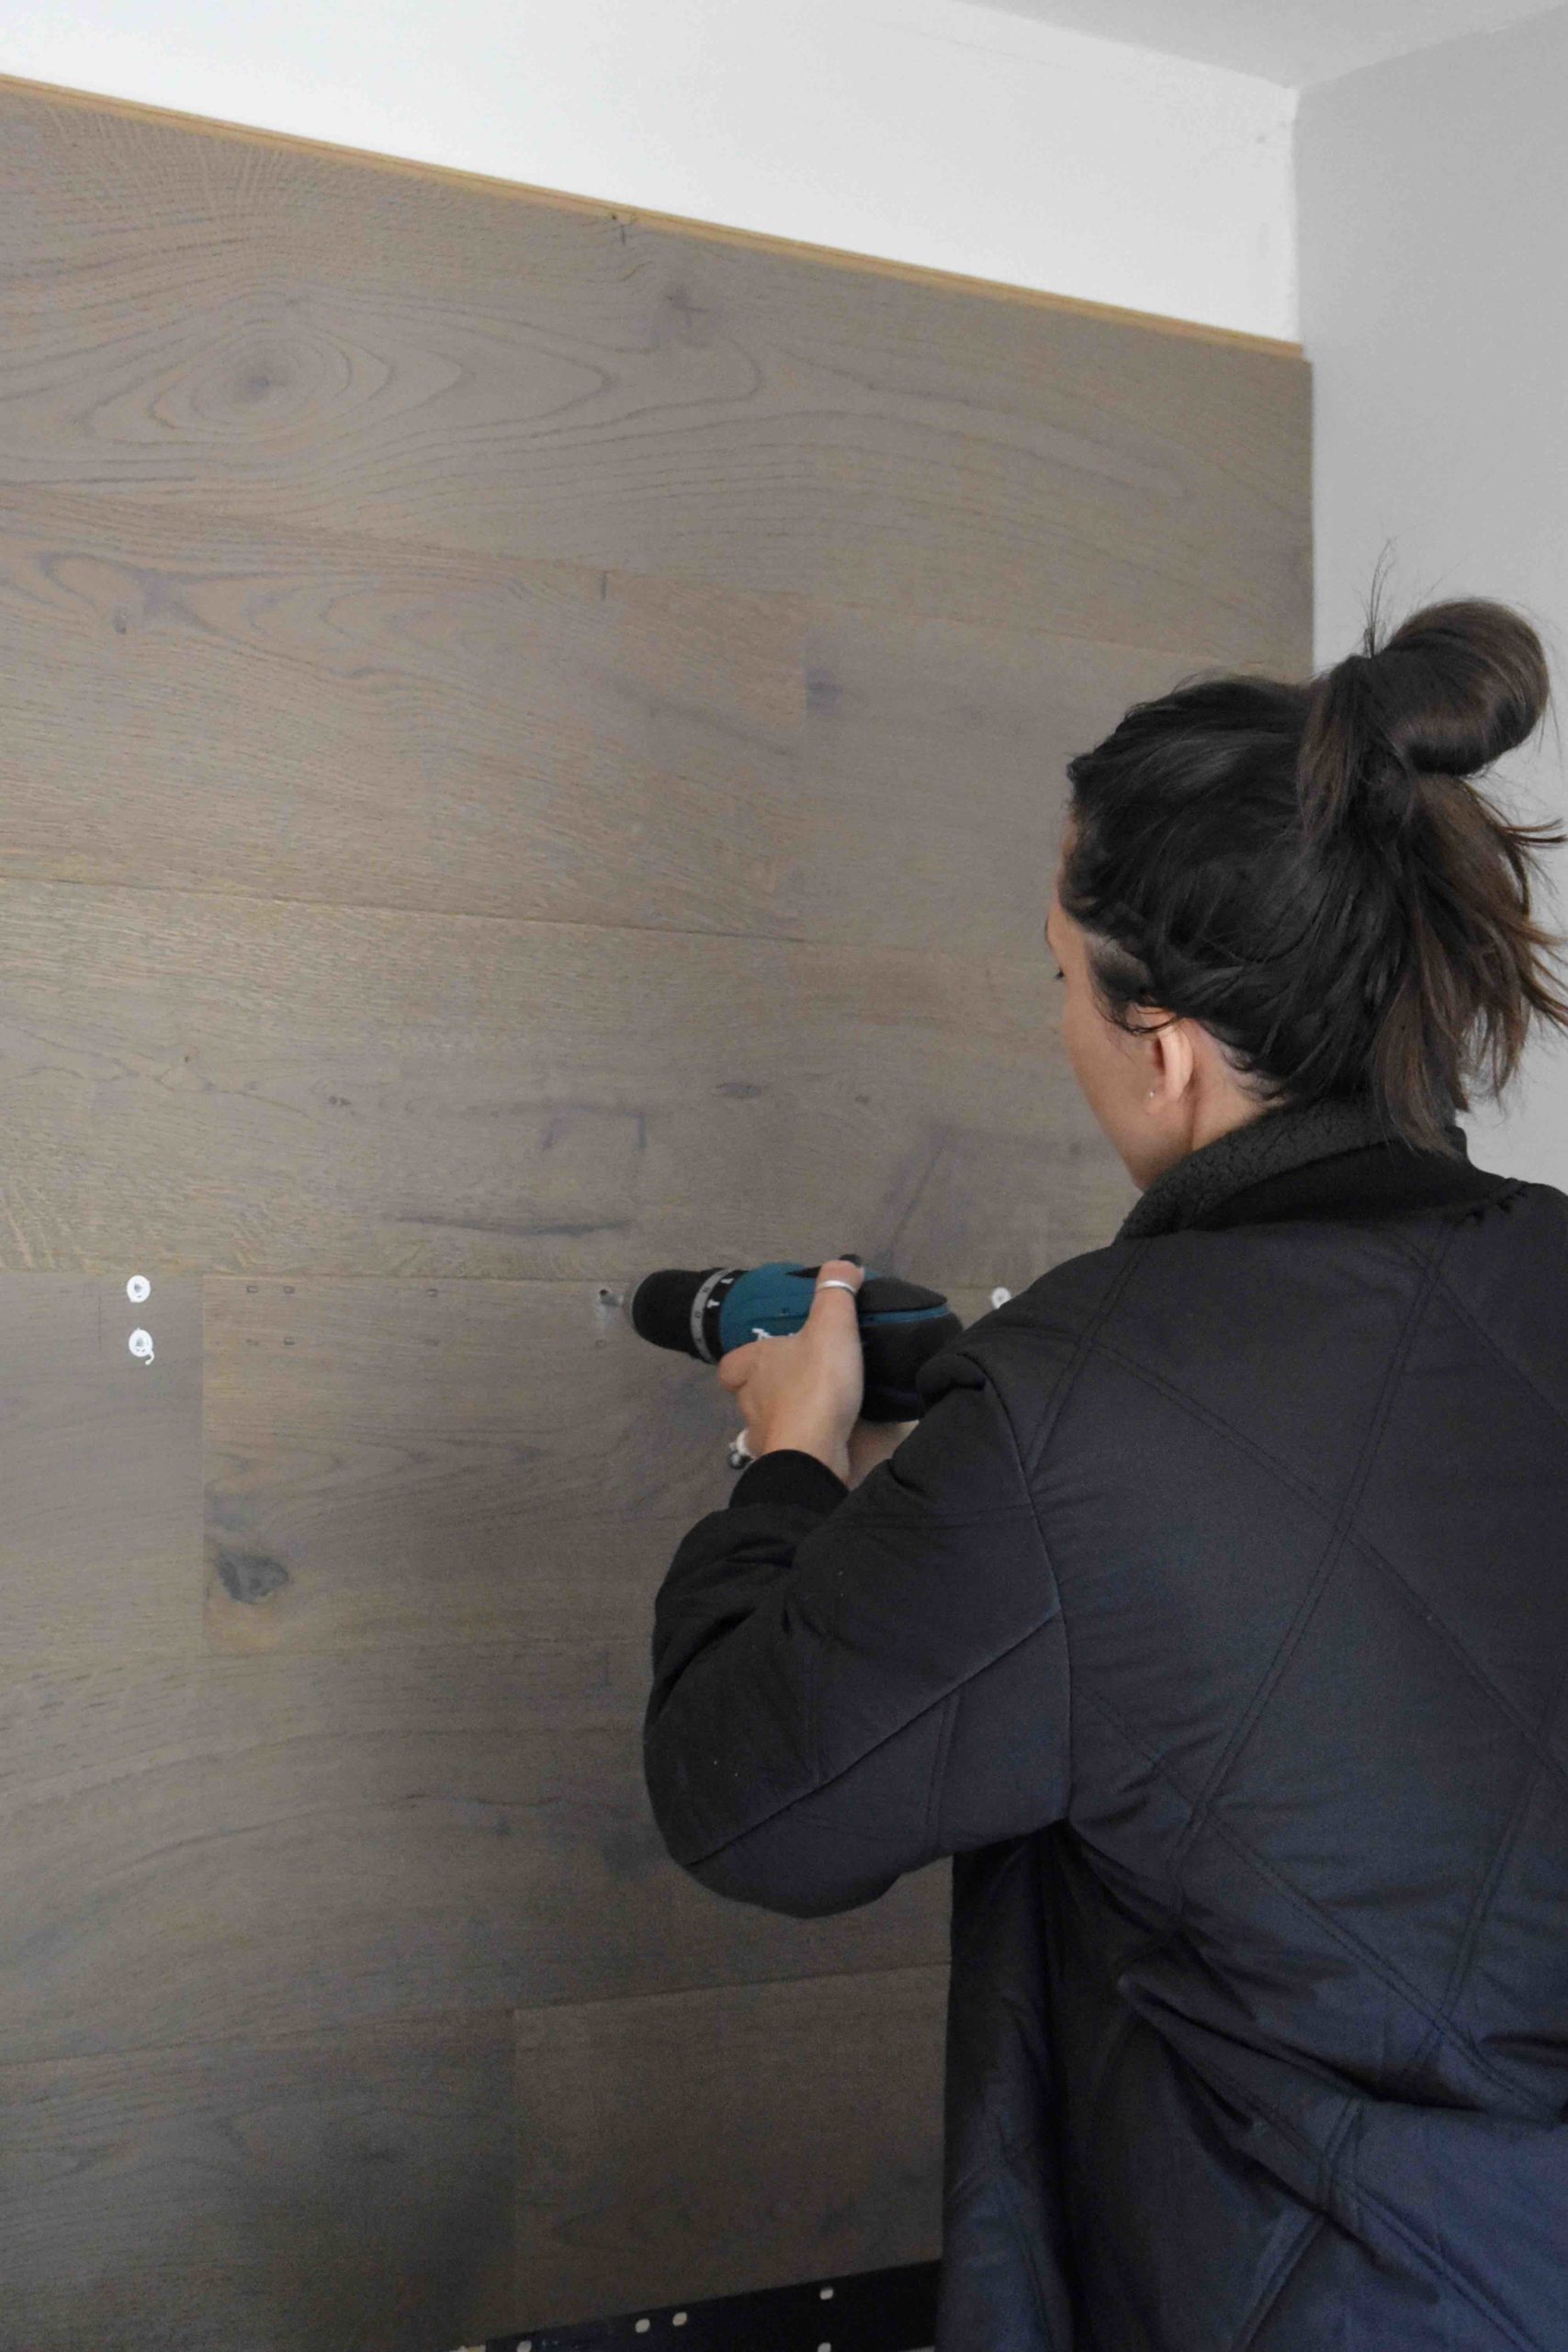
A lot of people recommend laying your floor in the same direction as the main light source in a room, perpendicular to the door/windows. I always suggest using the longest plank to create an illusion of a wider space. In this case, I wanted the office space to feel larger and also run the wooden flooring onto the back wall to add more texture to the space.
It was very easy to install by gradually laying roll of 1m wide underlay and simply using the click system for a fast and easy installation. I love this so much I used the leftover to cover the back wall and add more texture to the space.
PAINT
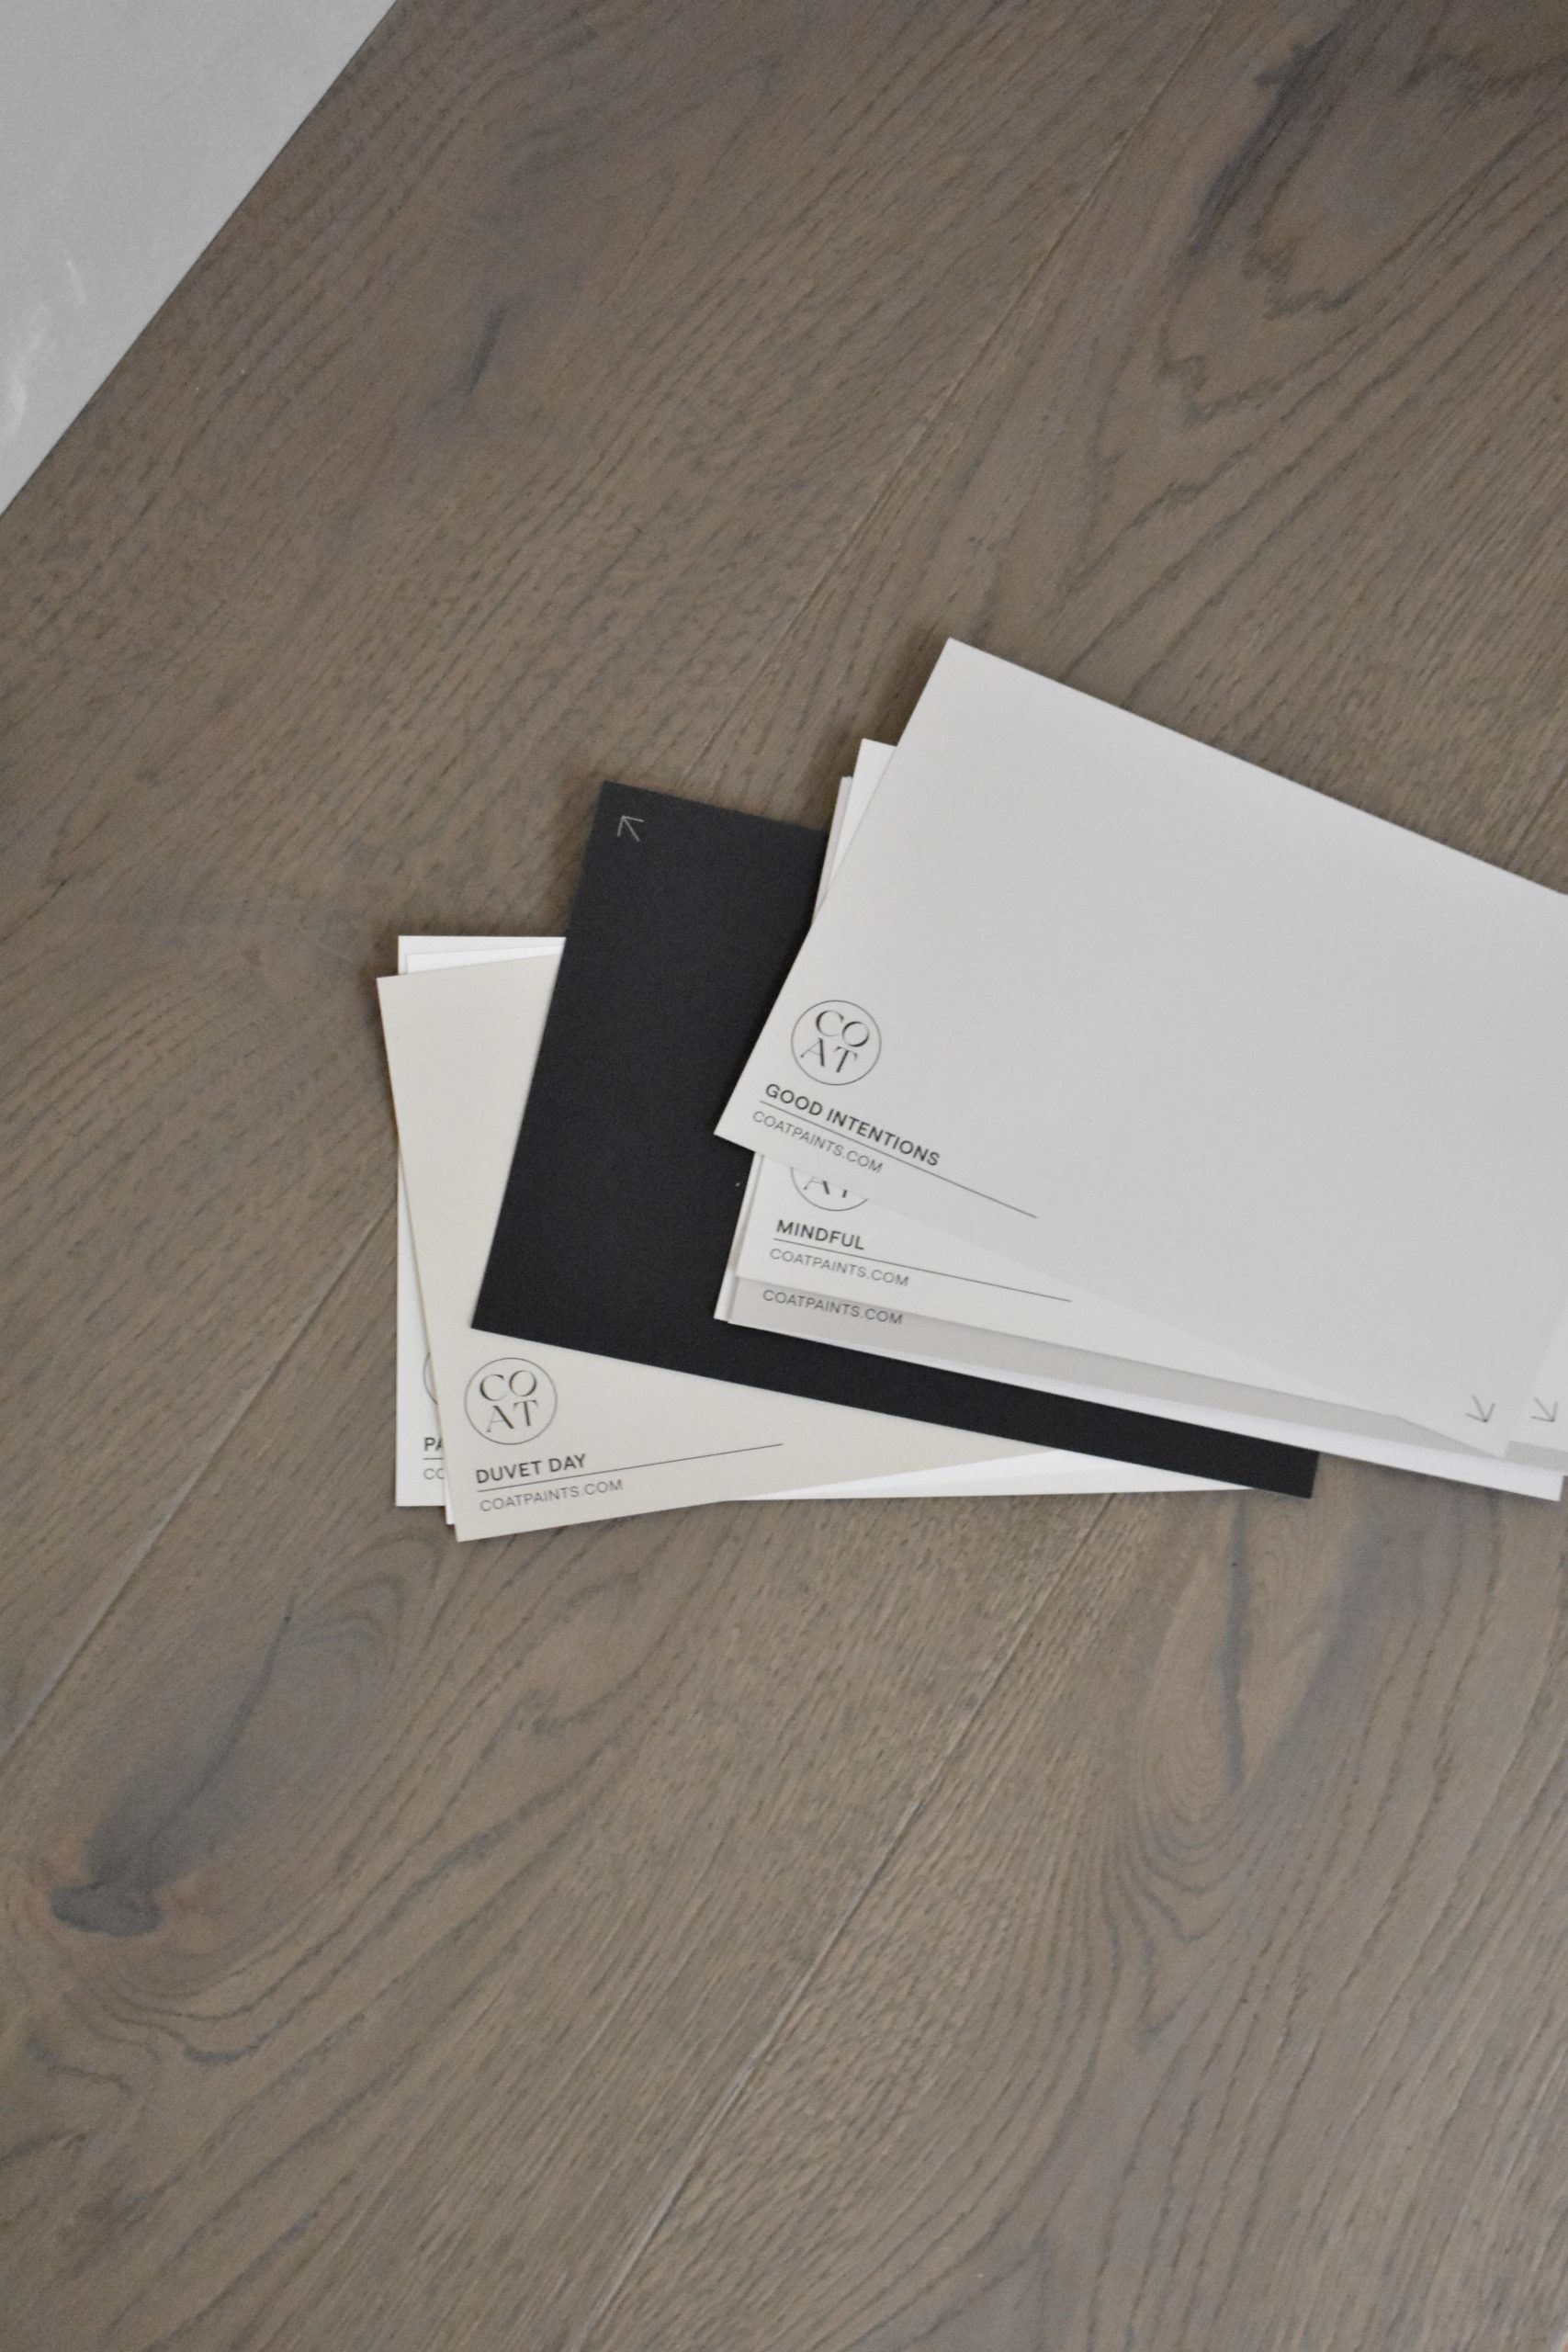
I spent a few days looking at paint sample swatches for both inside and outside of this garden room.
I made a small selection of warm neutral colours for these internal walls, to create a calm inspiring space to focus and be creative.
Good intentions from Coat is a warm pale Taupe that works amazingly with other materials like marble and wood. This was the perfect shade for this west-facing room.
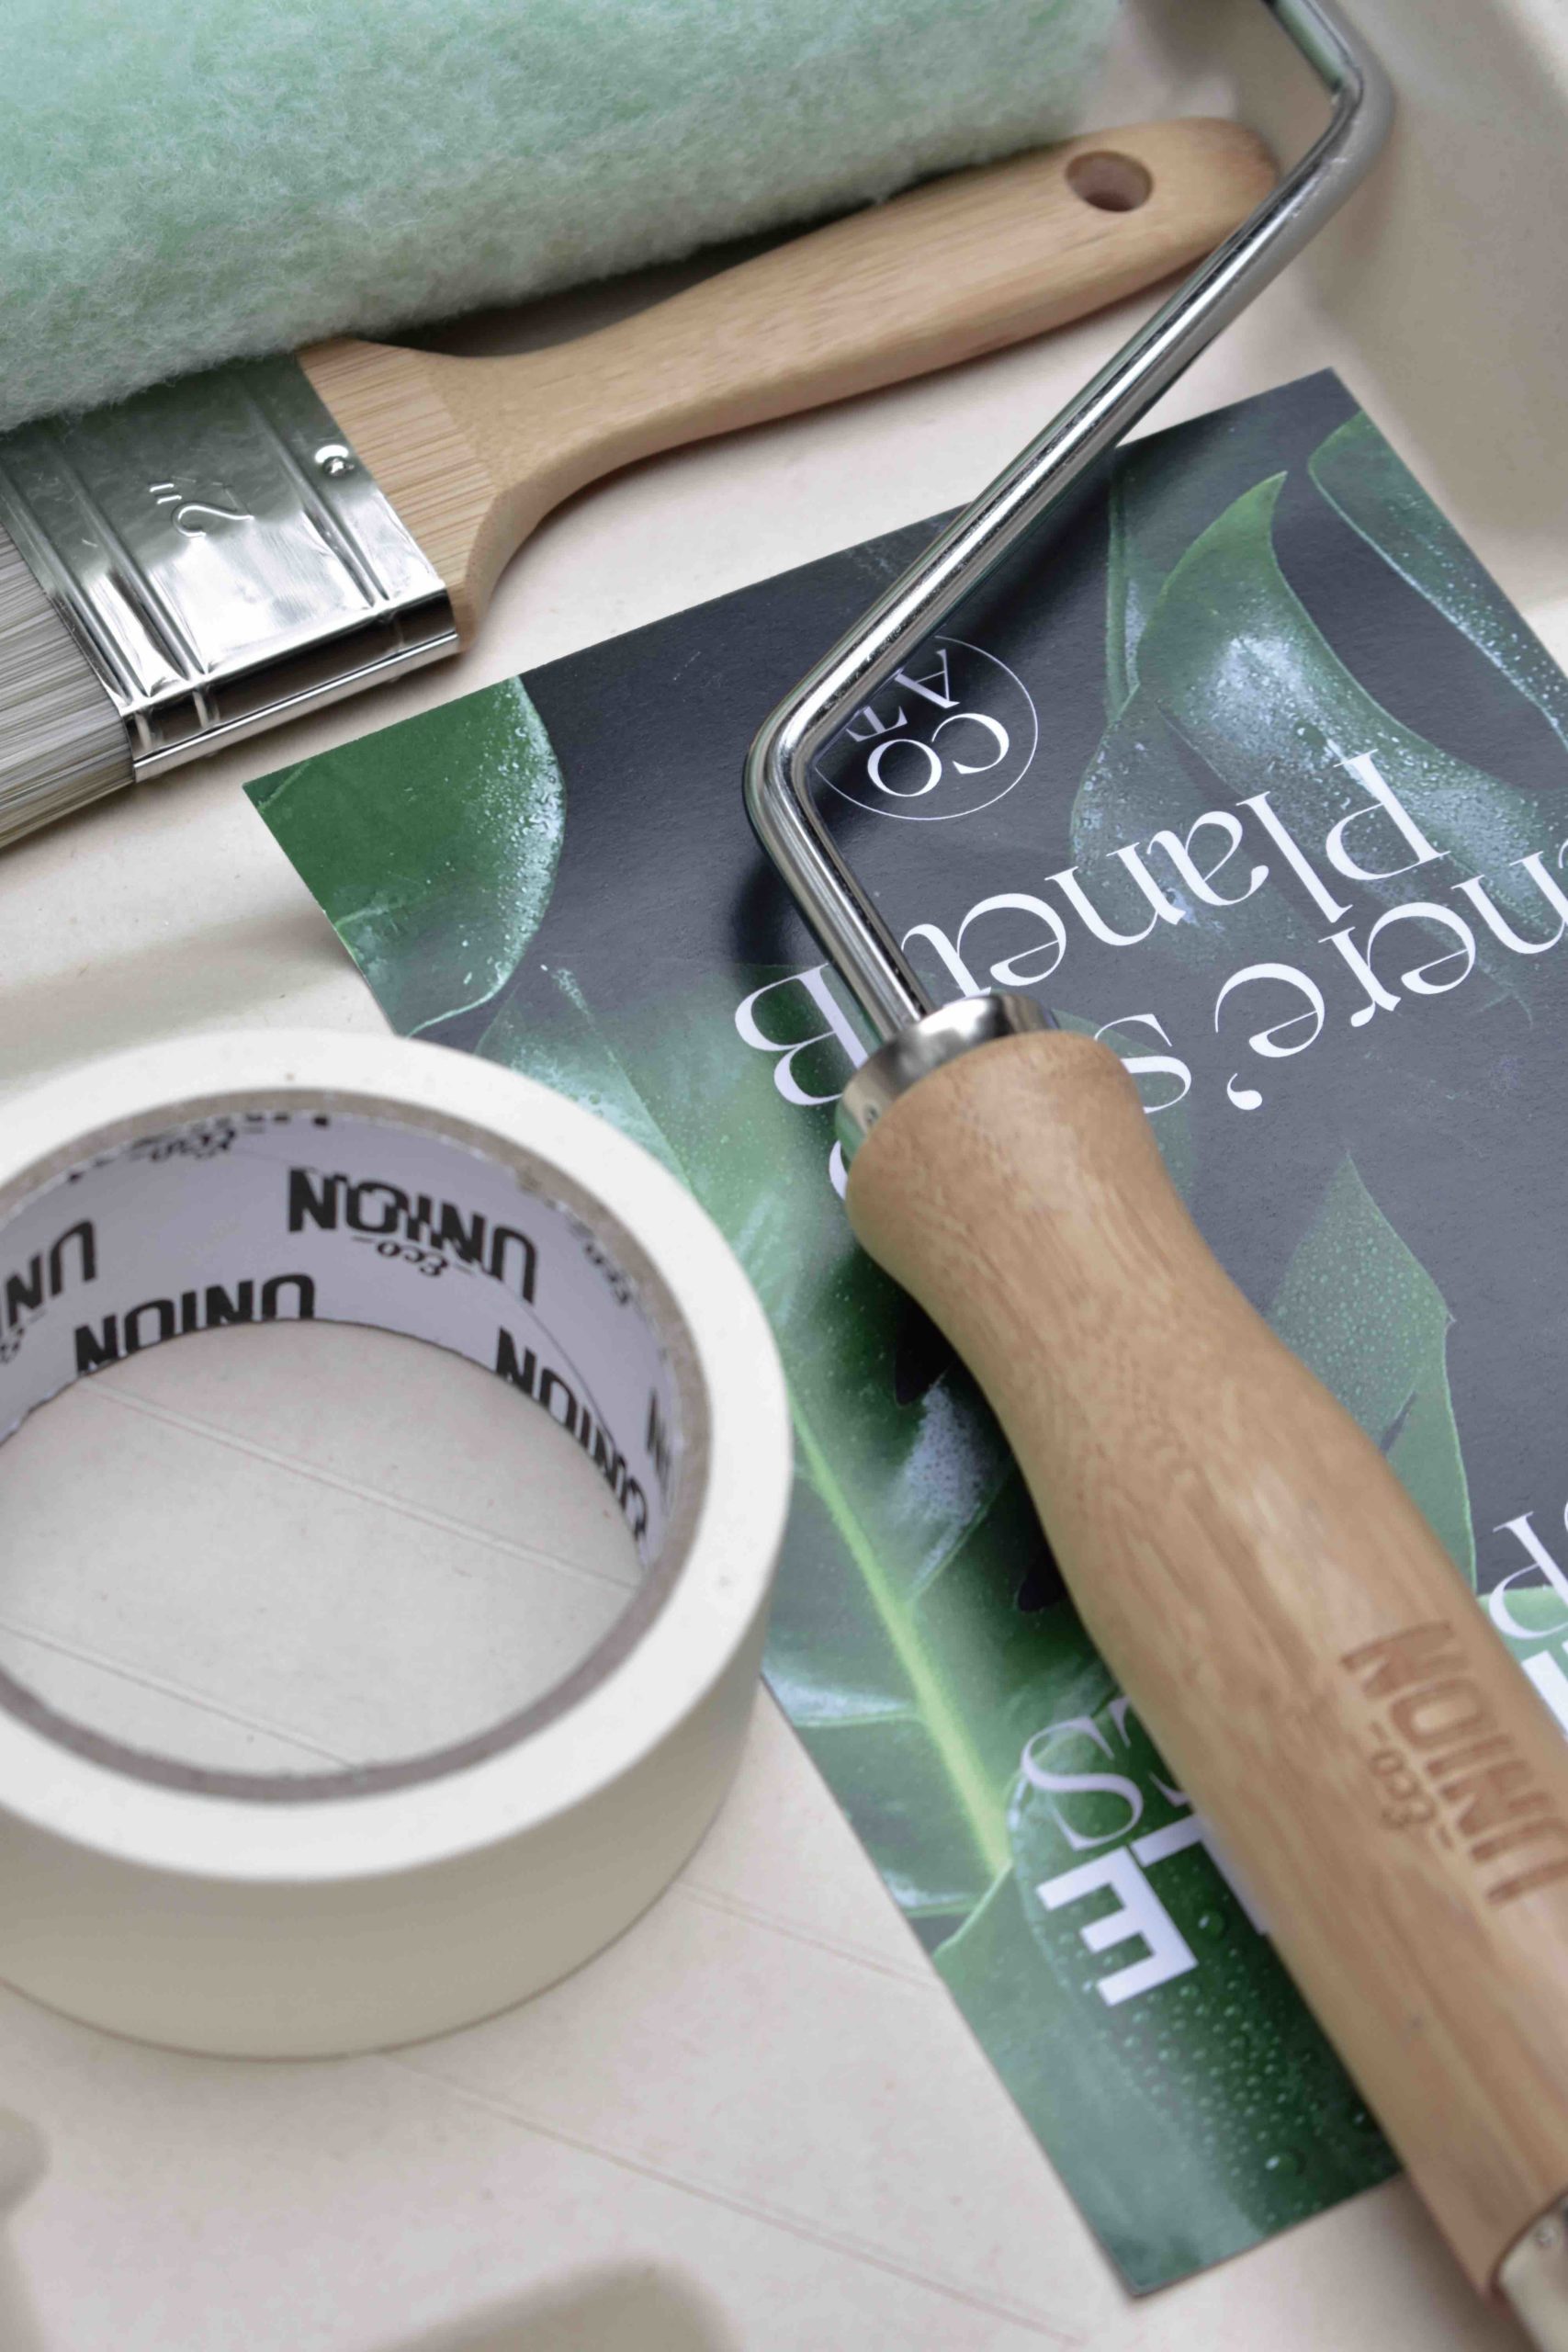
I also painted the cabinets doors and drawers in the same colour to blend everything. I used Coat essential supplies kit for the job, it contains premium eco-friendly decorating tools (a roller, two brushes, a very good masking tape roll and my ultimate favourite a recycled eco roller tray made out of paper pulp!)
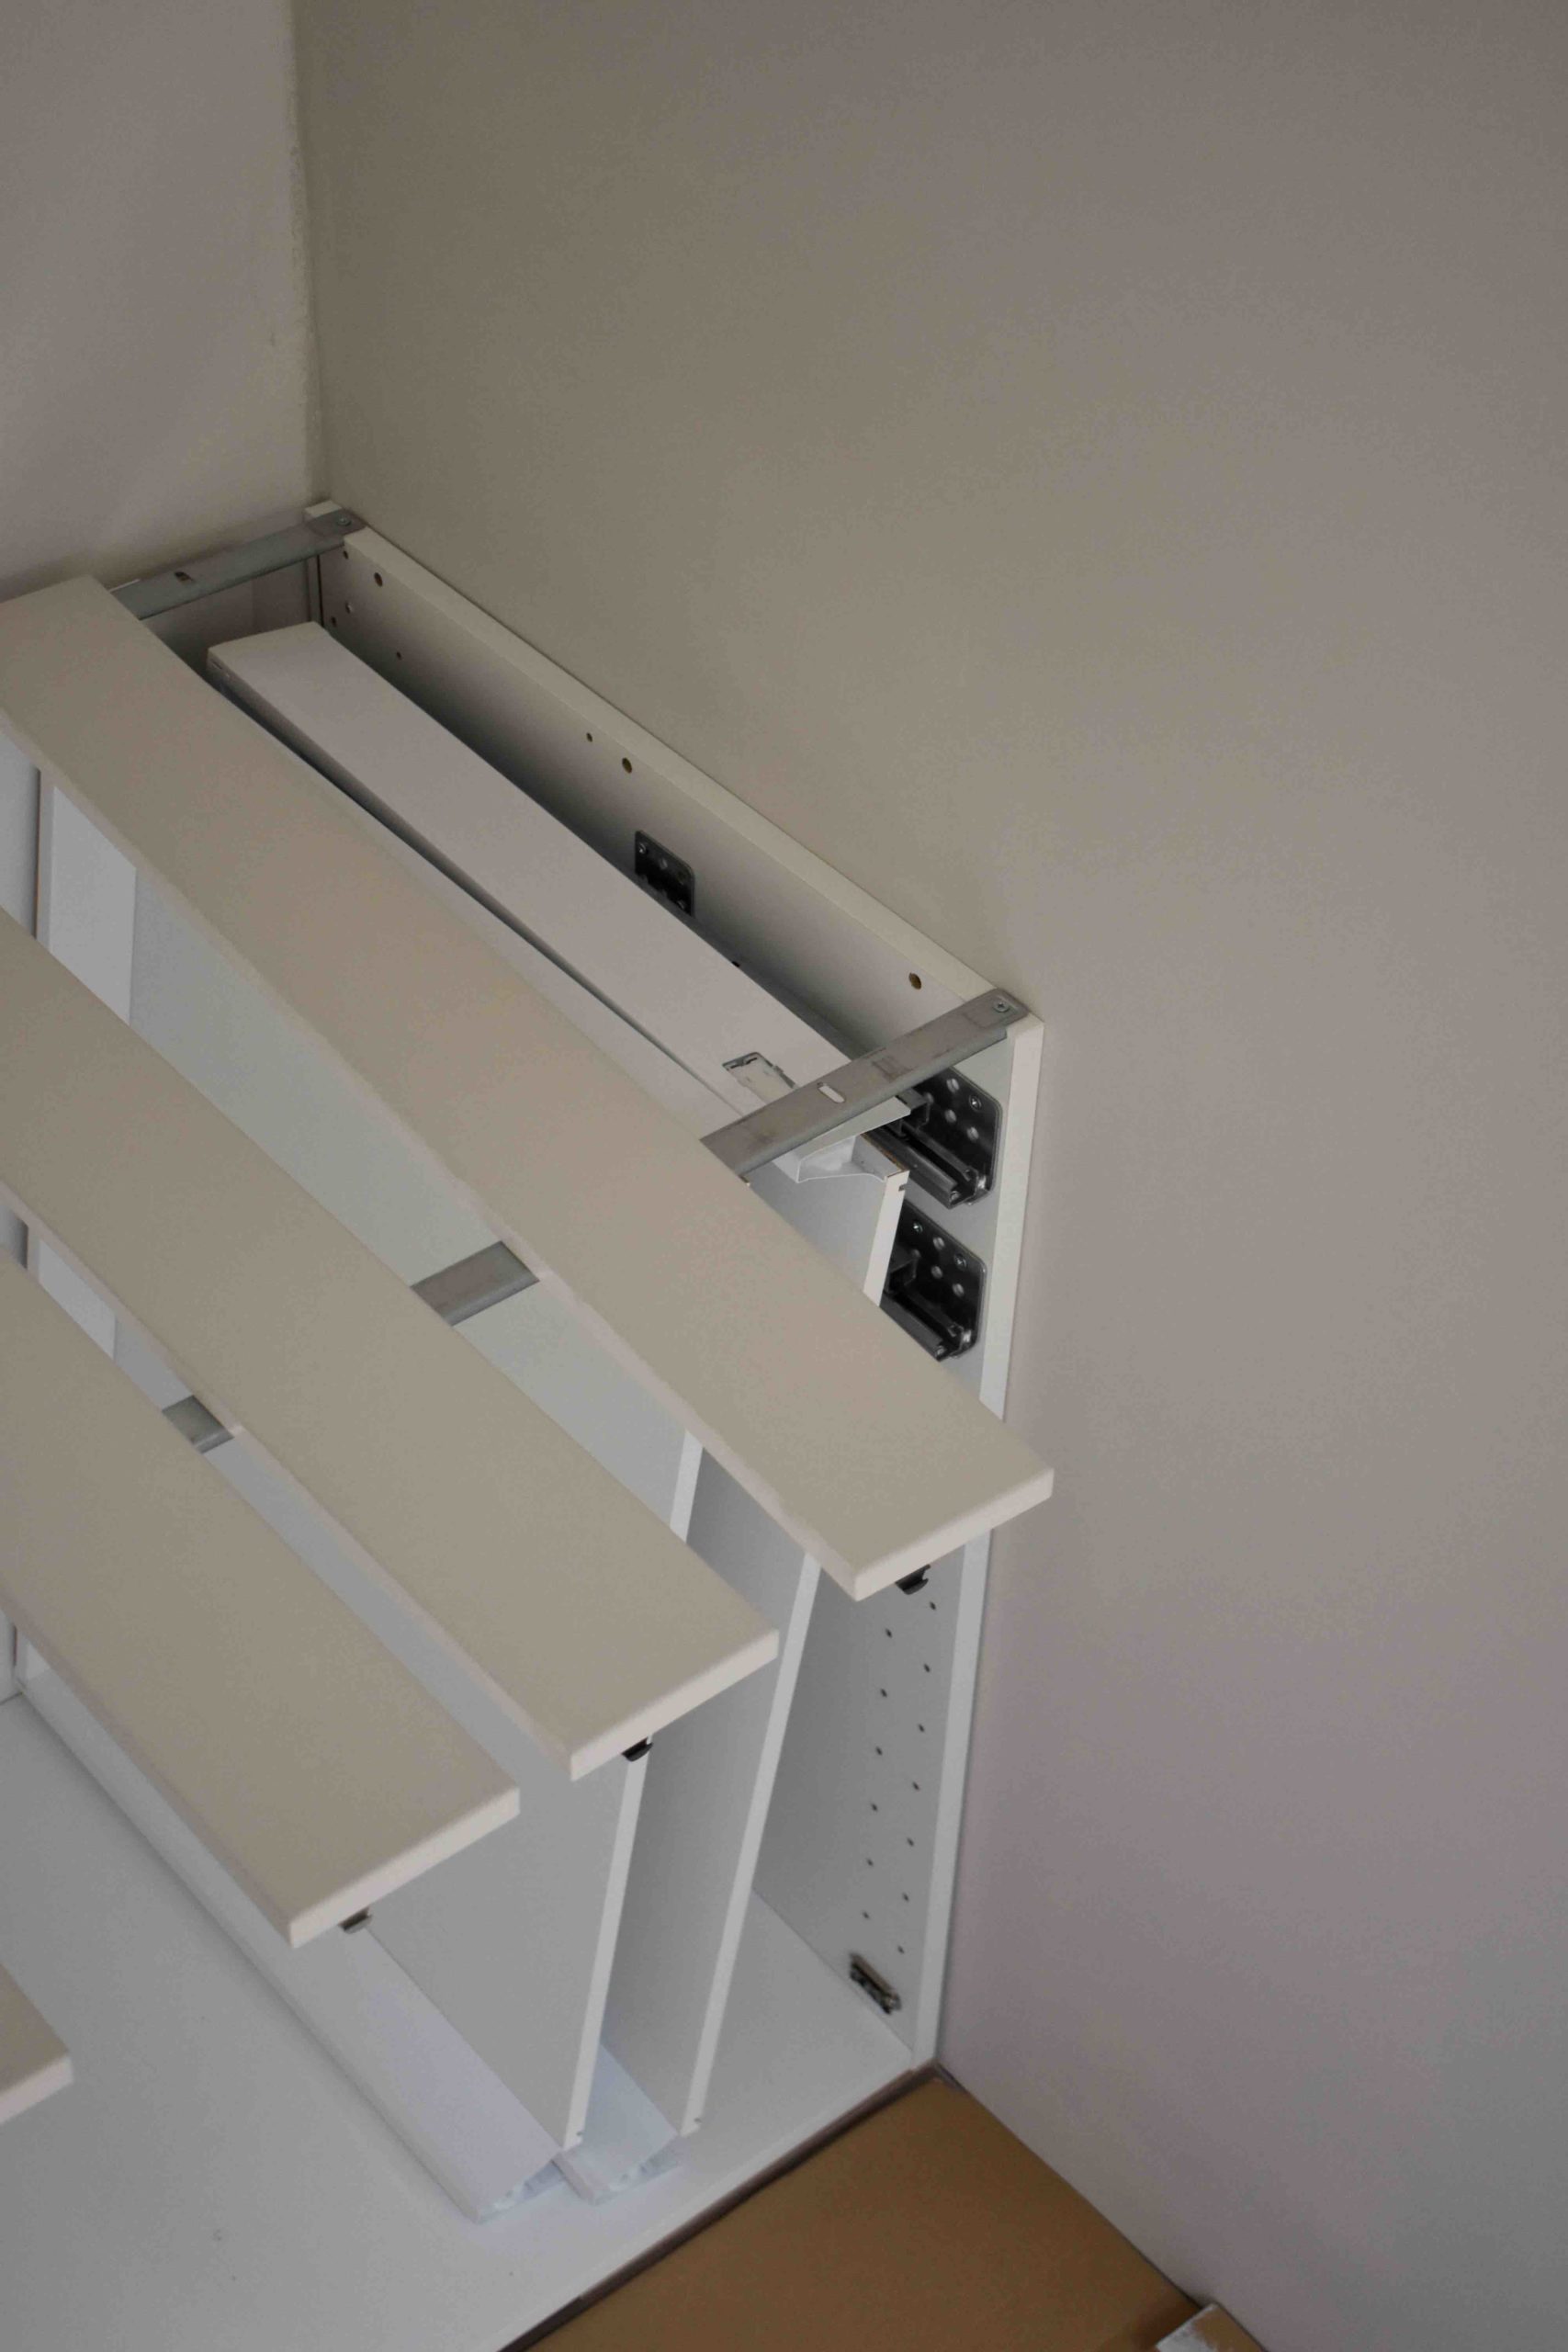
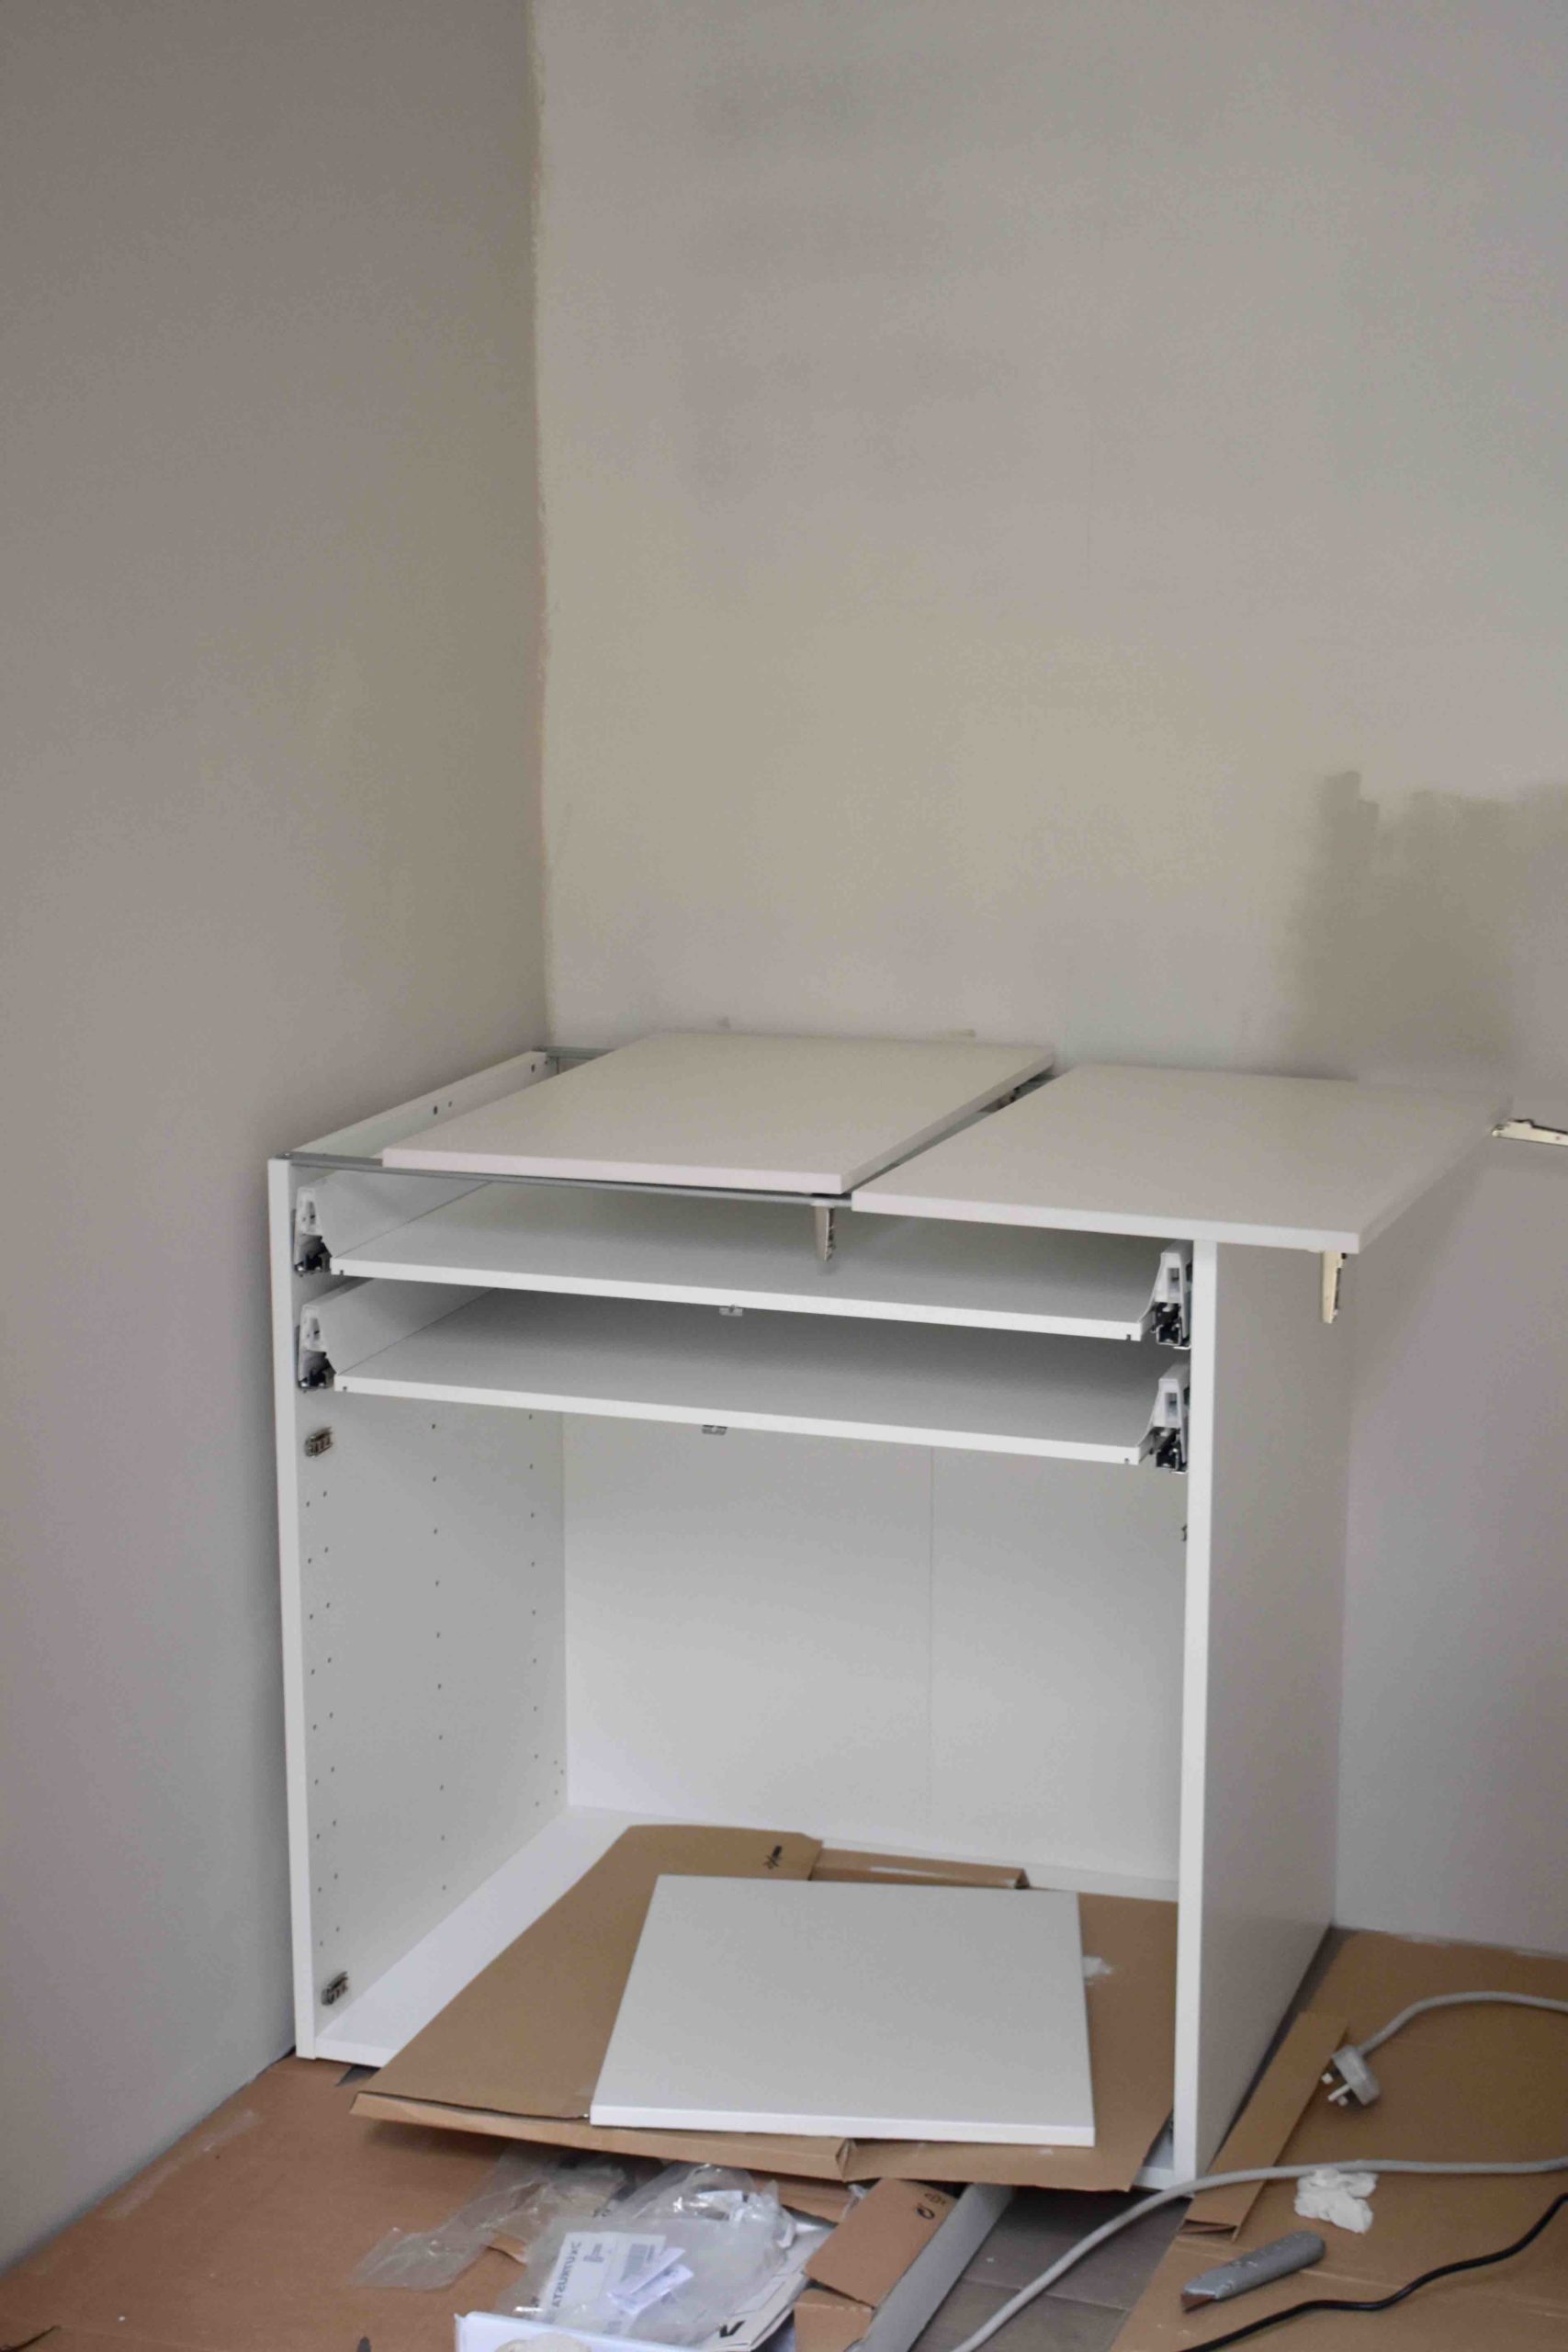
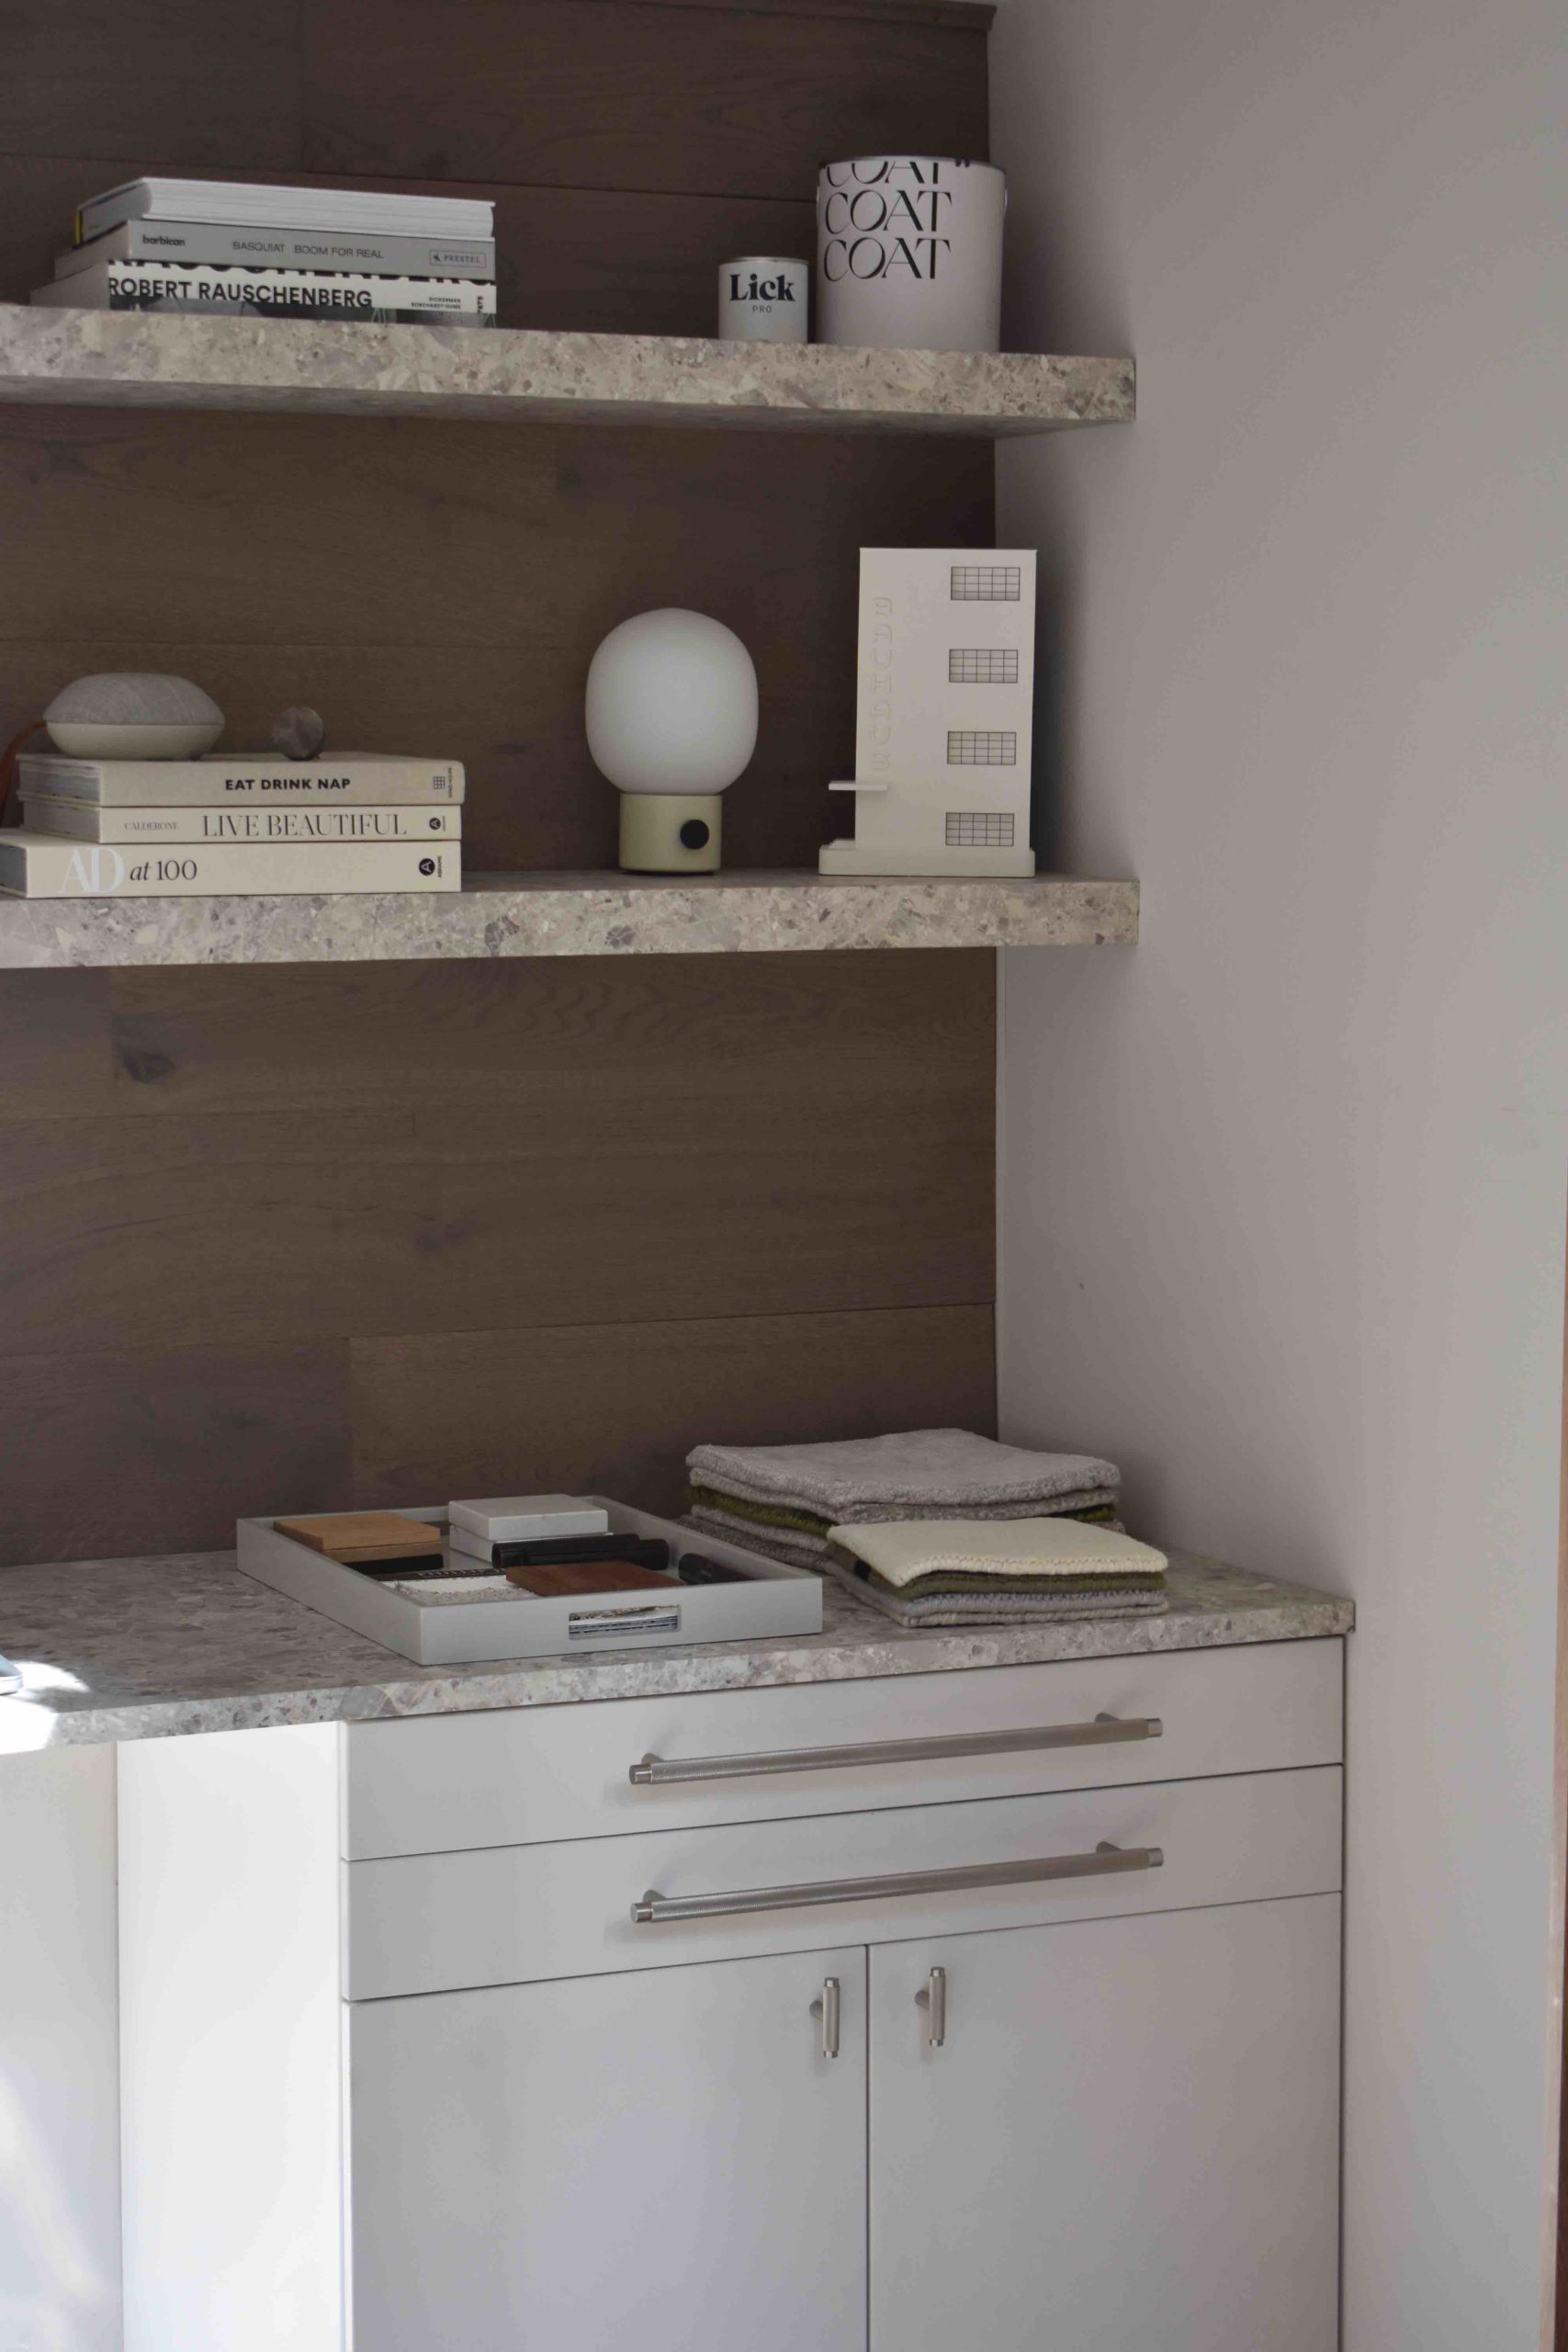
IKEA KITCHEN UNIT
I used 2x Ikea method kitchen cabinet units of 80cm wide to maximise the storage capacity. I selected two slim drawers with two doors, which is the perfect combo for all the office supplies.
These two units create the desk support for the MDF worktop.

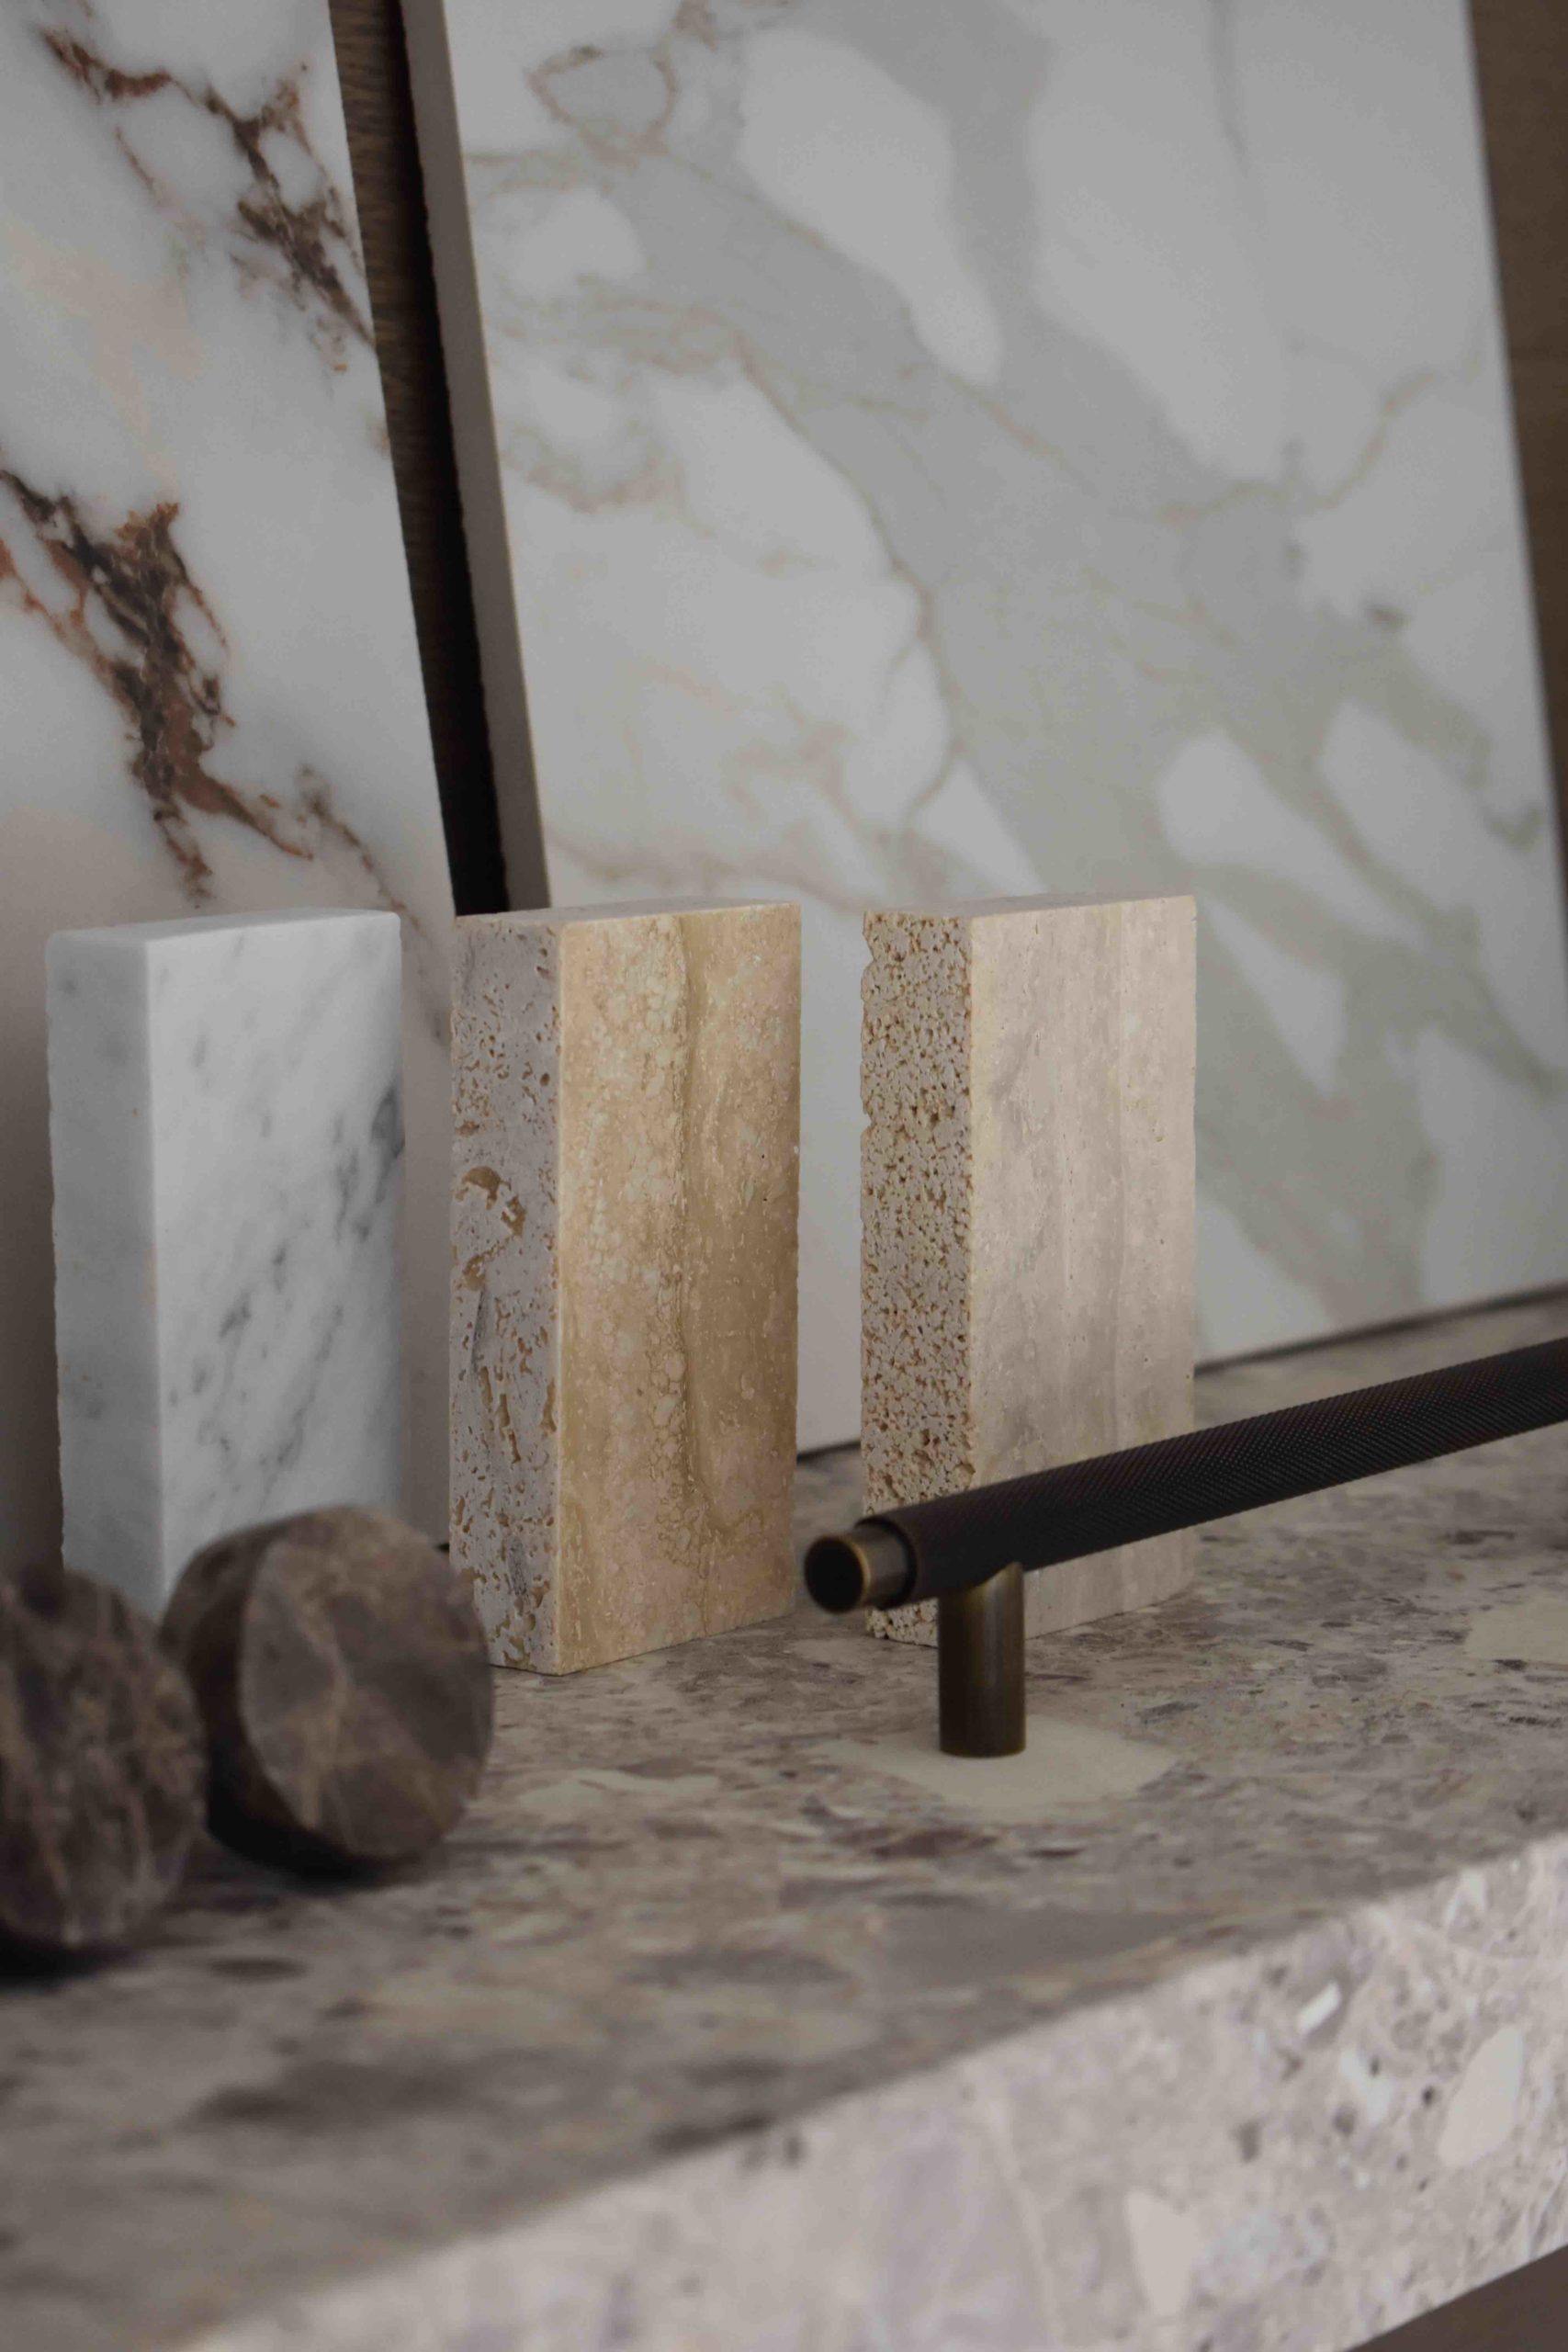
VINYL MARBLE EFFECT
I wanted to add some touch of marble into the space but didn’t want to spend a fortune on a 3m worktop so I decided to use vinyl from Covertsyl.
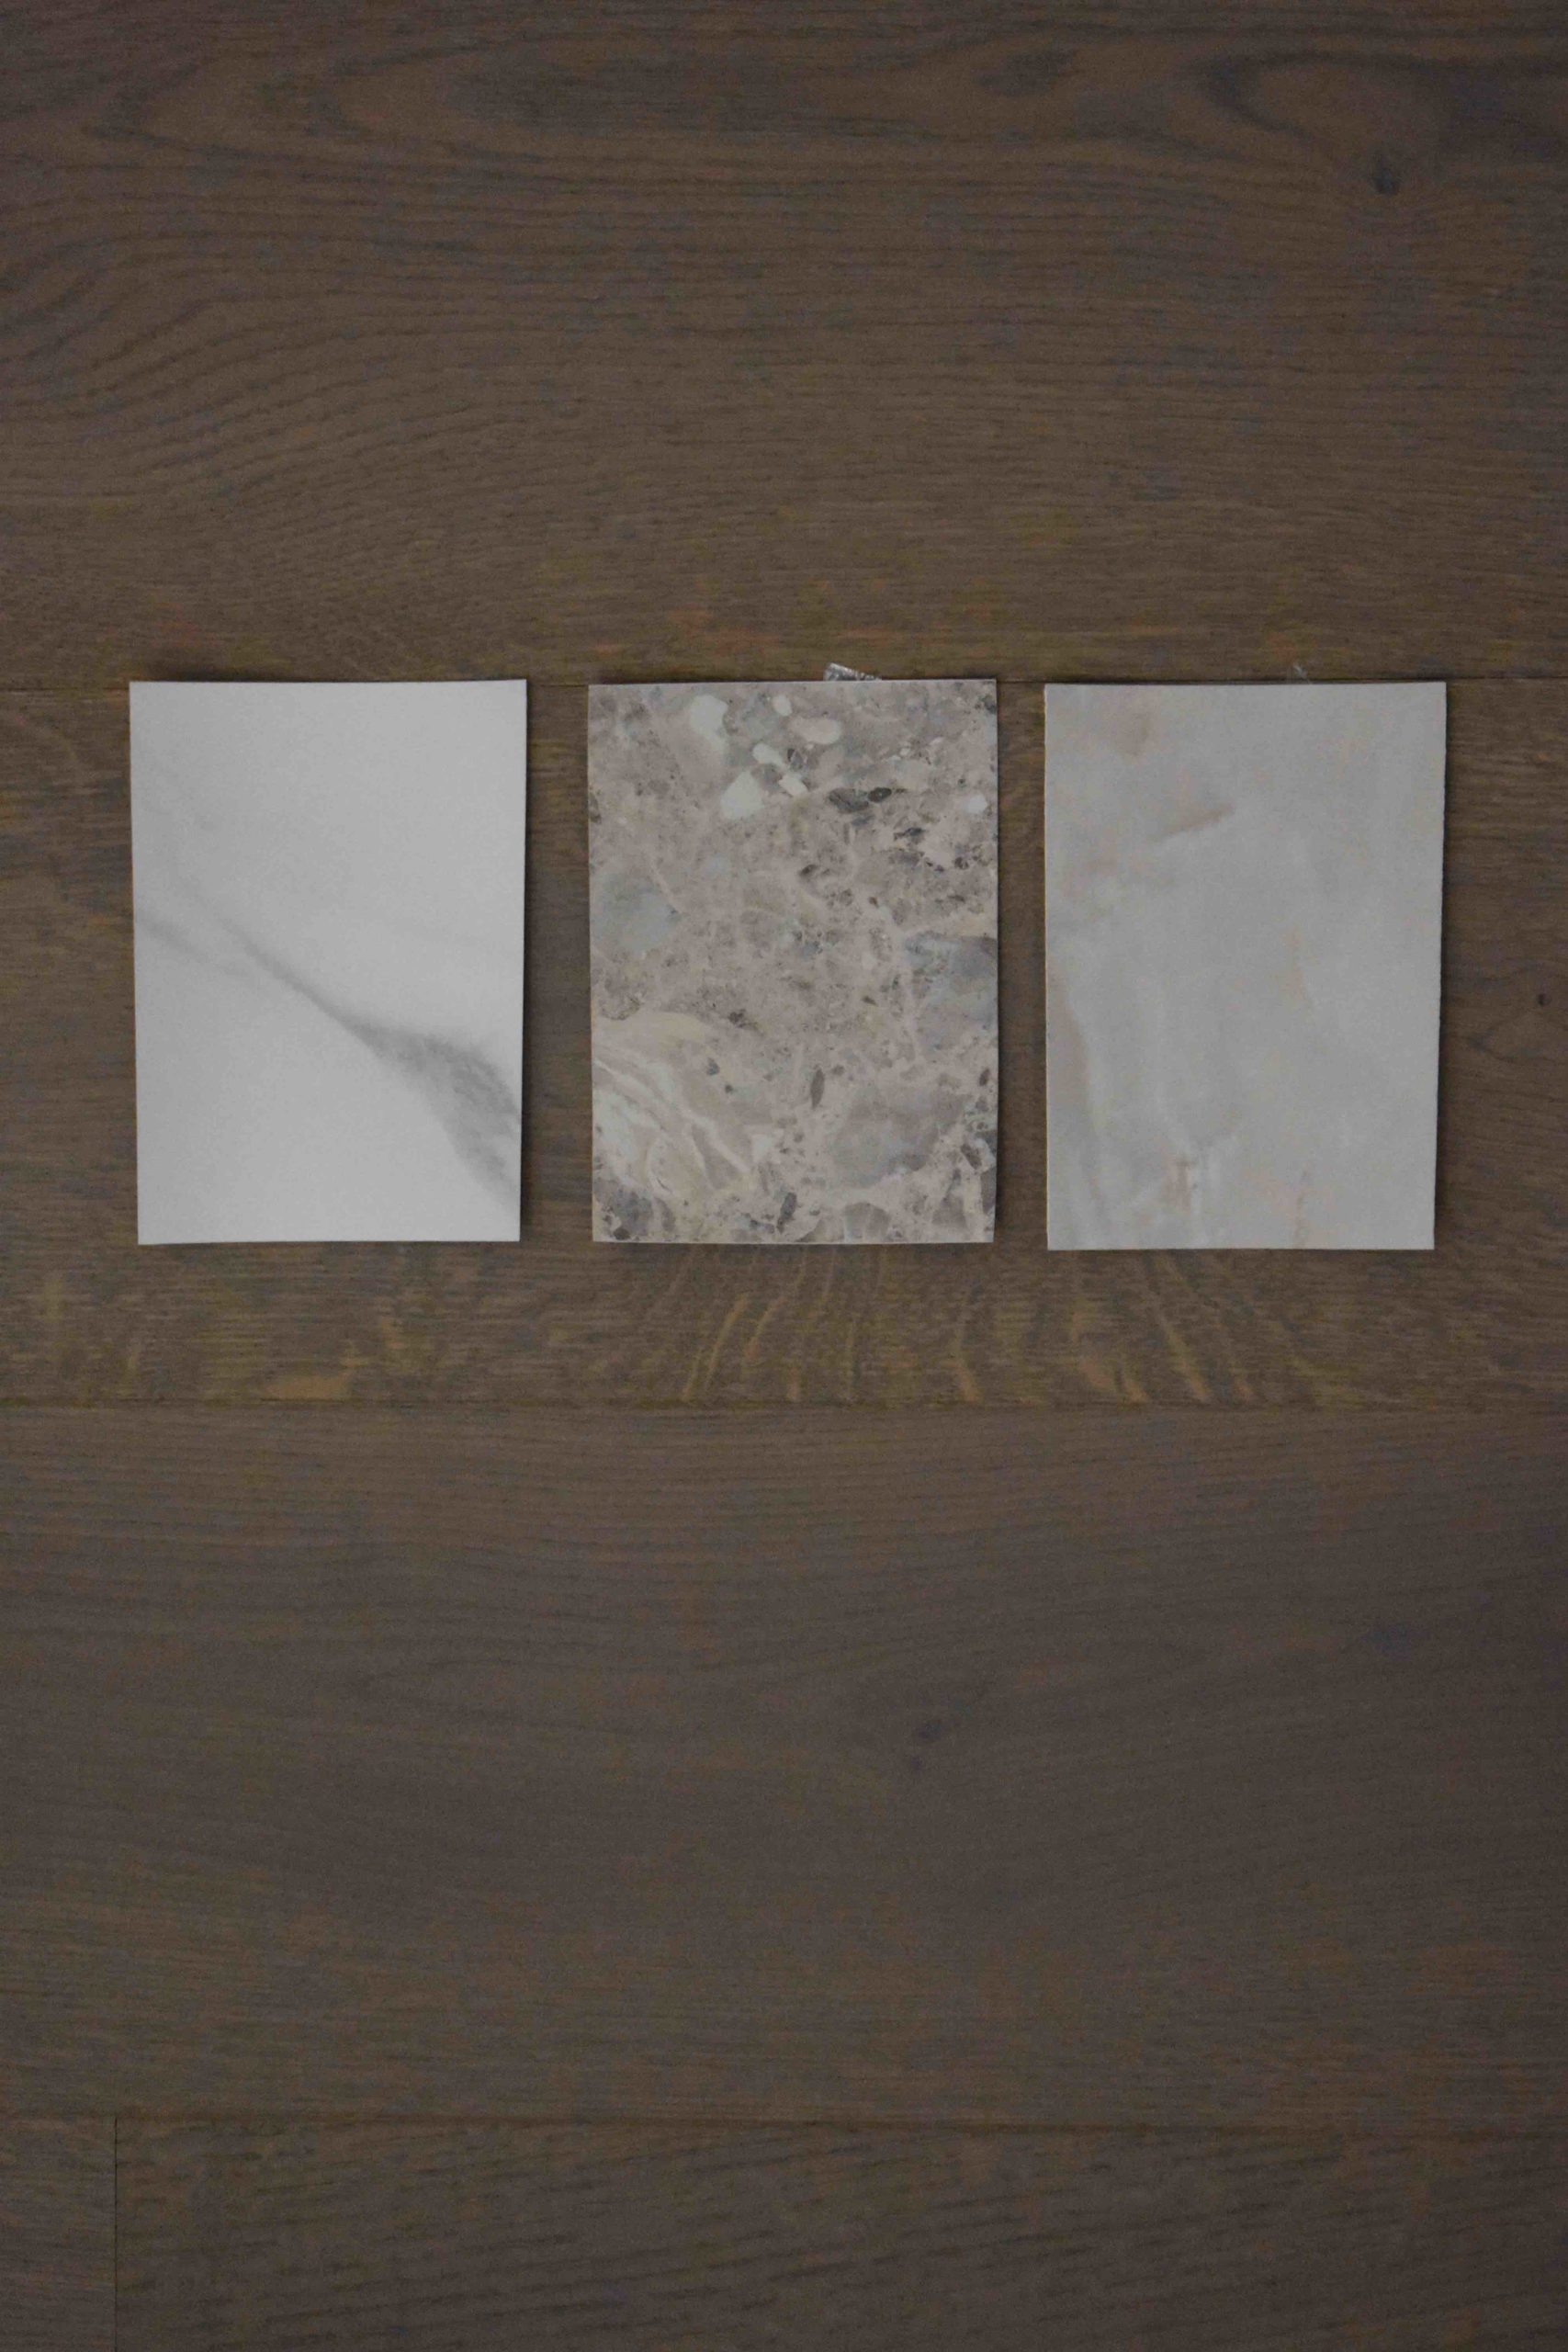
I ordered a lot of samples from different companies and these were the best-looking one with a matt finish and extra-thick paper.
The Natural Marble NG01 was the best print for this project. It is a busy marble effect that works great for smaller surfaces.
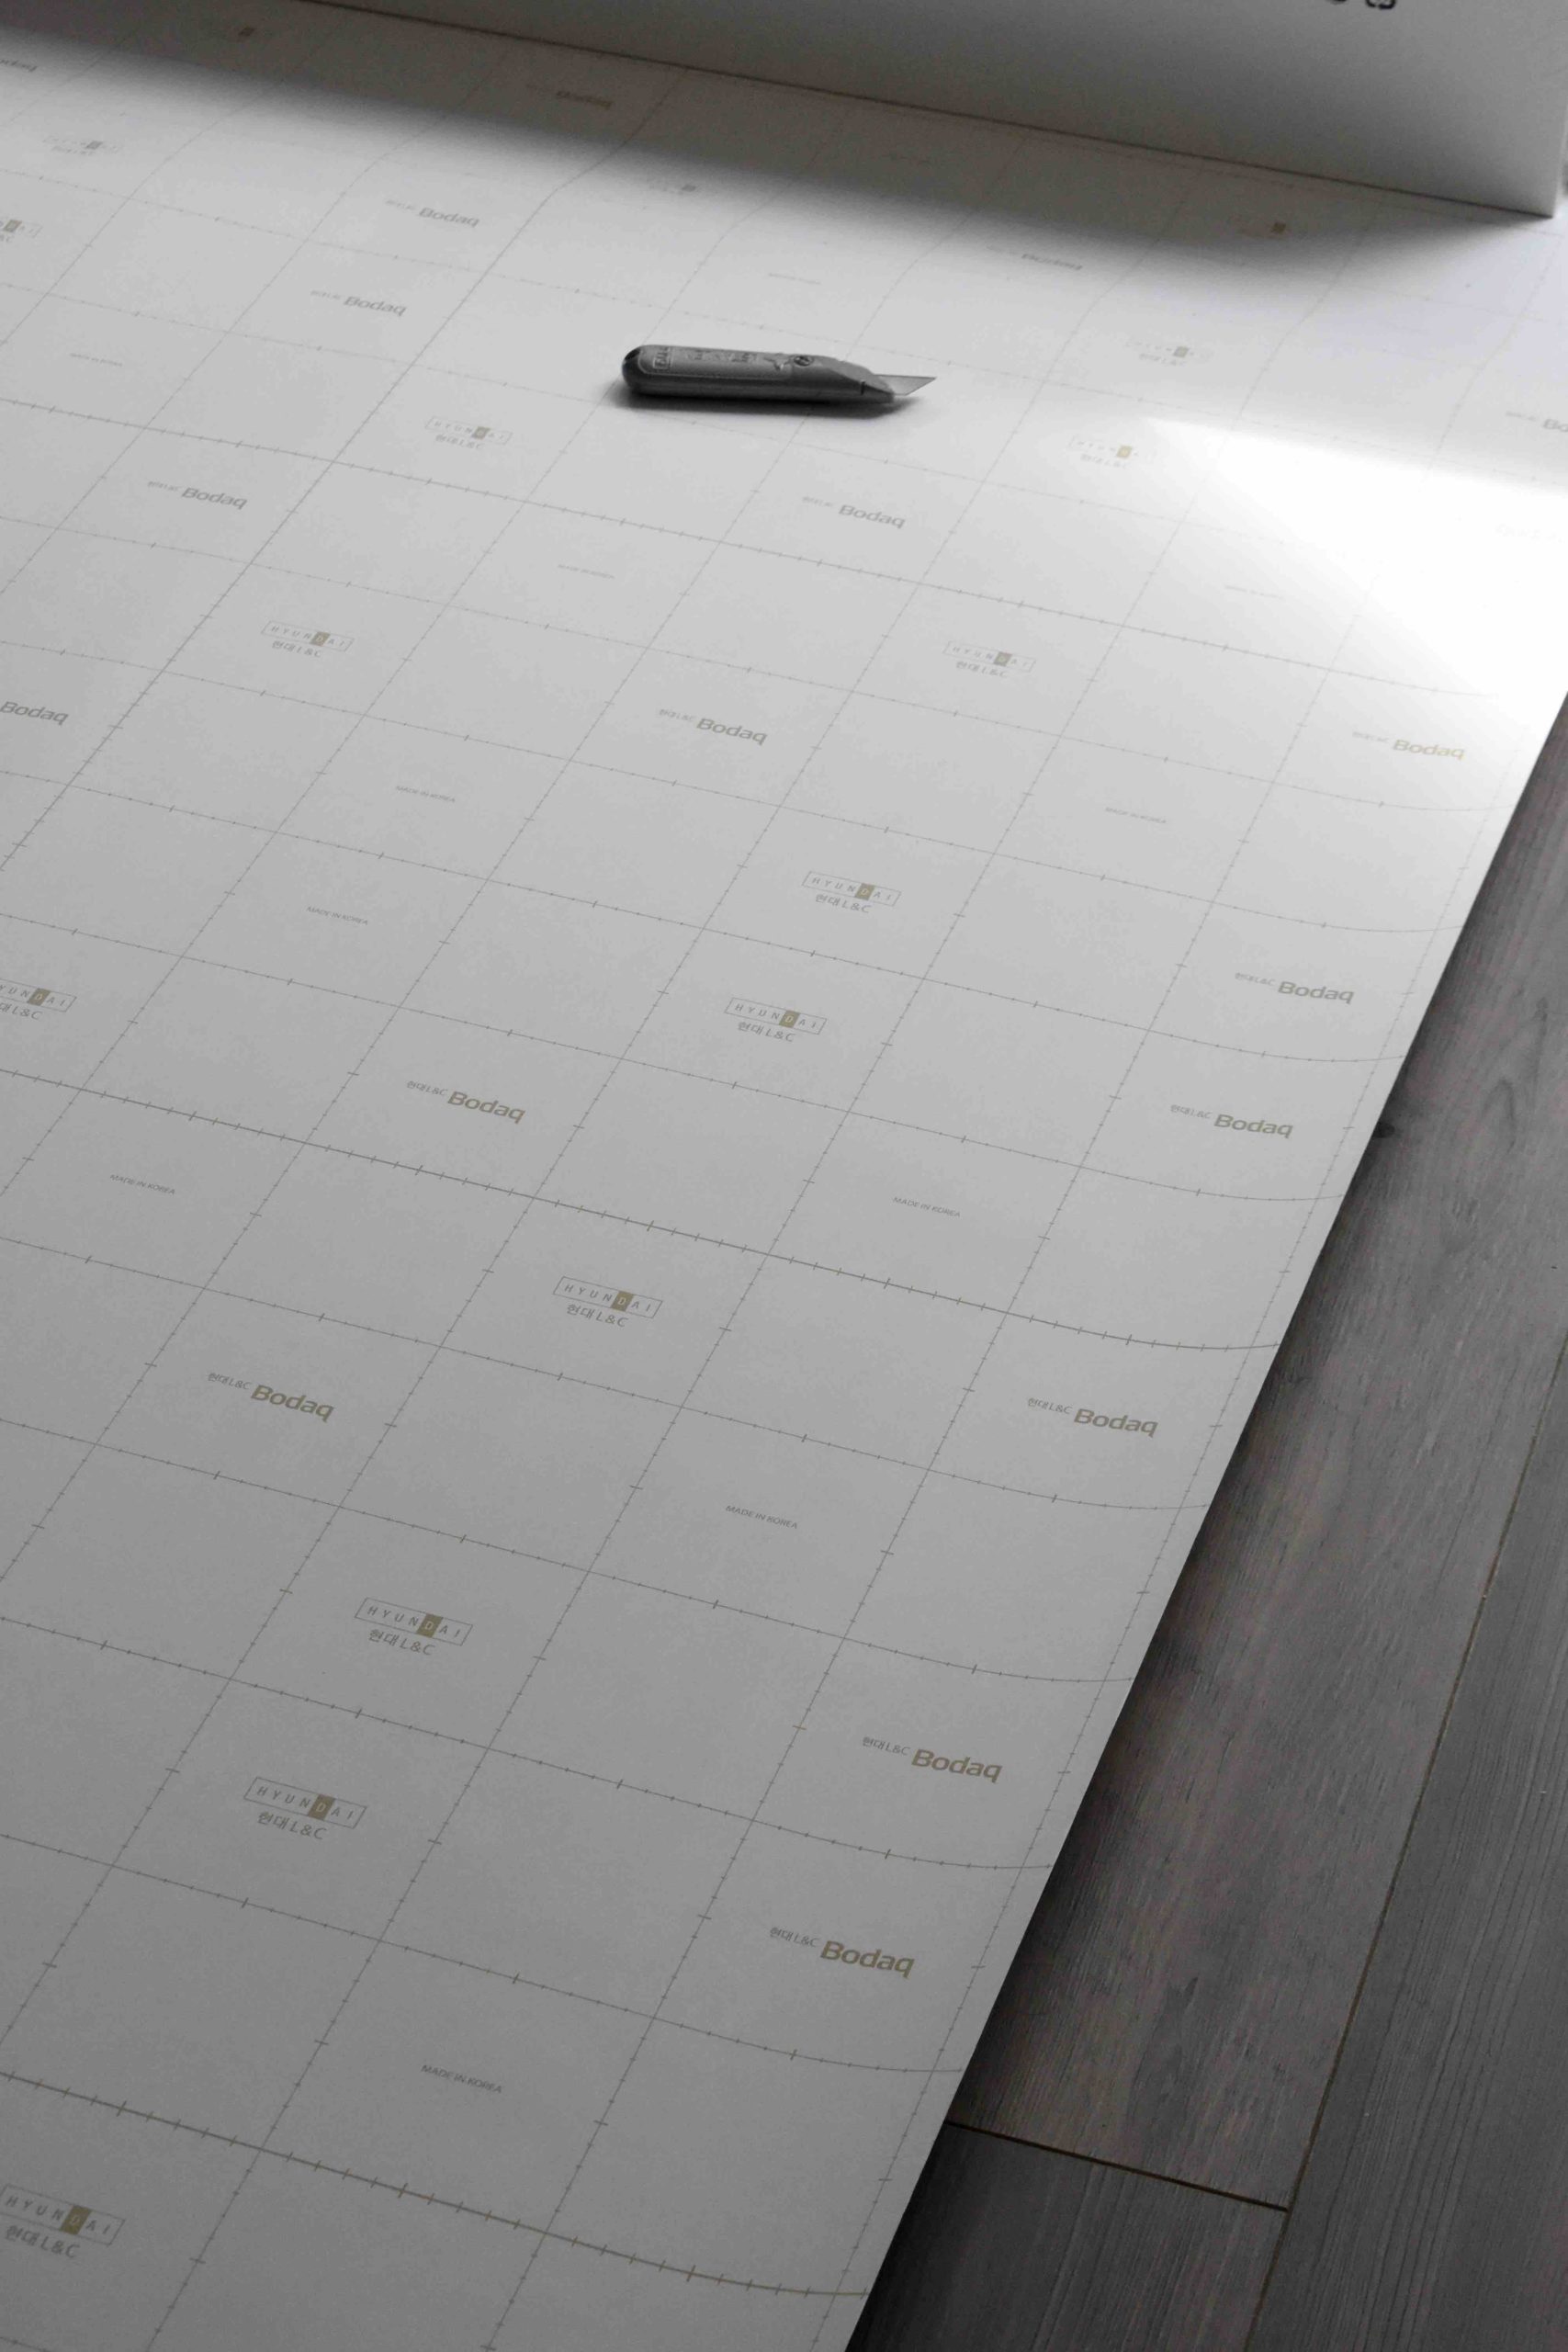
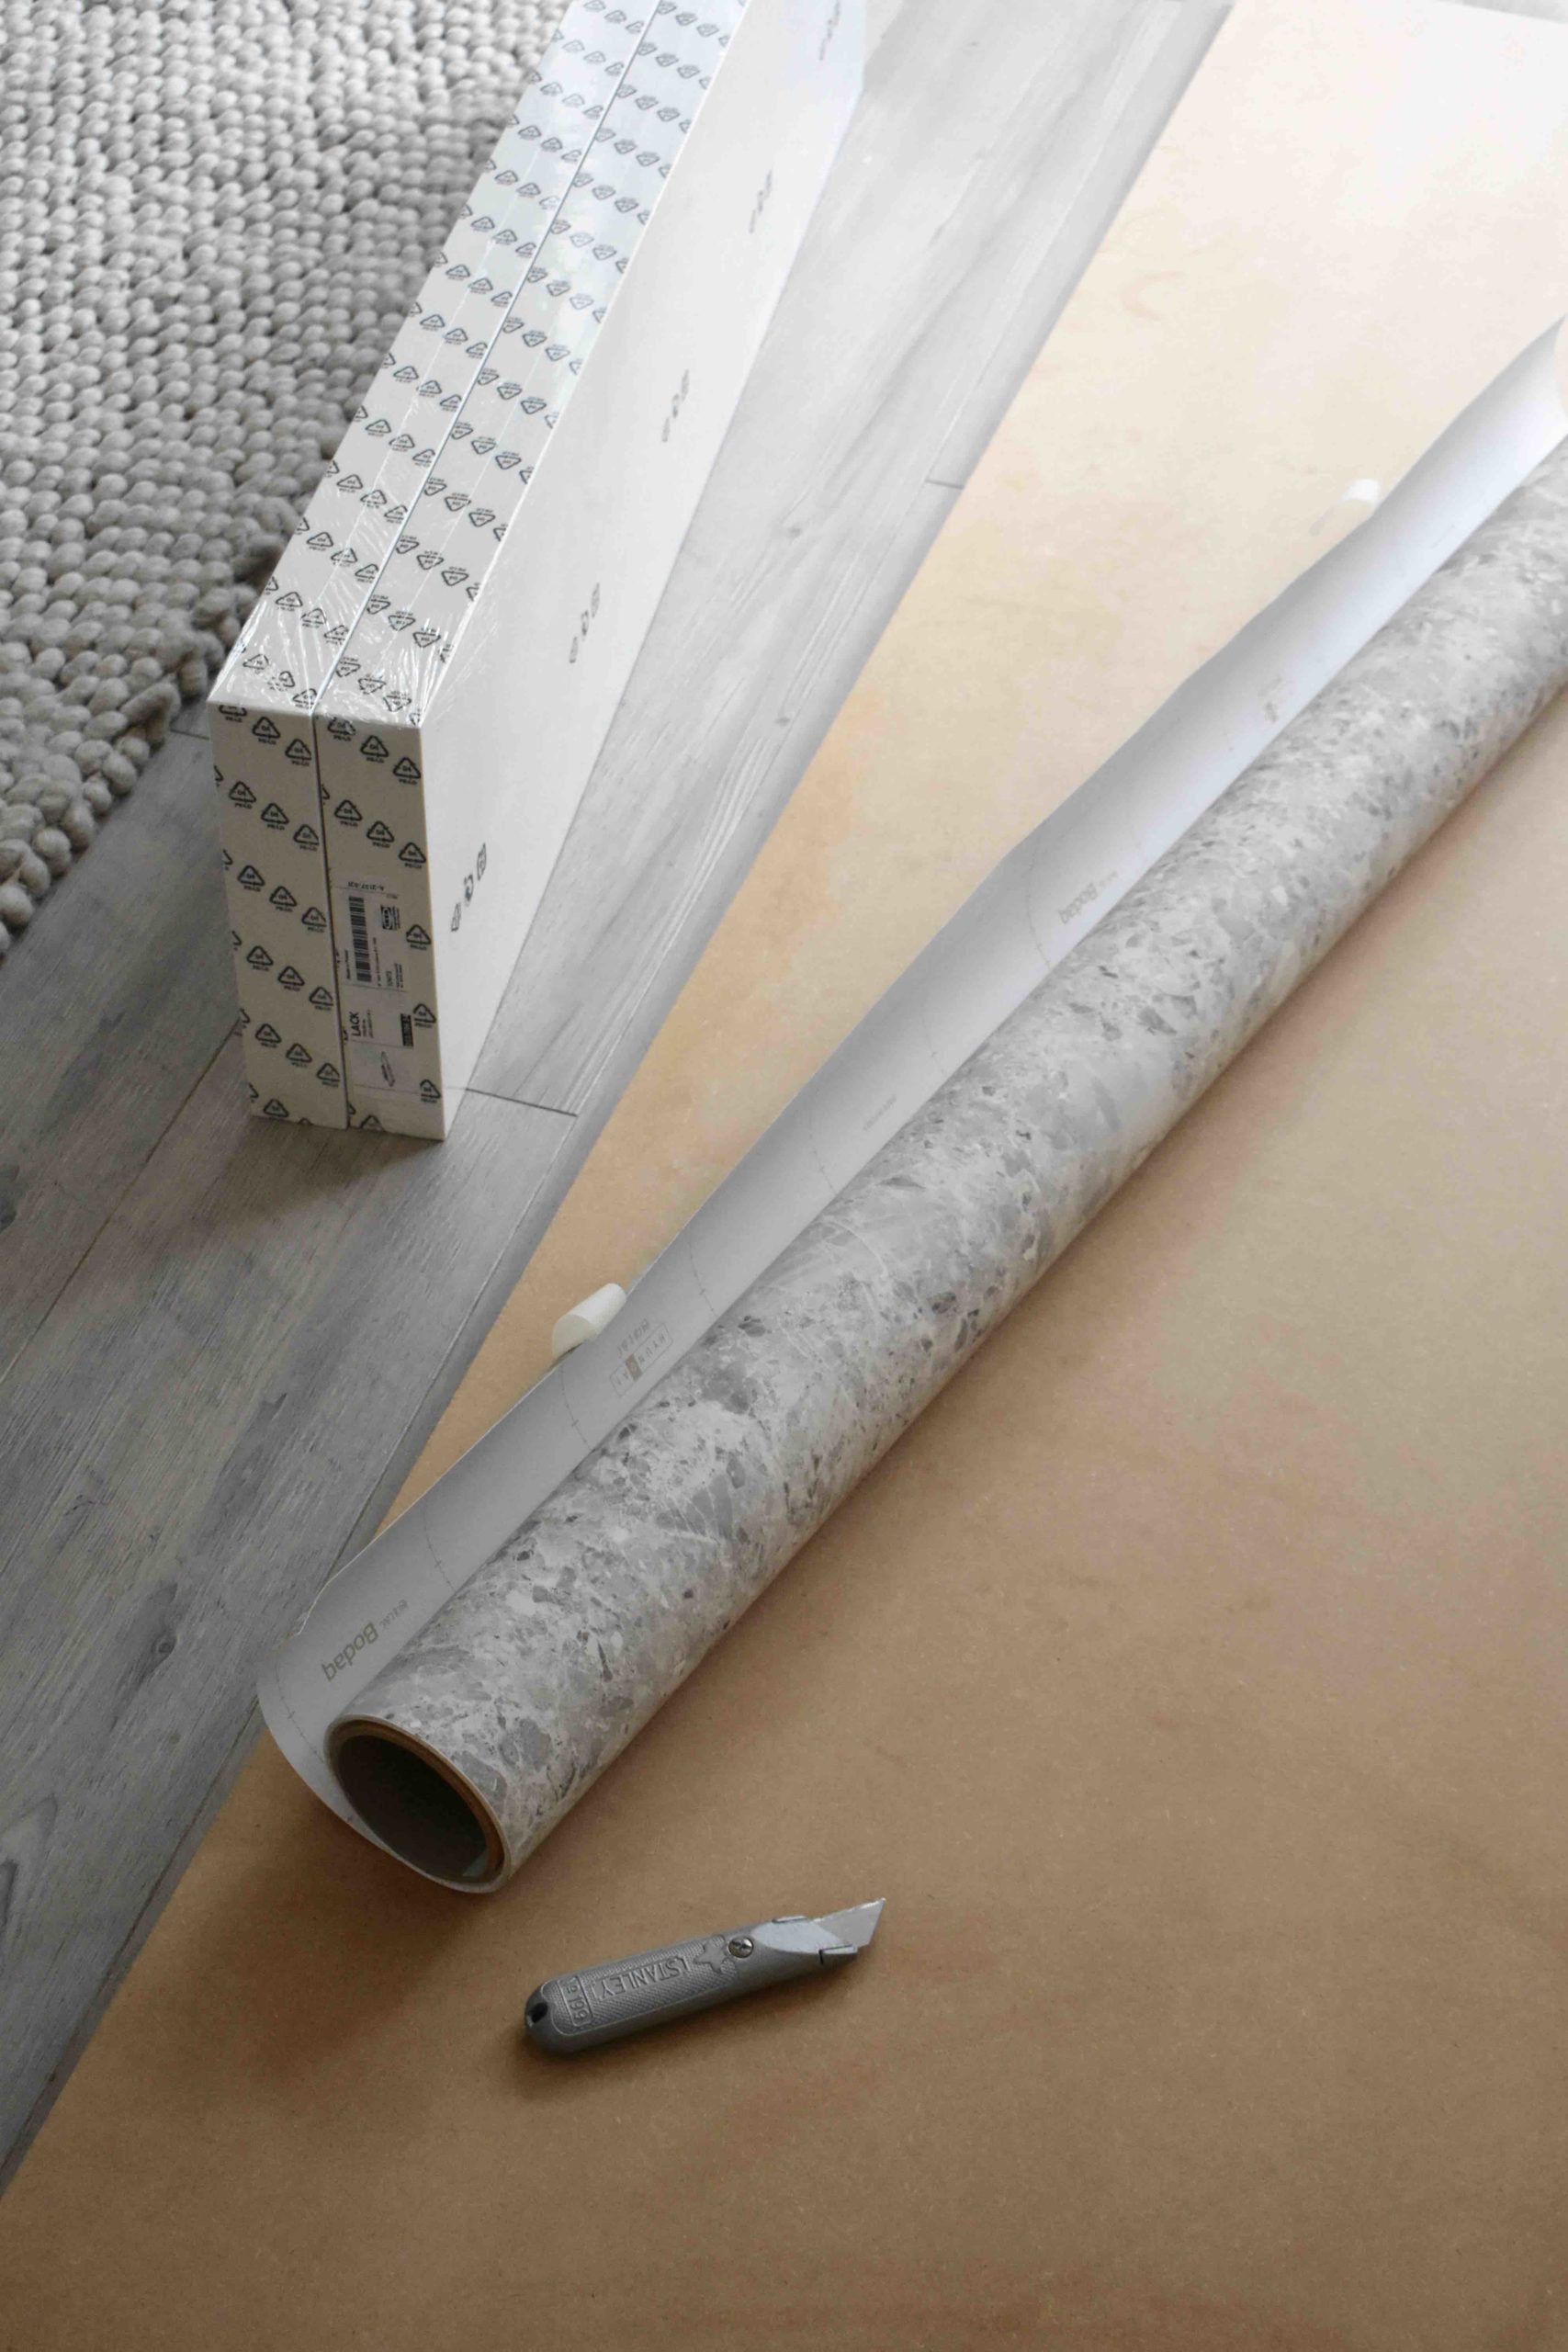
I started the worktop first which was the easiest piece to cover. I was surprised how easy it was to apply. the corners are definitely a bit tricky. I wouldn’t recommend using a hairdryer as I saw online as it tends to soften the vinyl too much and make t easier to keep it perfectly smooth and bubble-free.
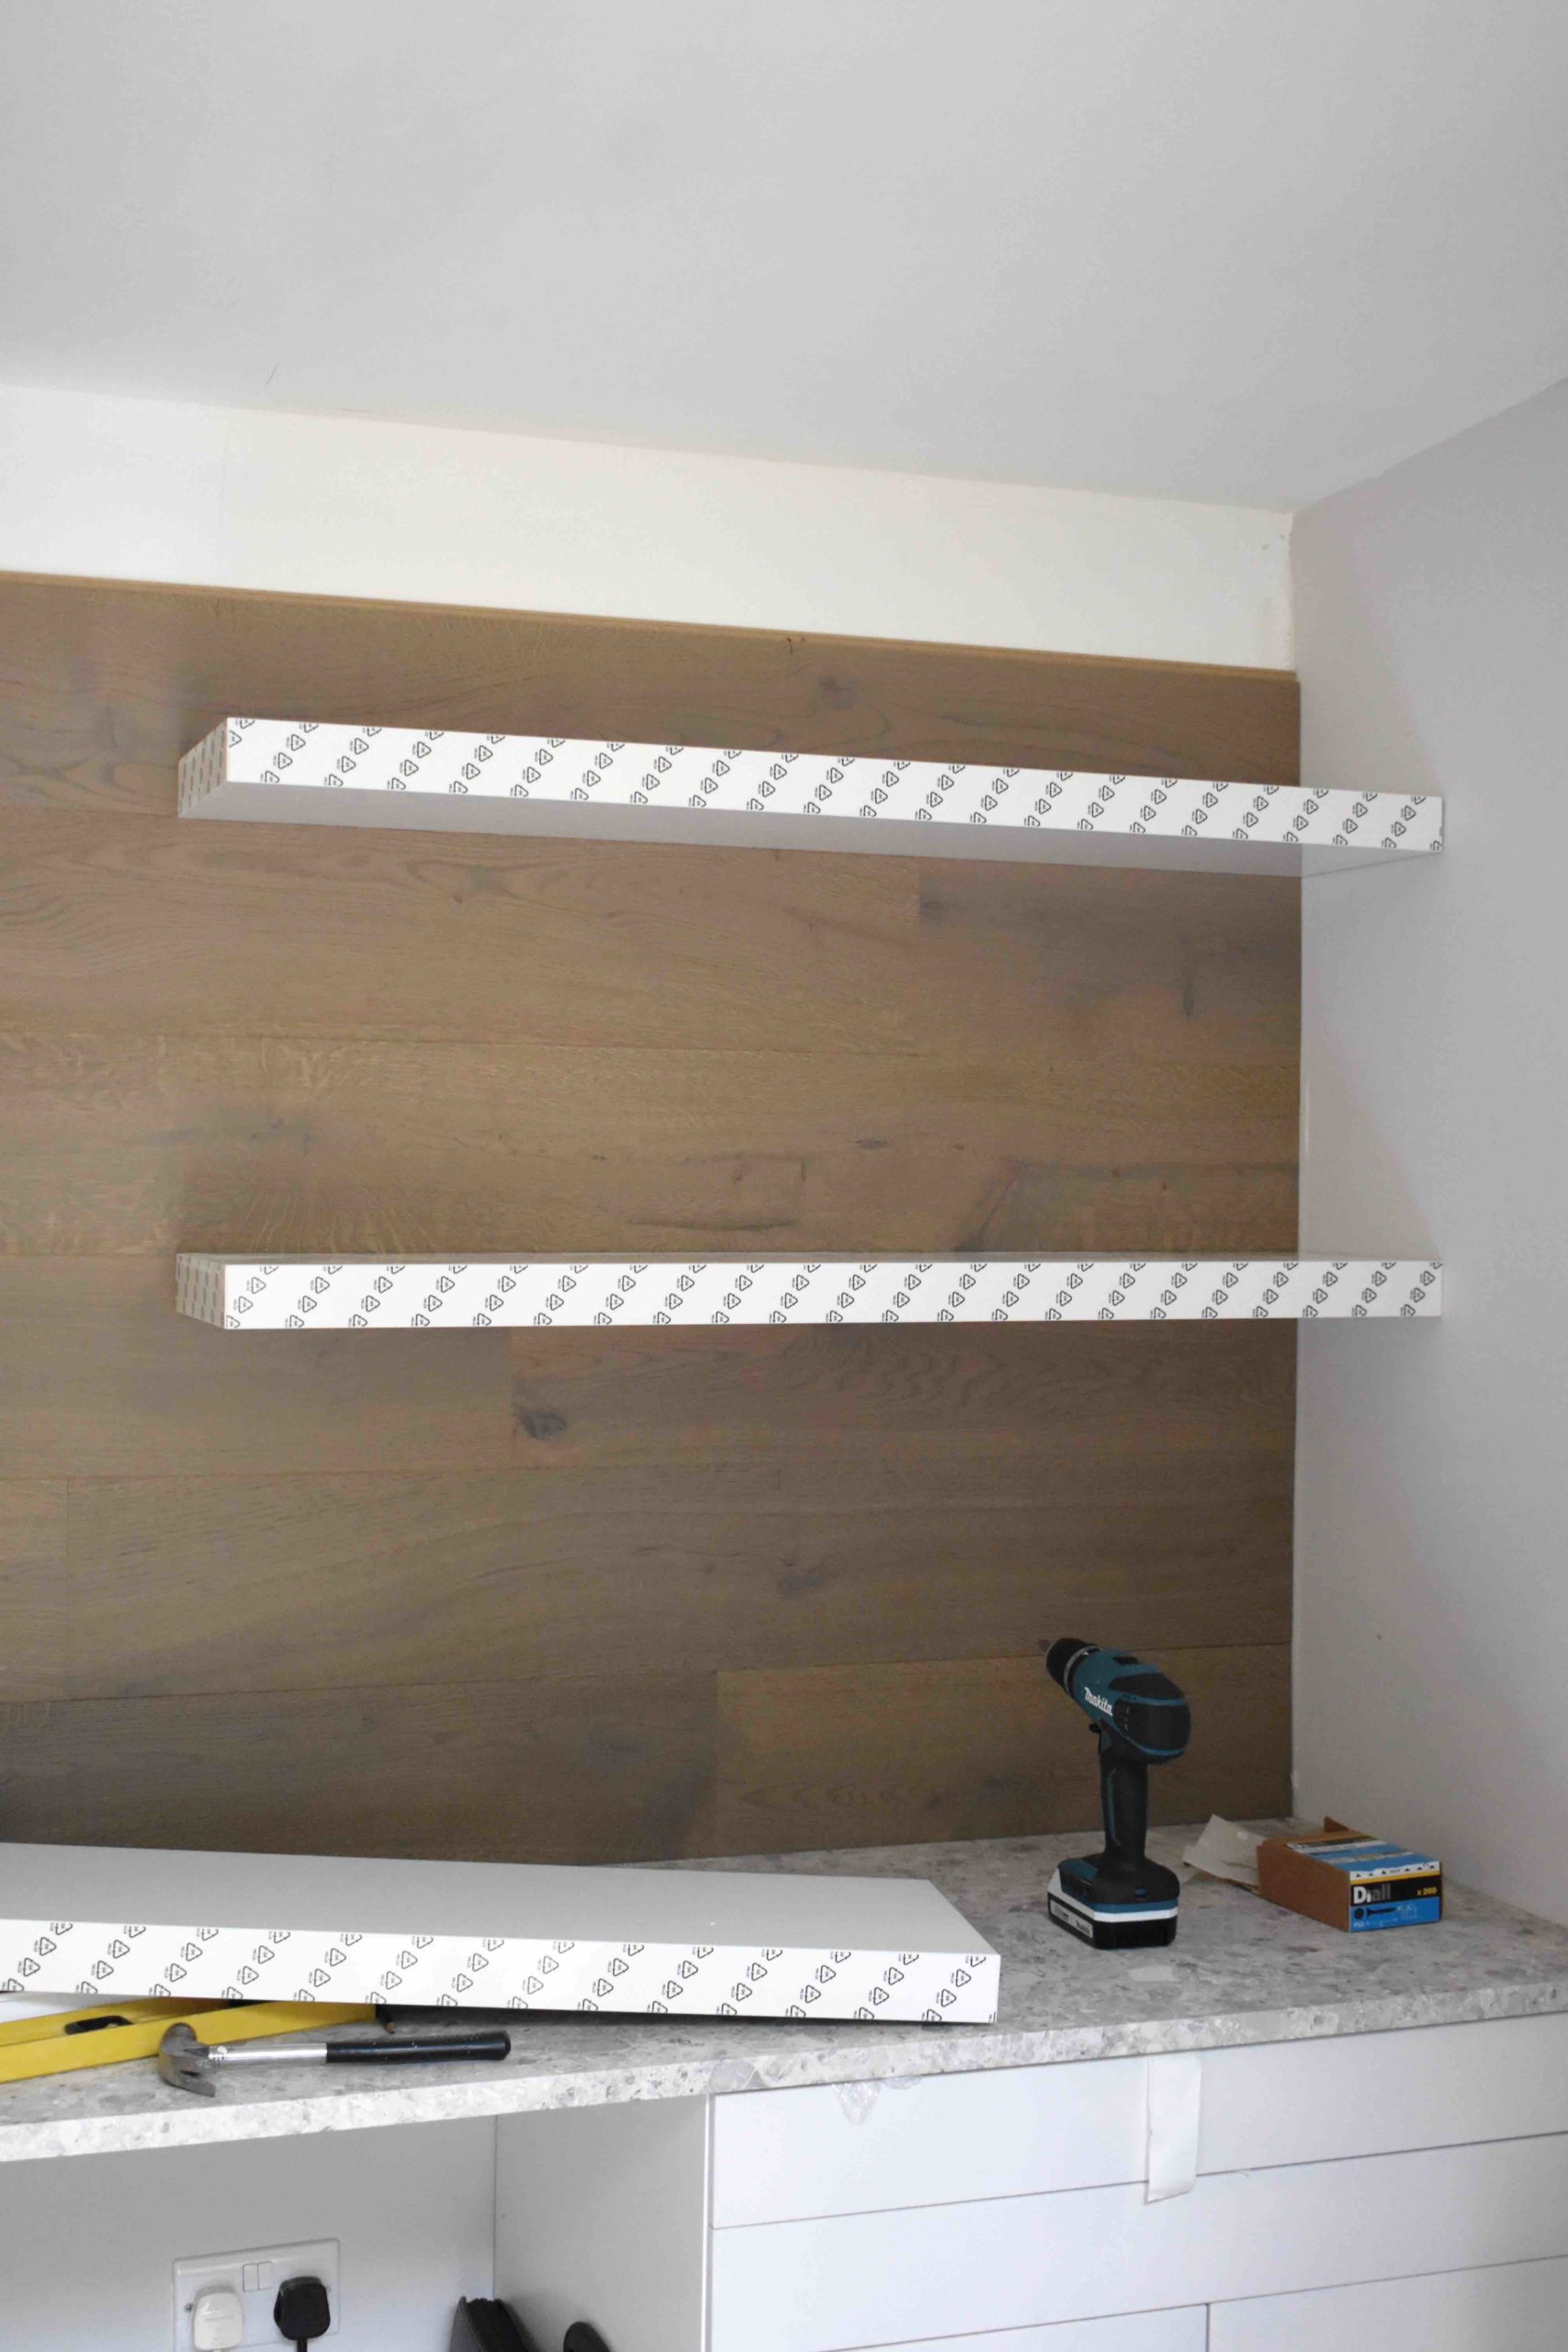
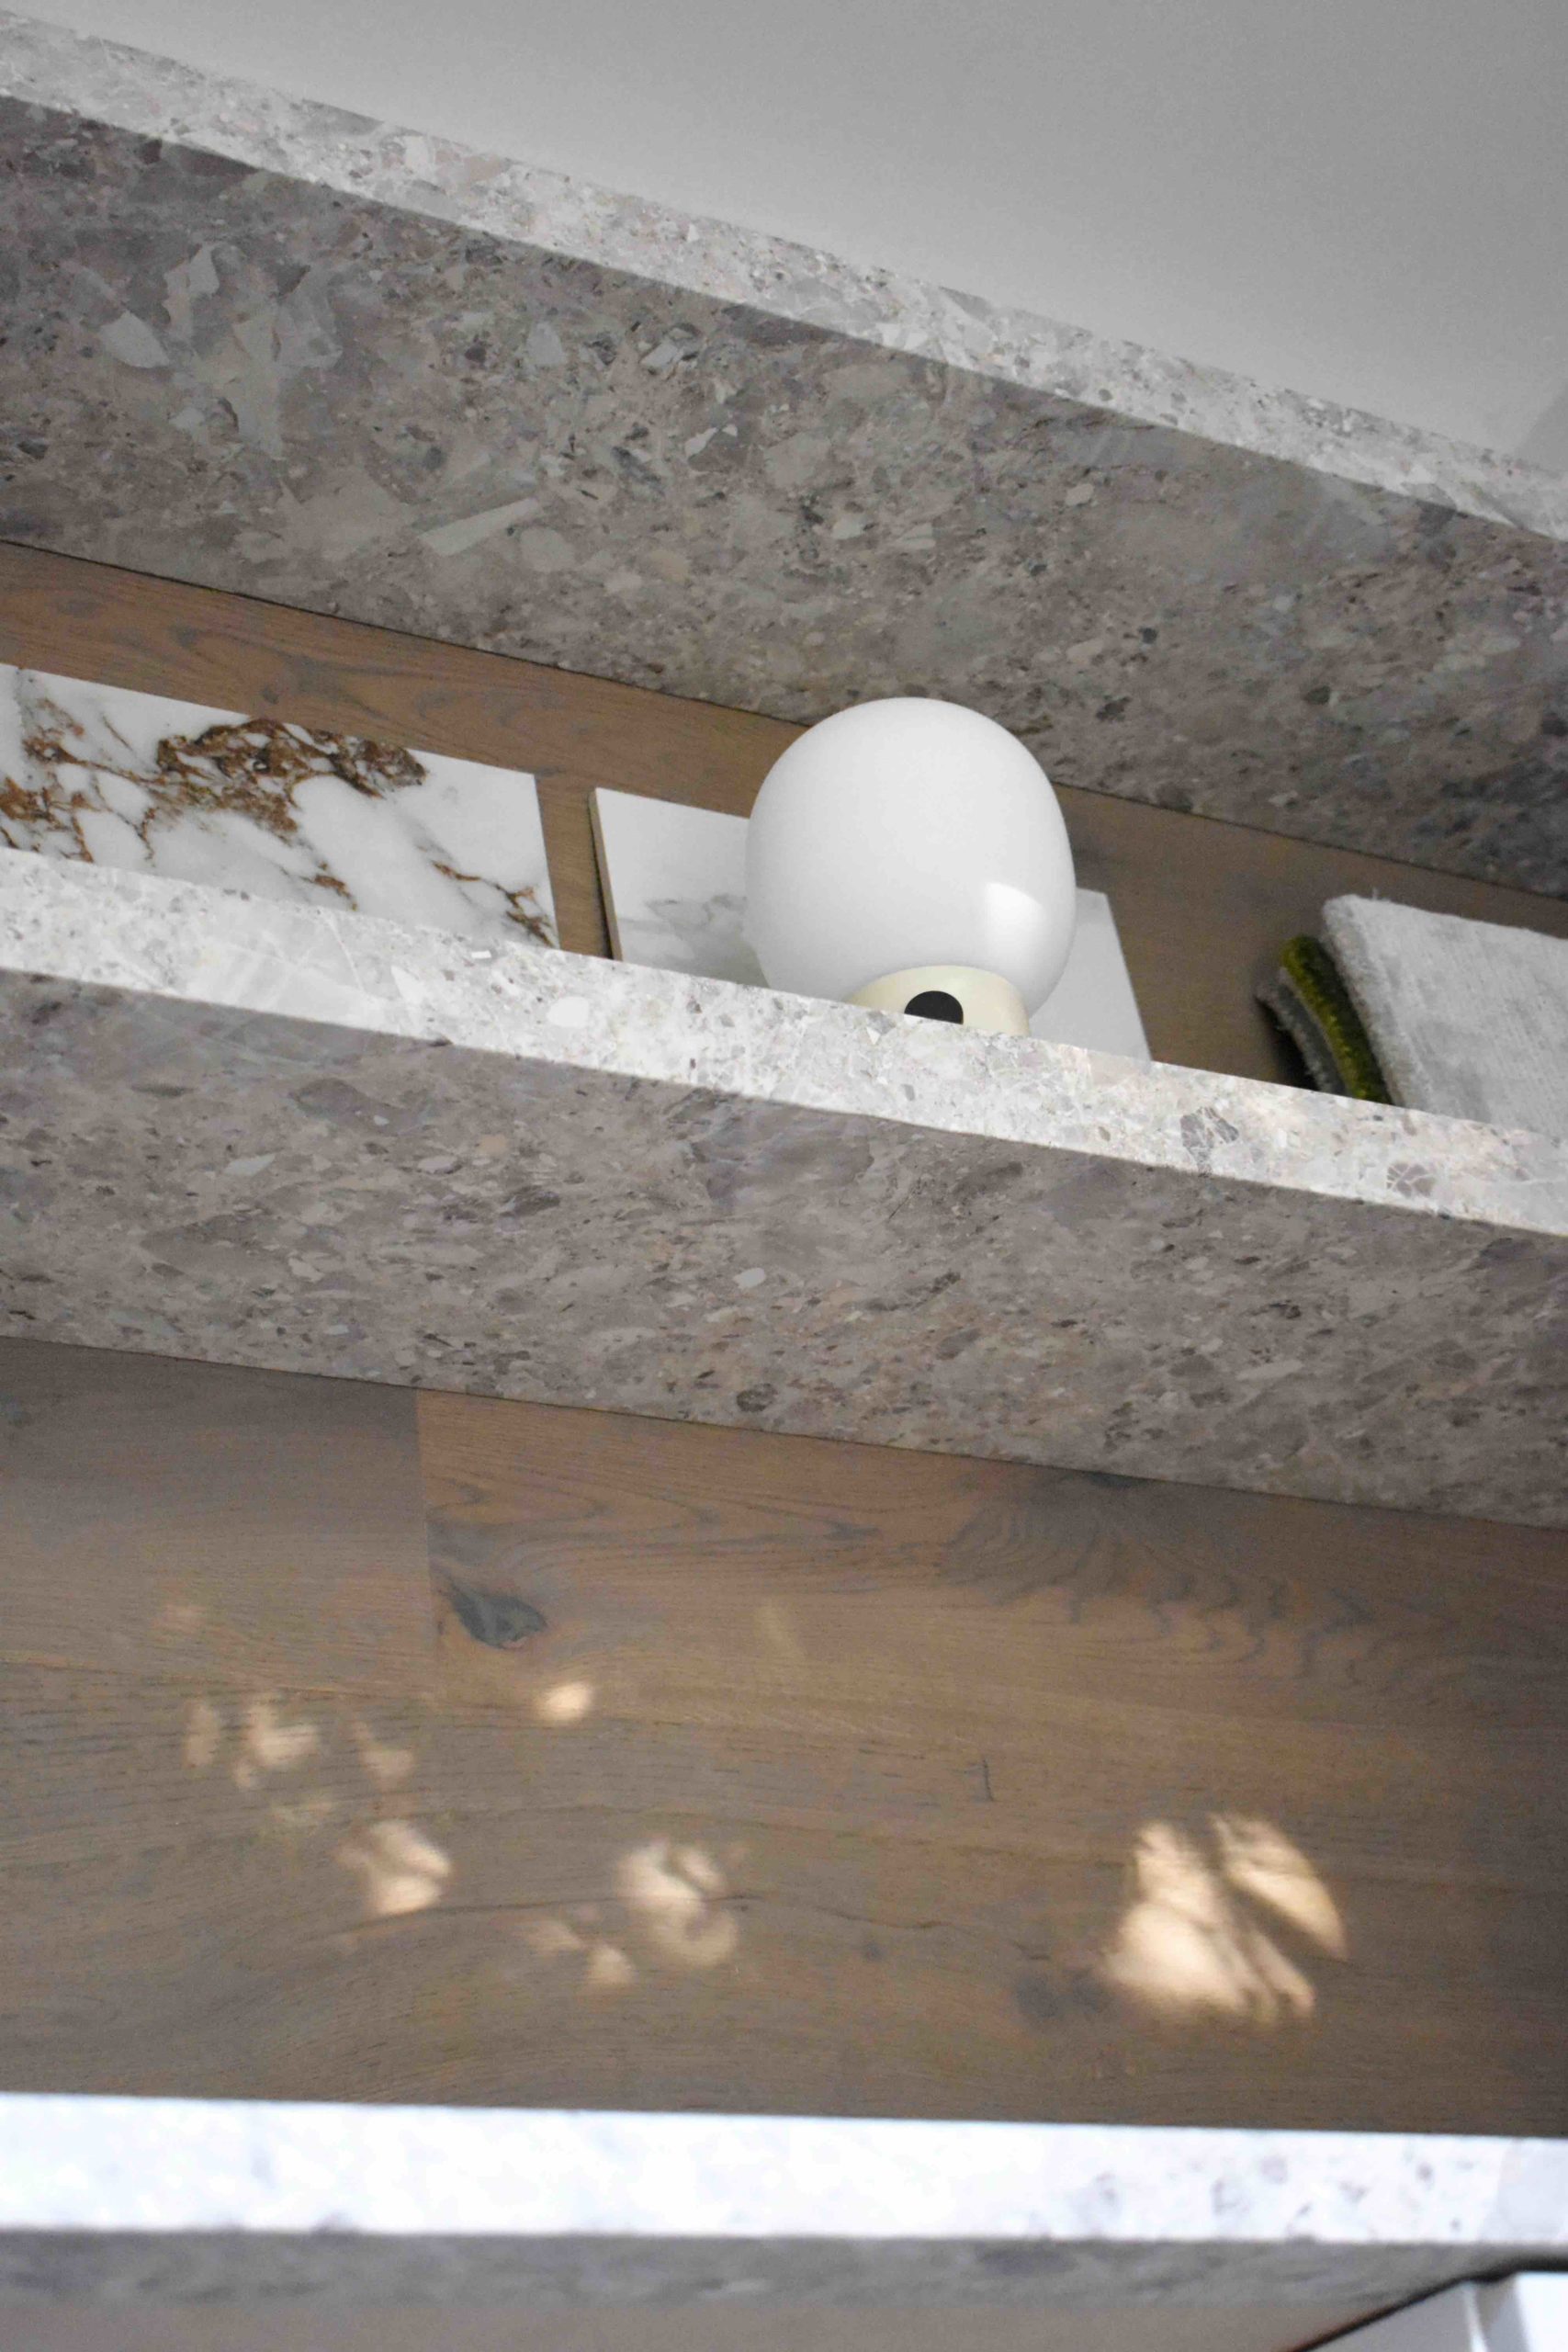
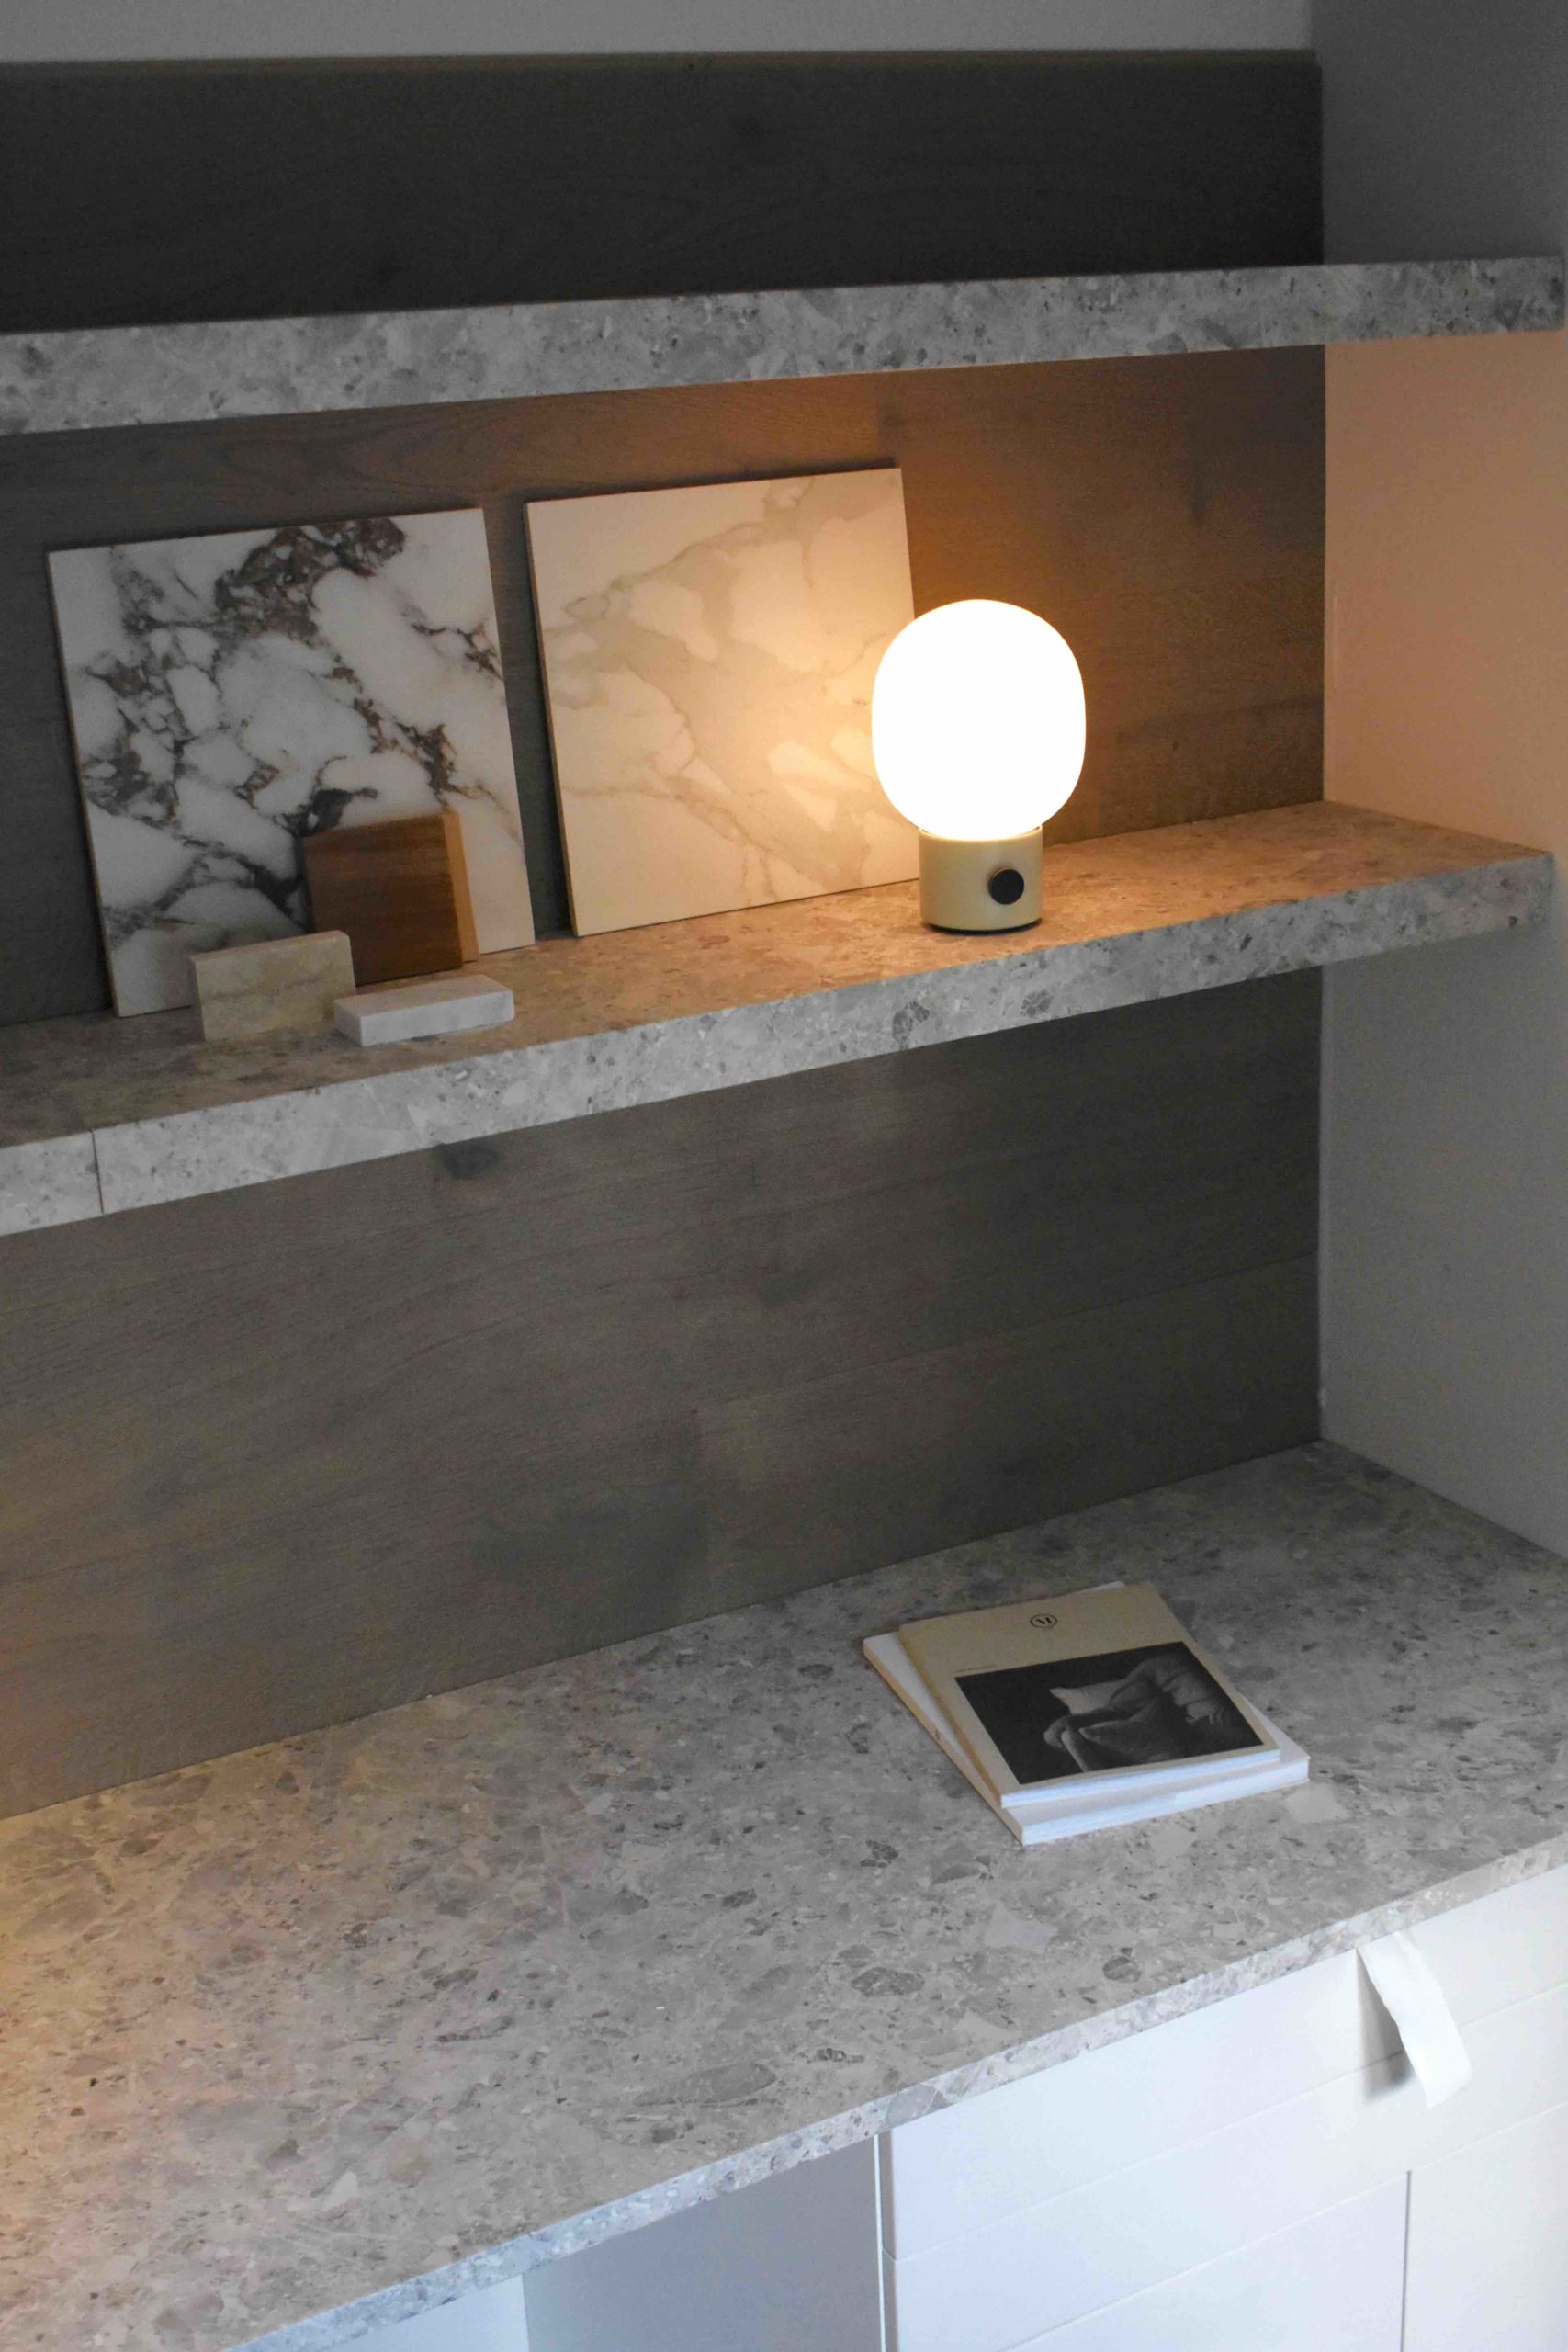
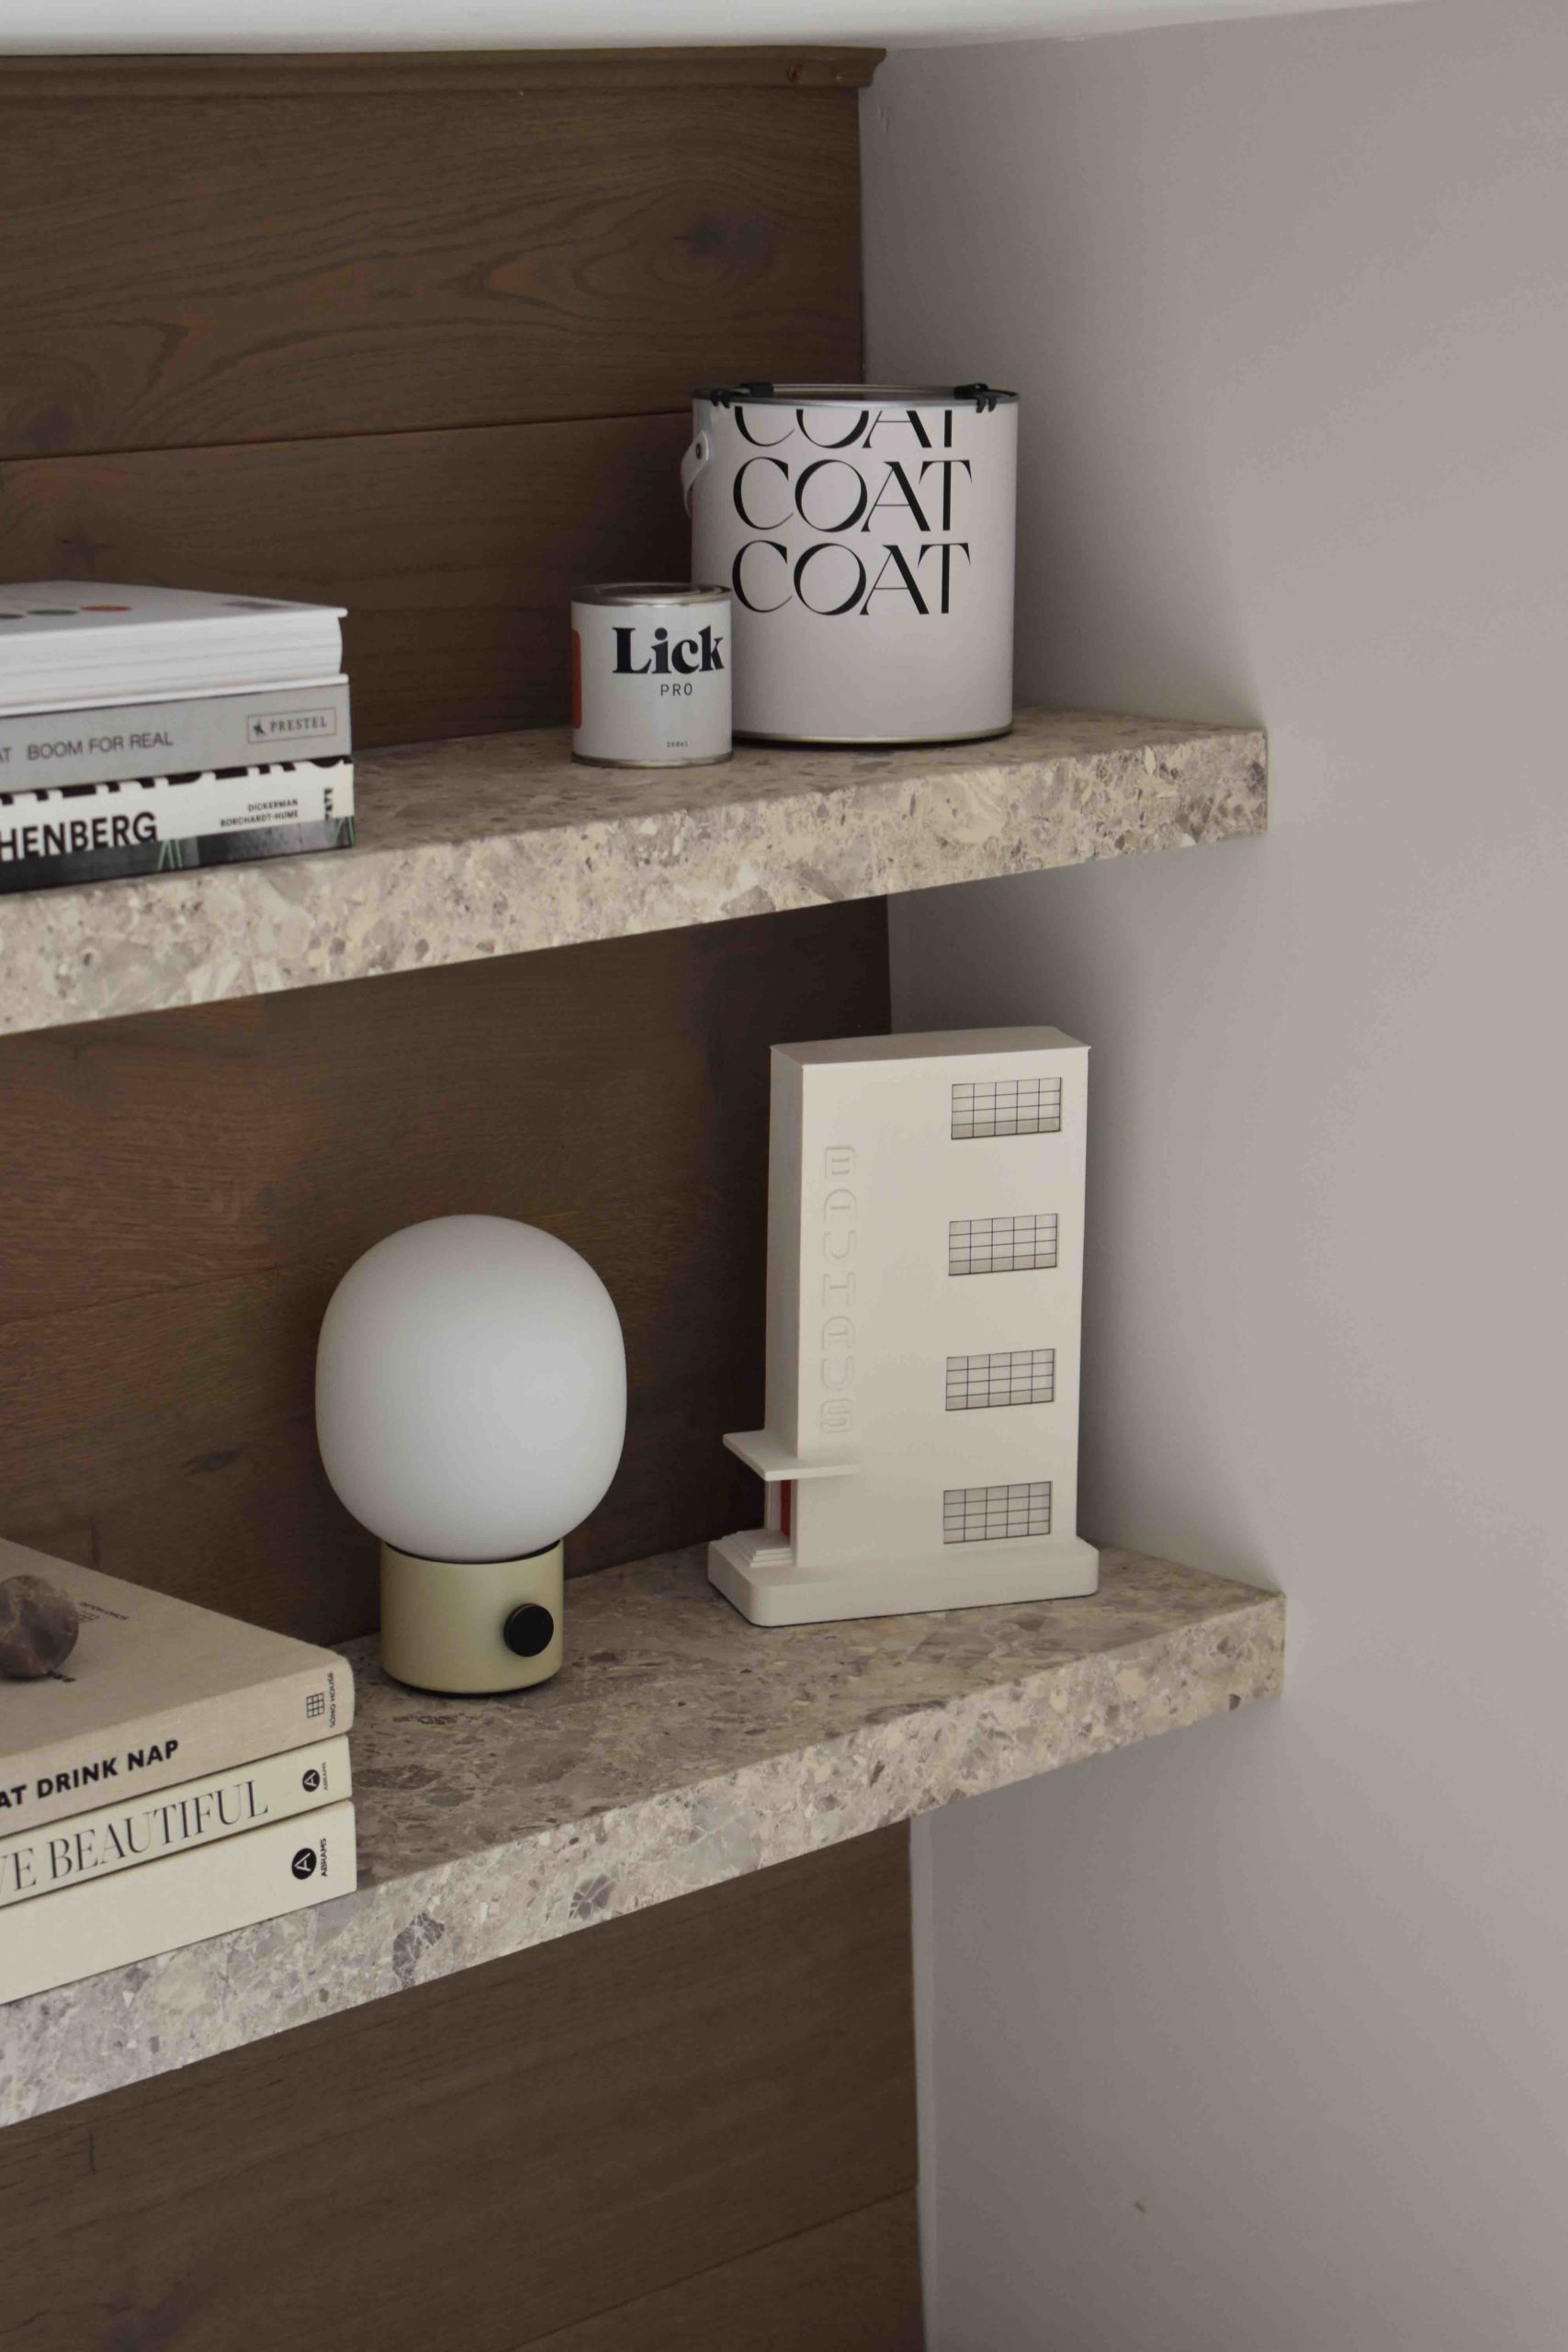
FLOATING SHELVES
I decided to have floating open shelves above the desk to help me display my samples and books.
I used 4 ikea lack shelves of 110cm to create 2 extra-long shelves. I then covered them with matching marble vinyl.
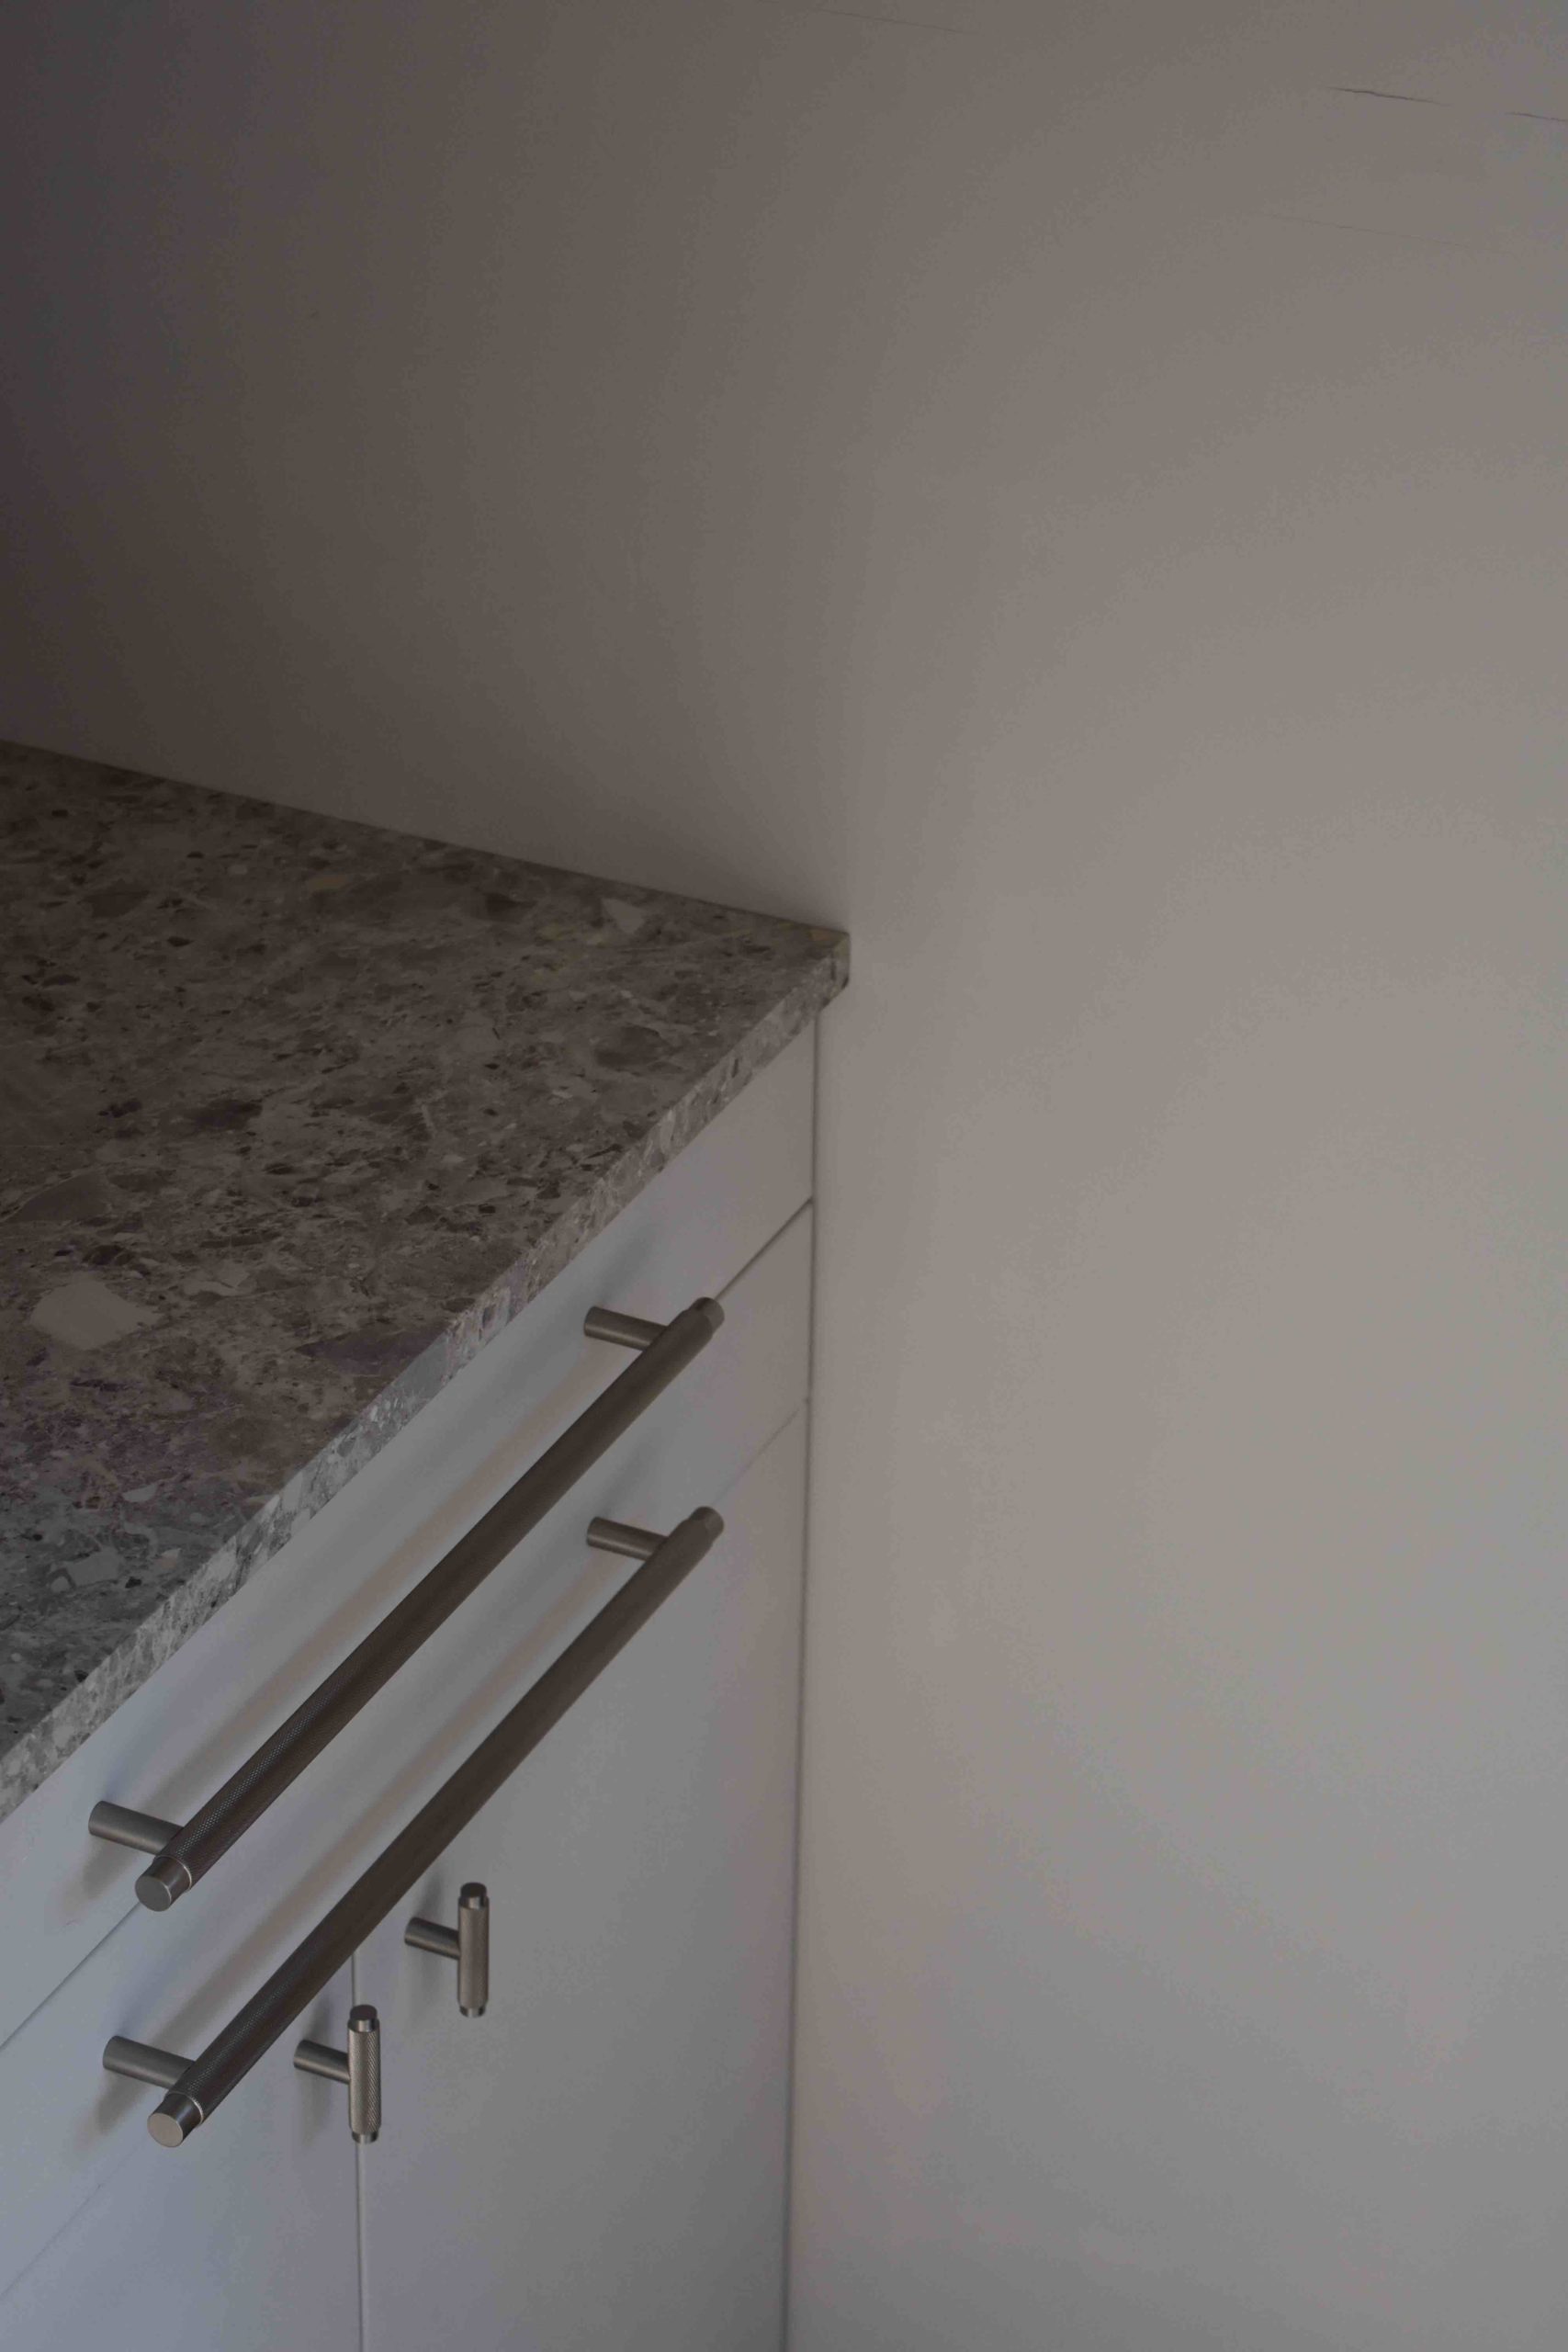
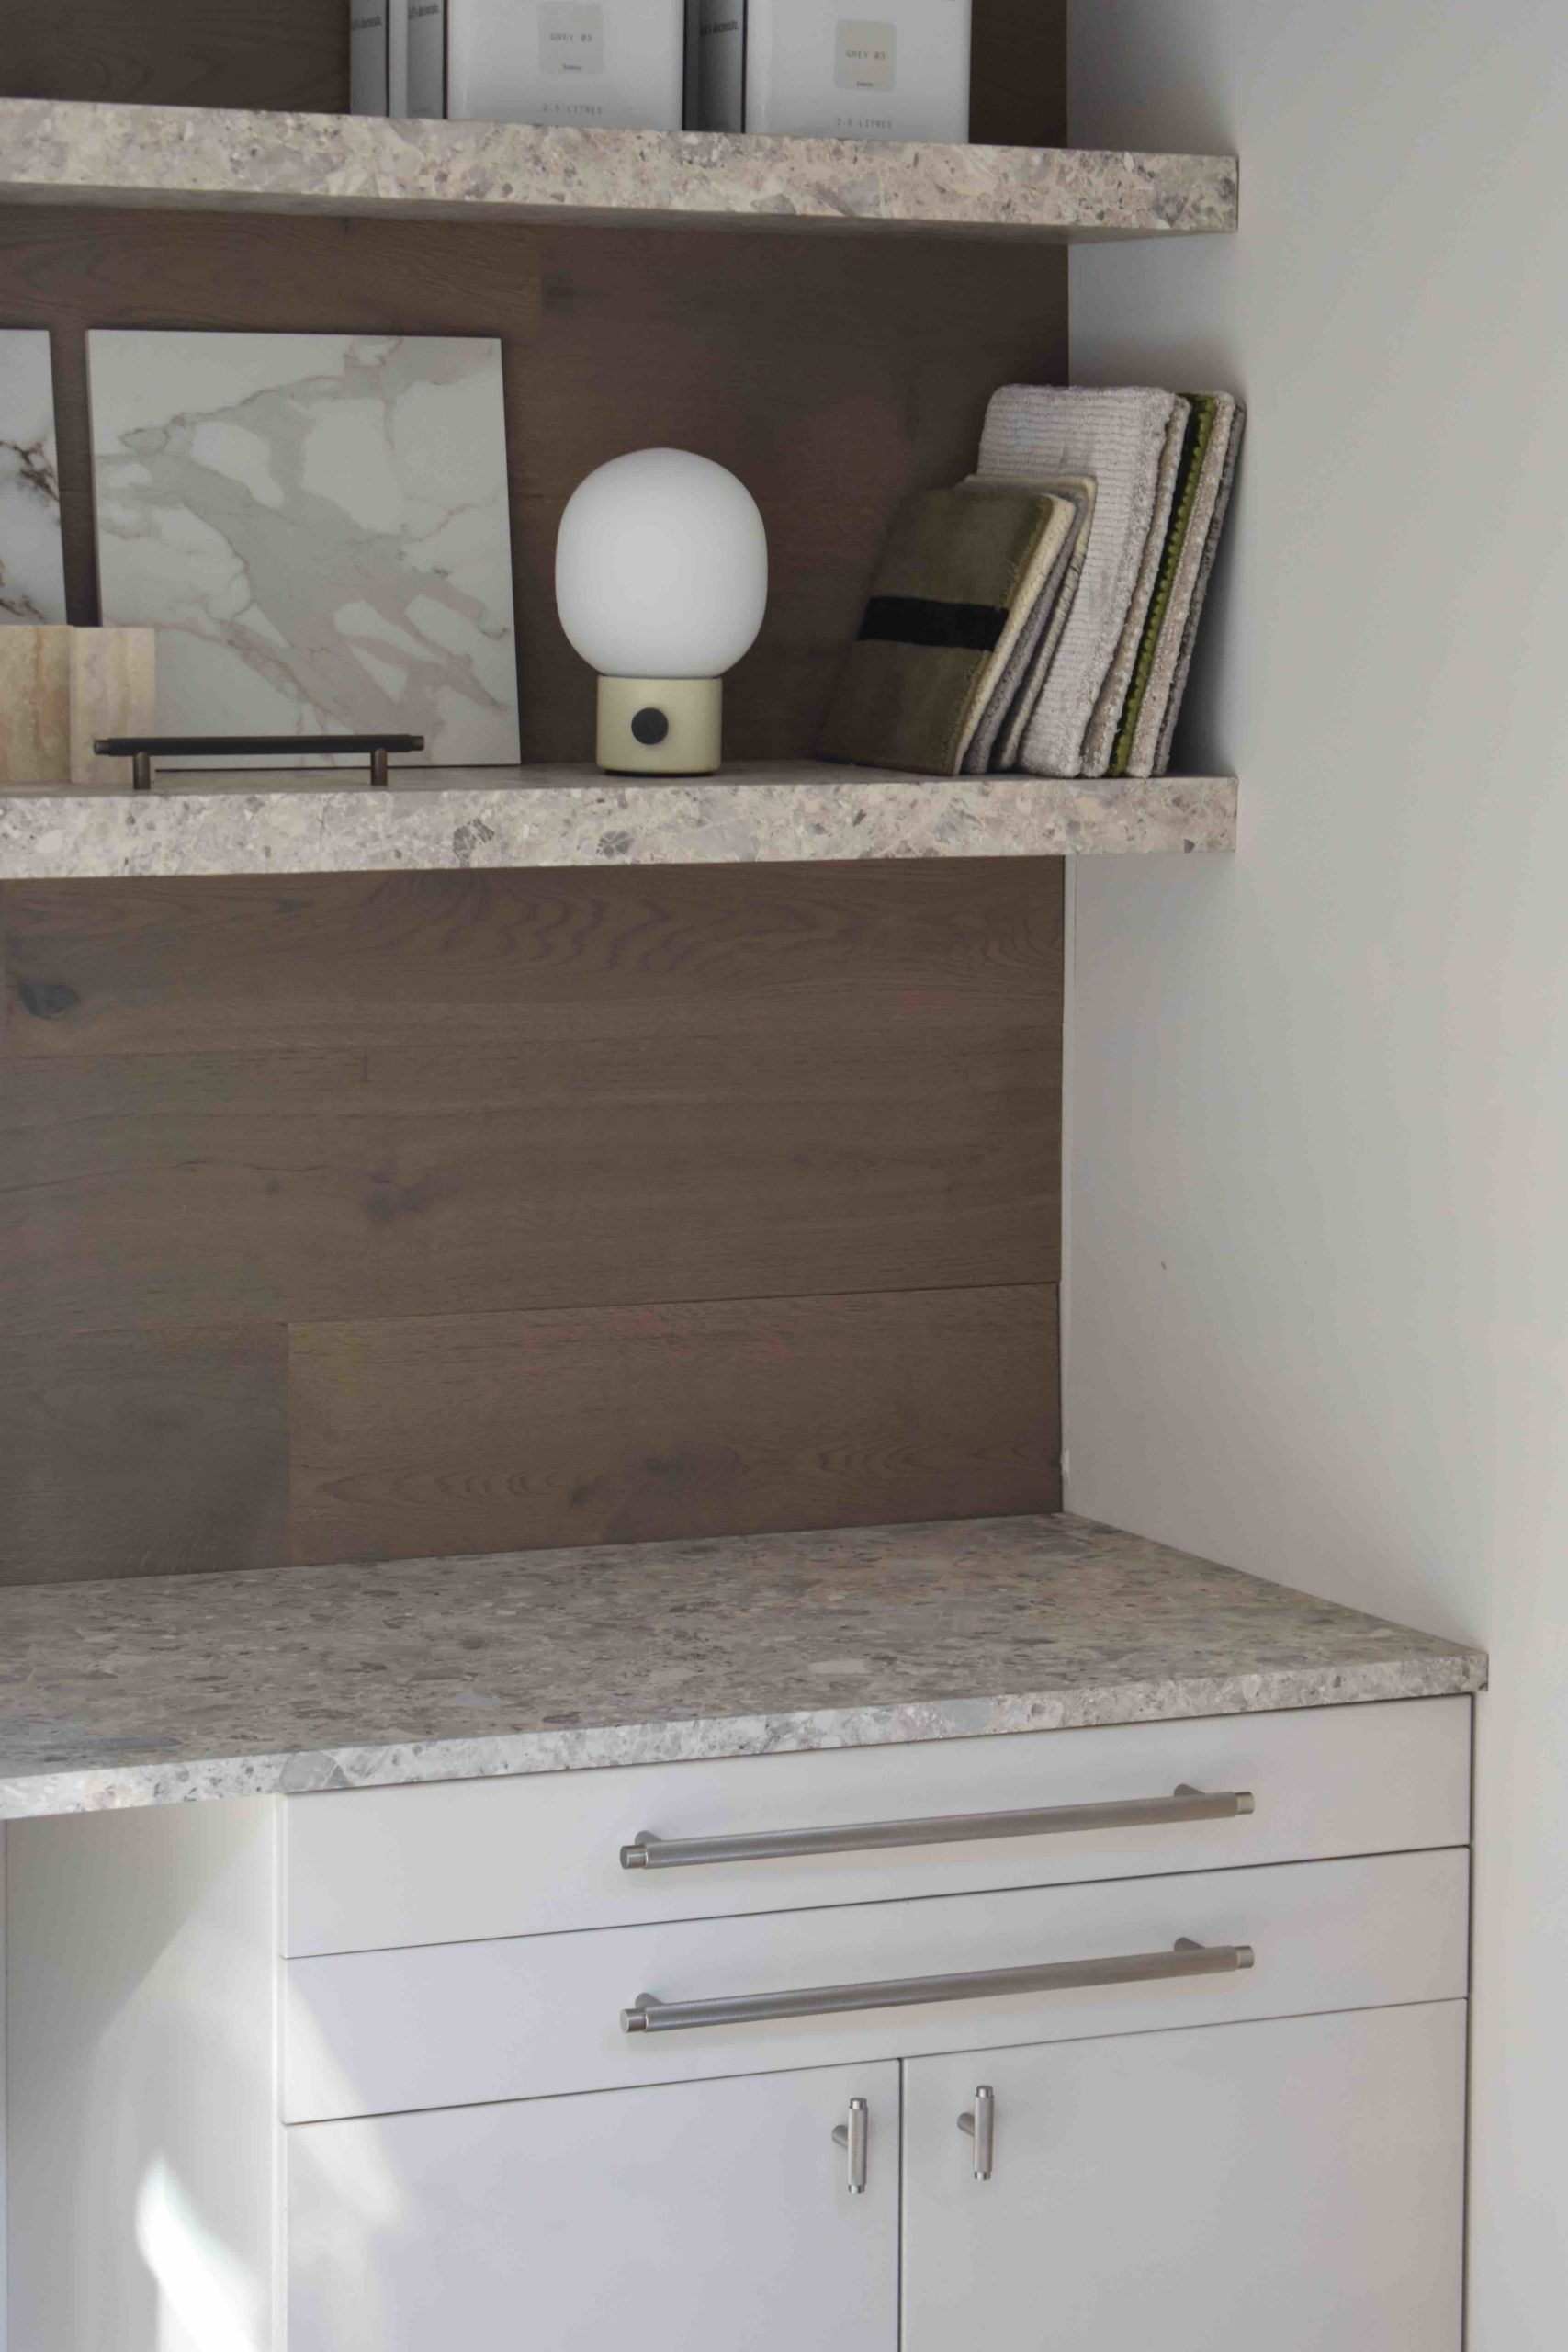
FURNITURE HANDLES
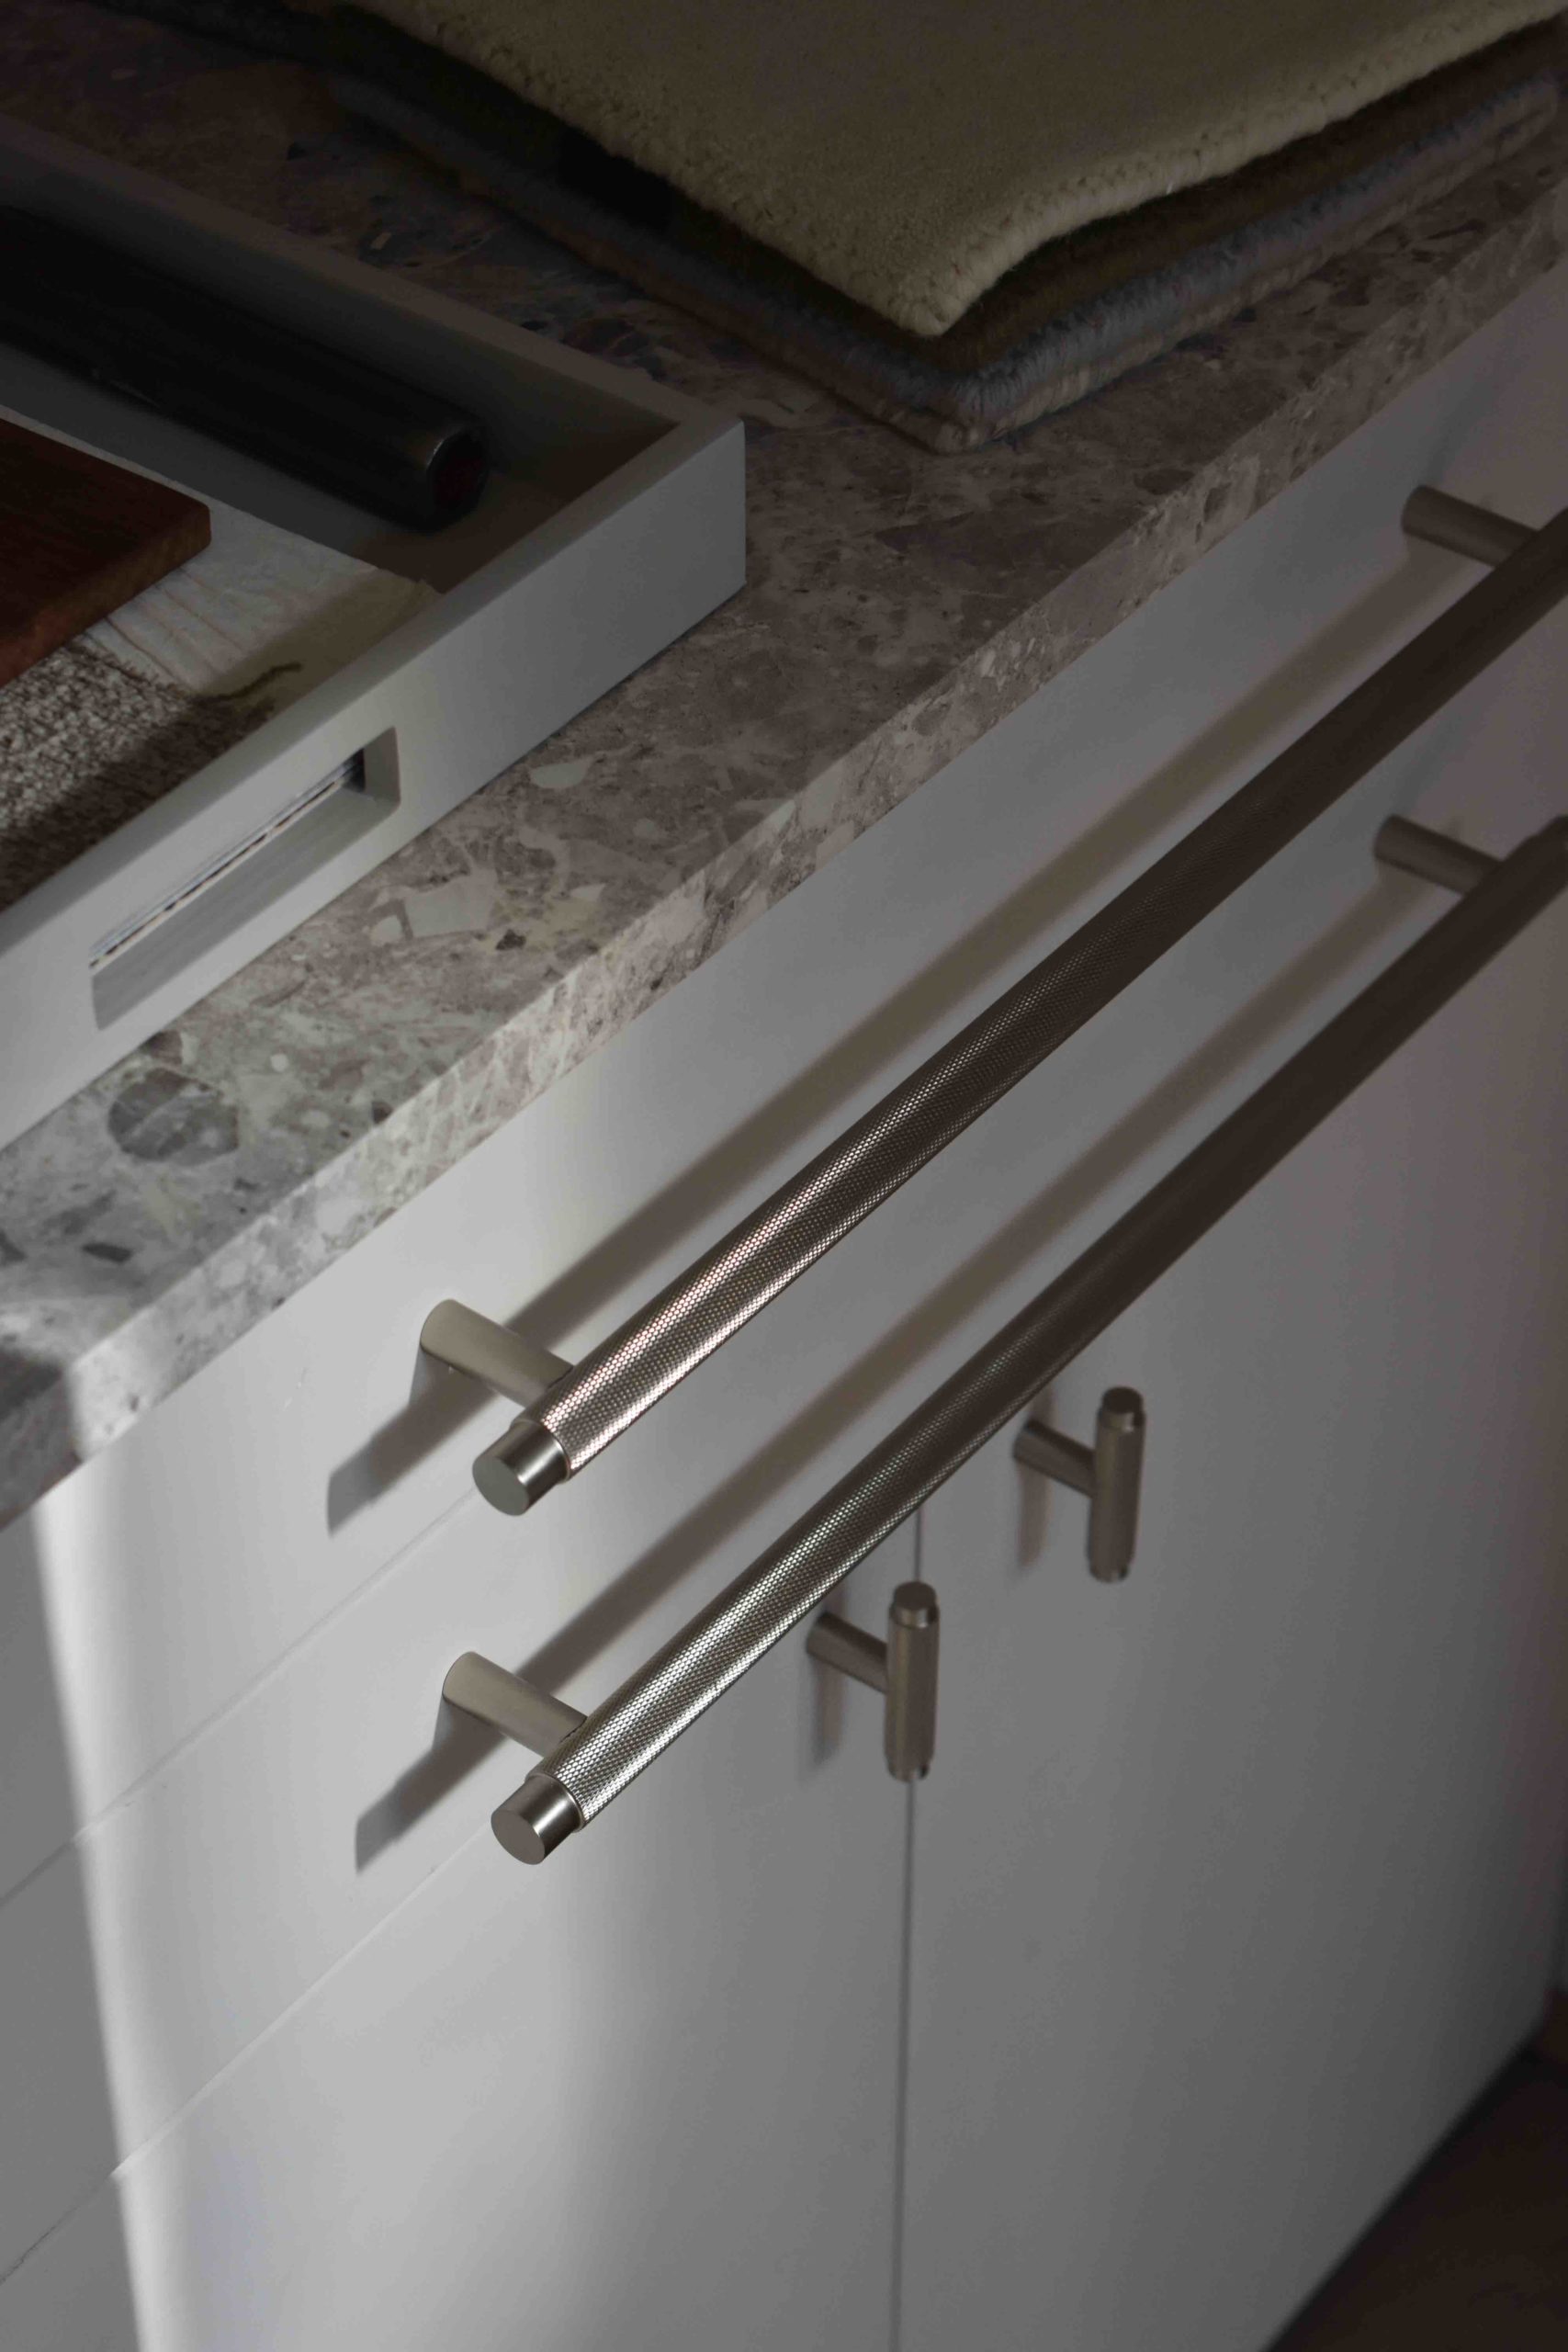
If you know me, you know I am obsessed with Plank hardware, especially their knurled knobs and handles collection. They are the perfect size and weight for the nicest grip. I love the tactile texture which add a delicate modern industrial touch.
I selected the extra-long wardrobe KEPLER Heavyweight Knurled Handle in Satin Nickel for the drawers and the beautiful matching T-shaped handles for the doors. Ideal to complement neutrals.
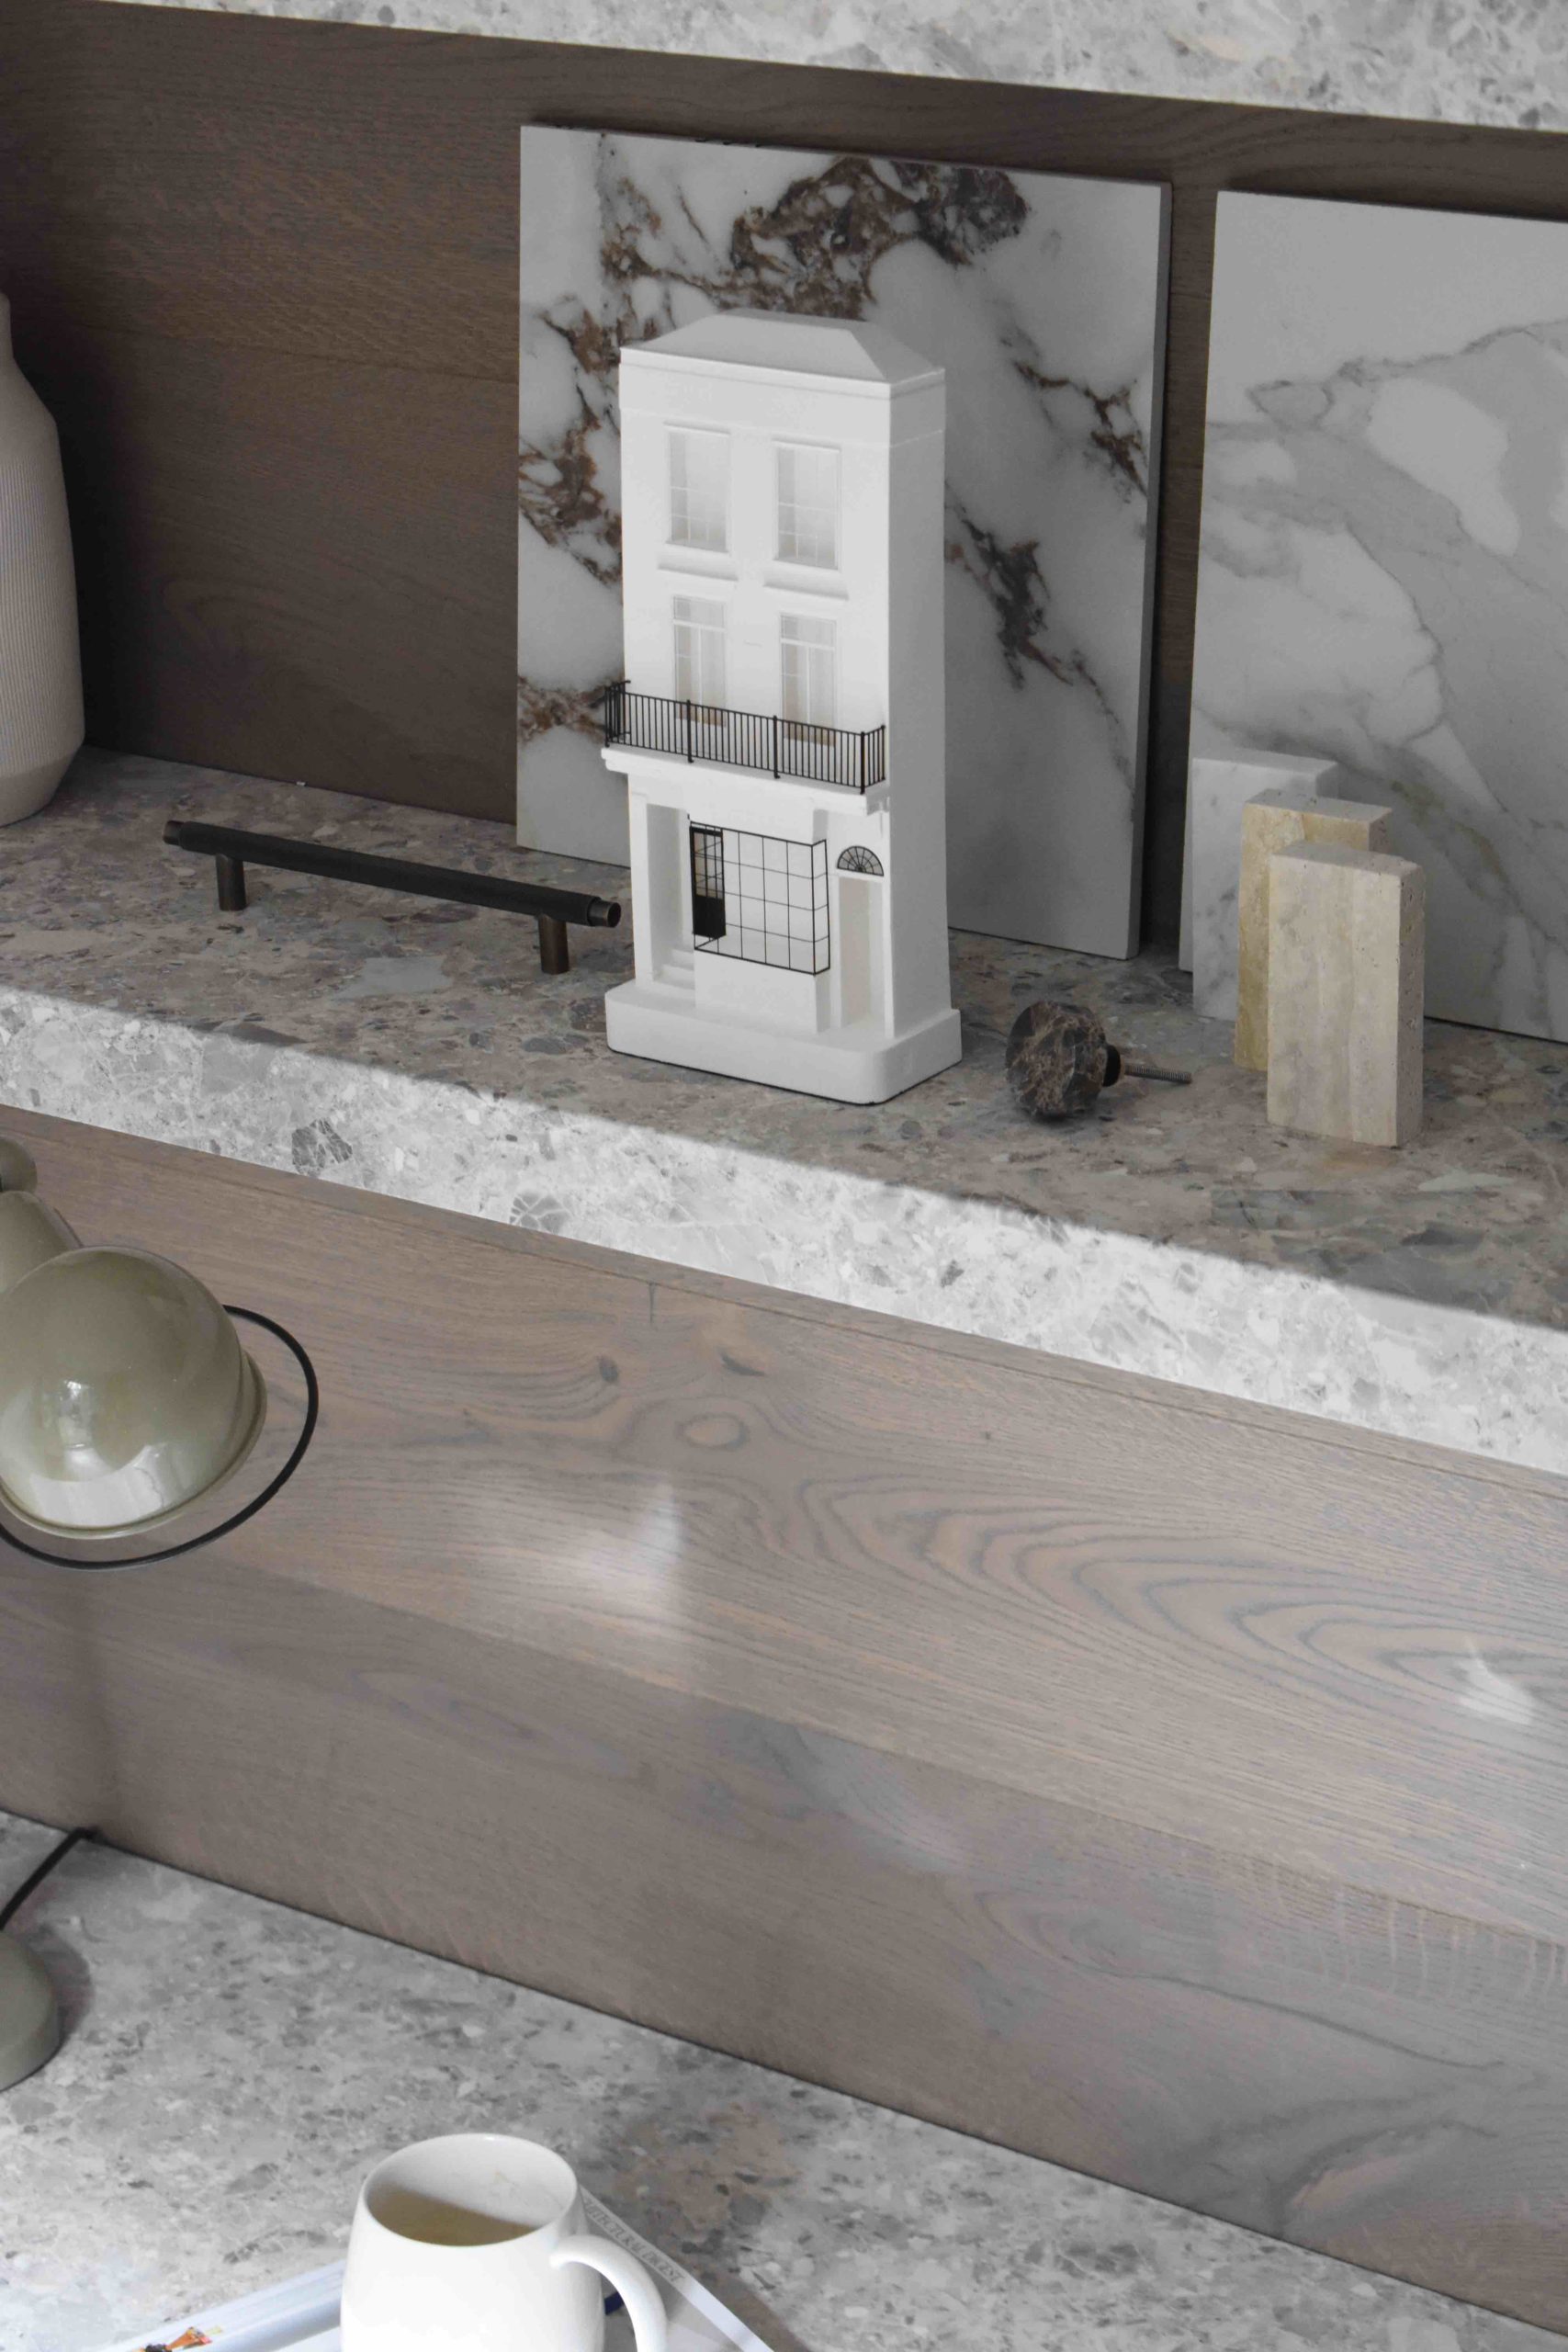
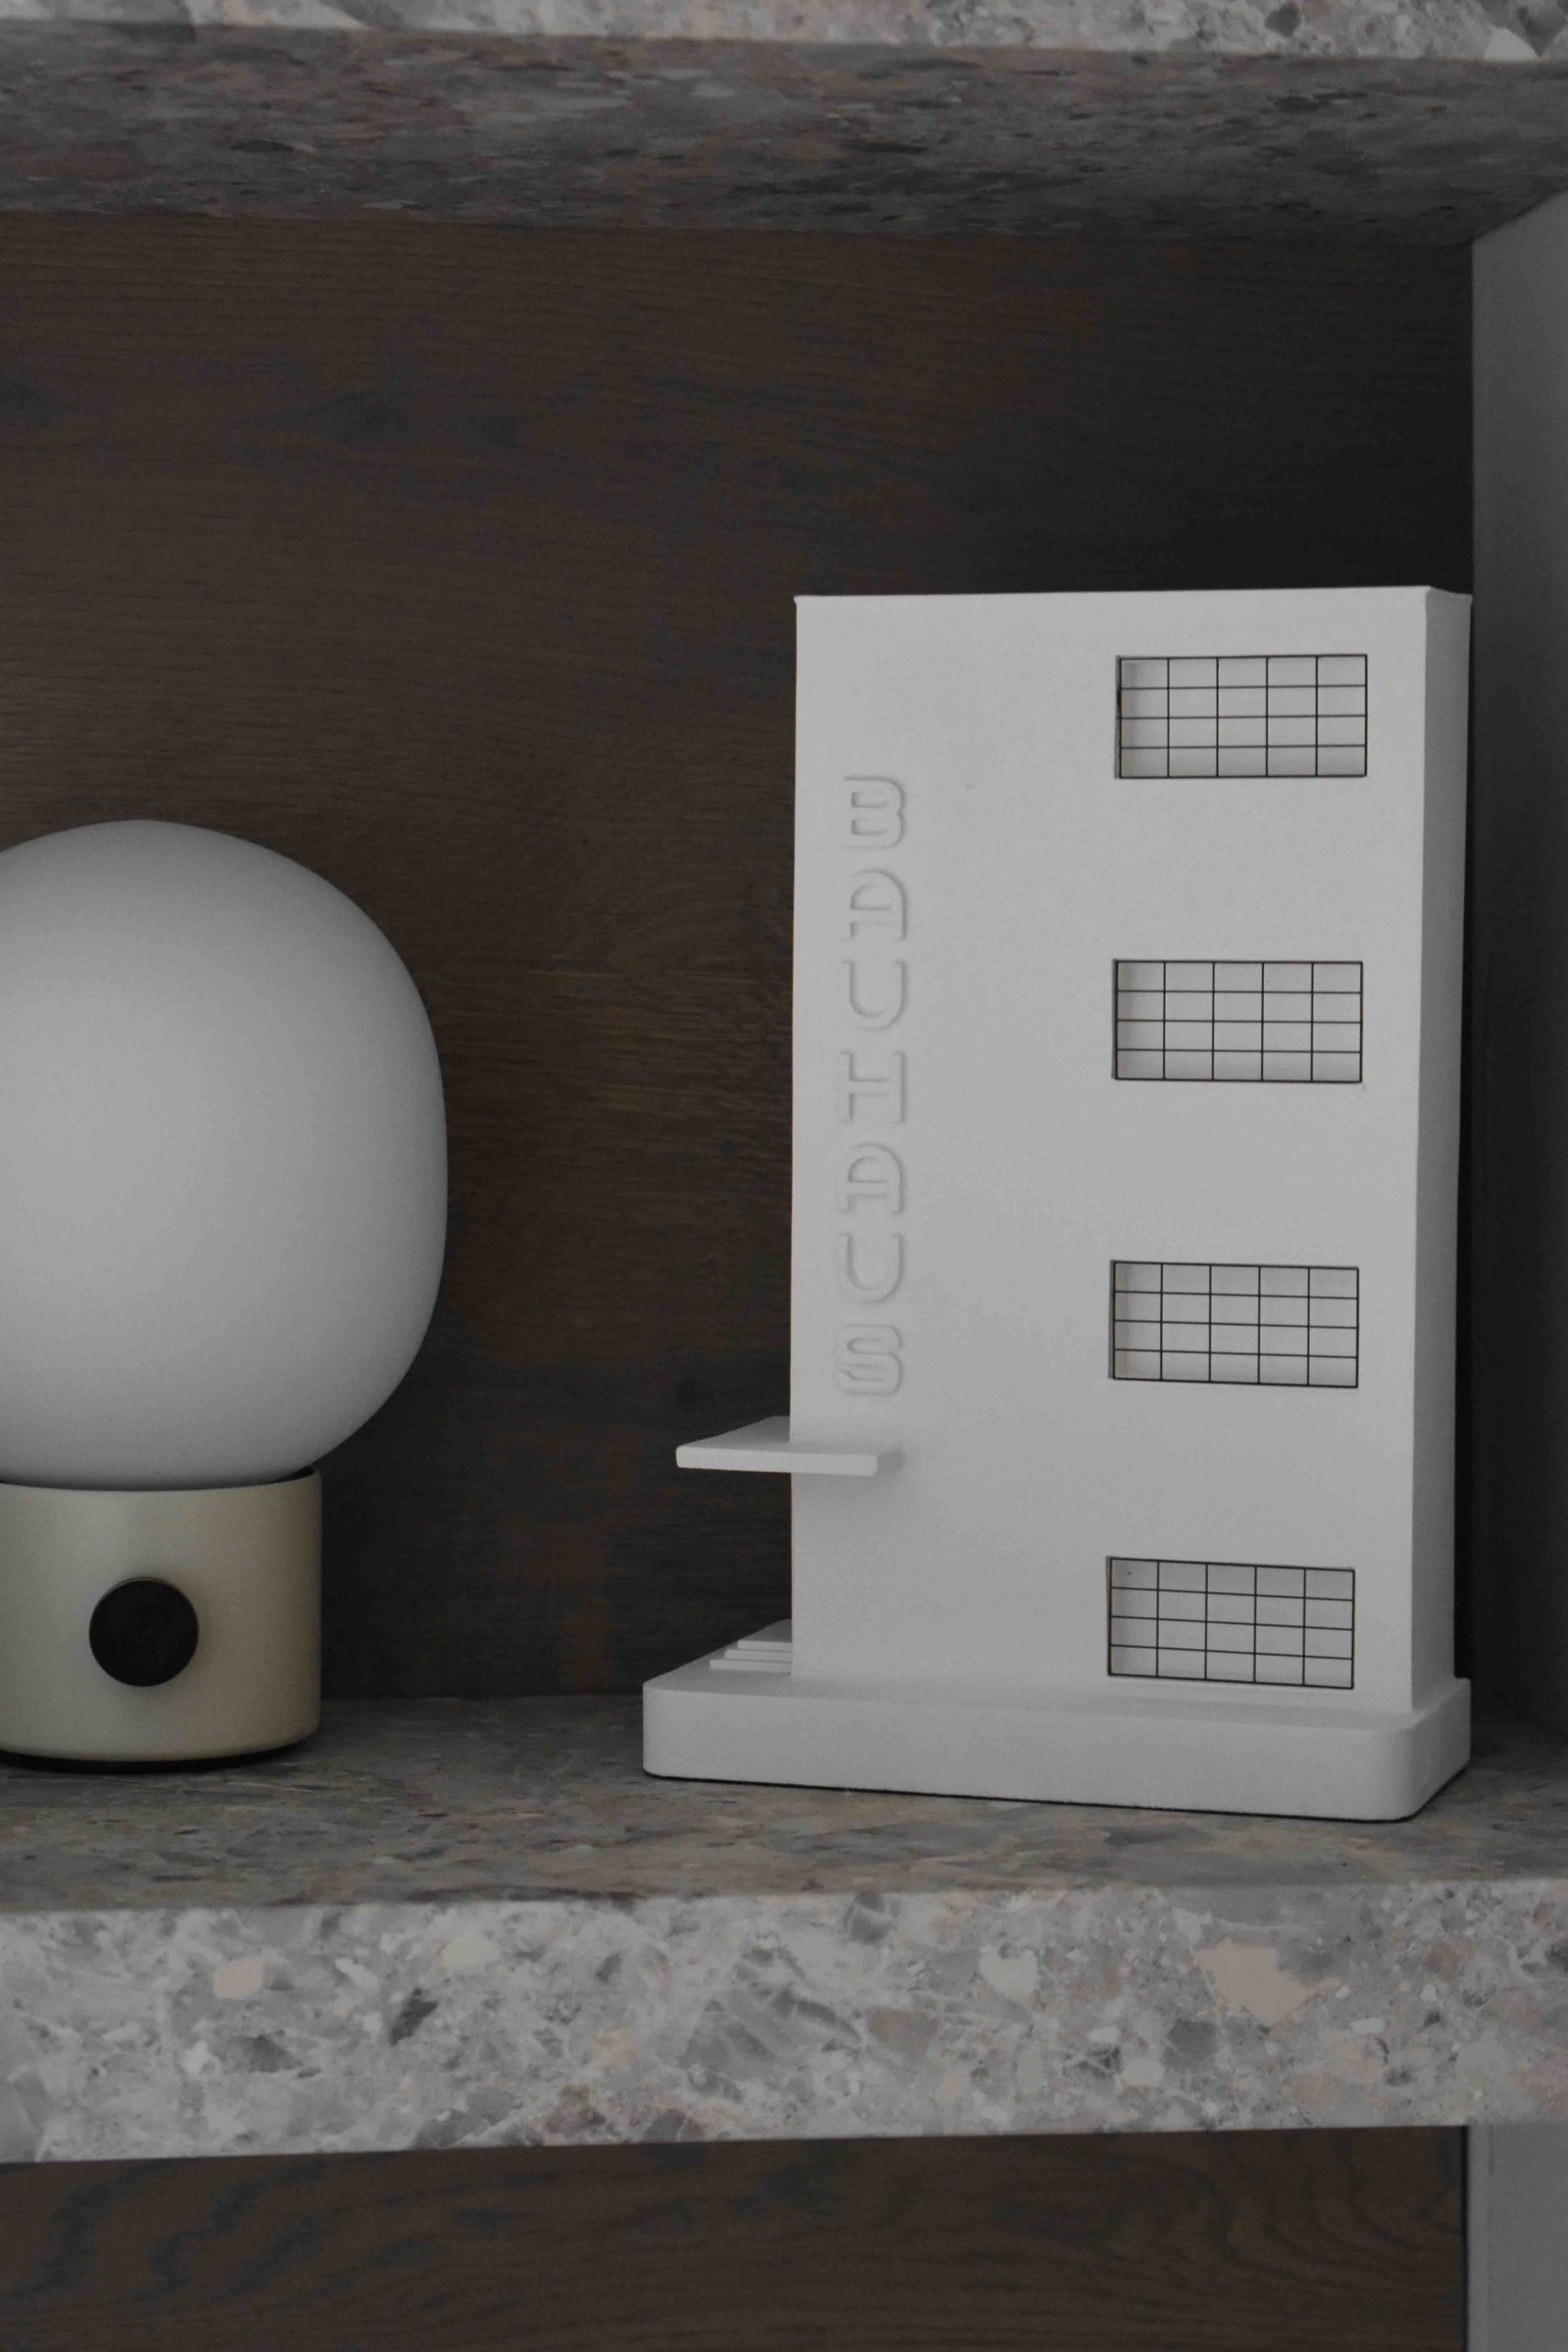
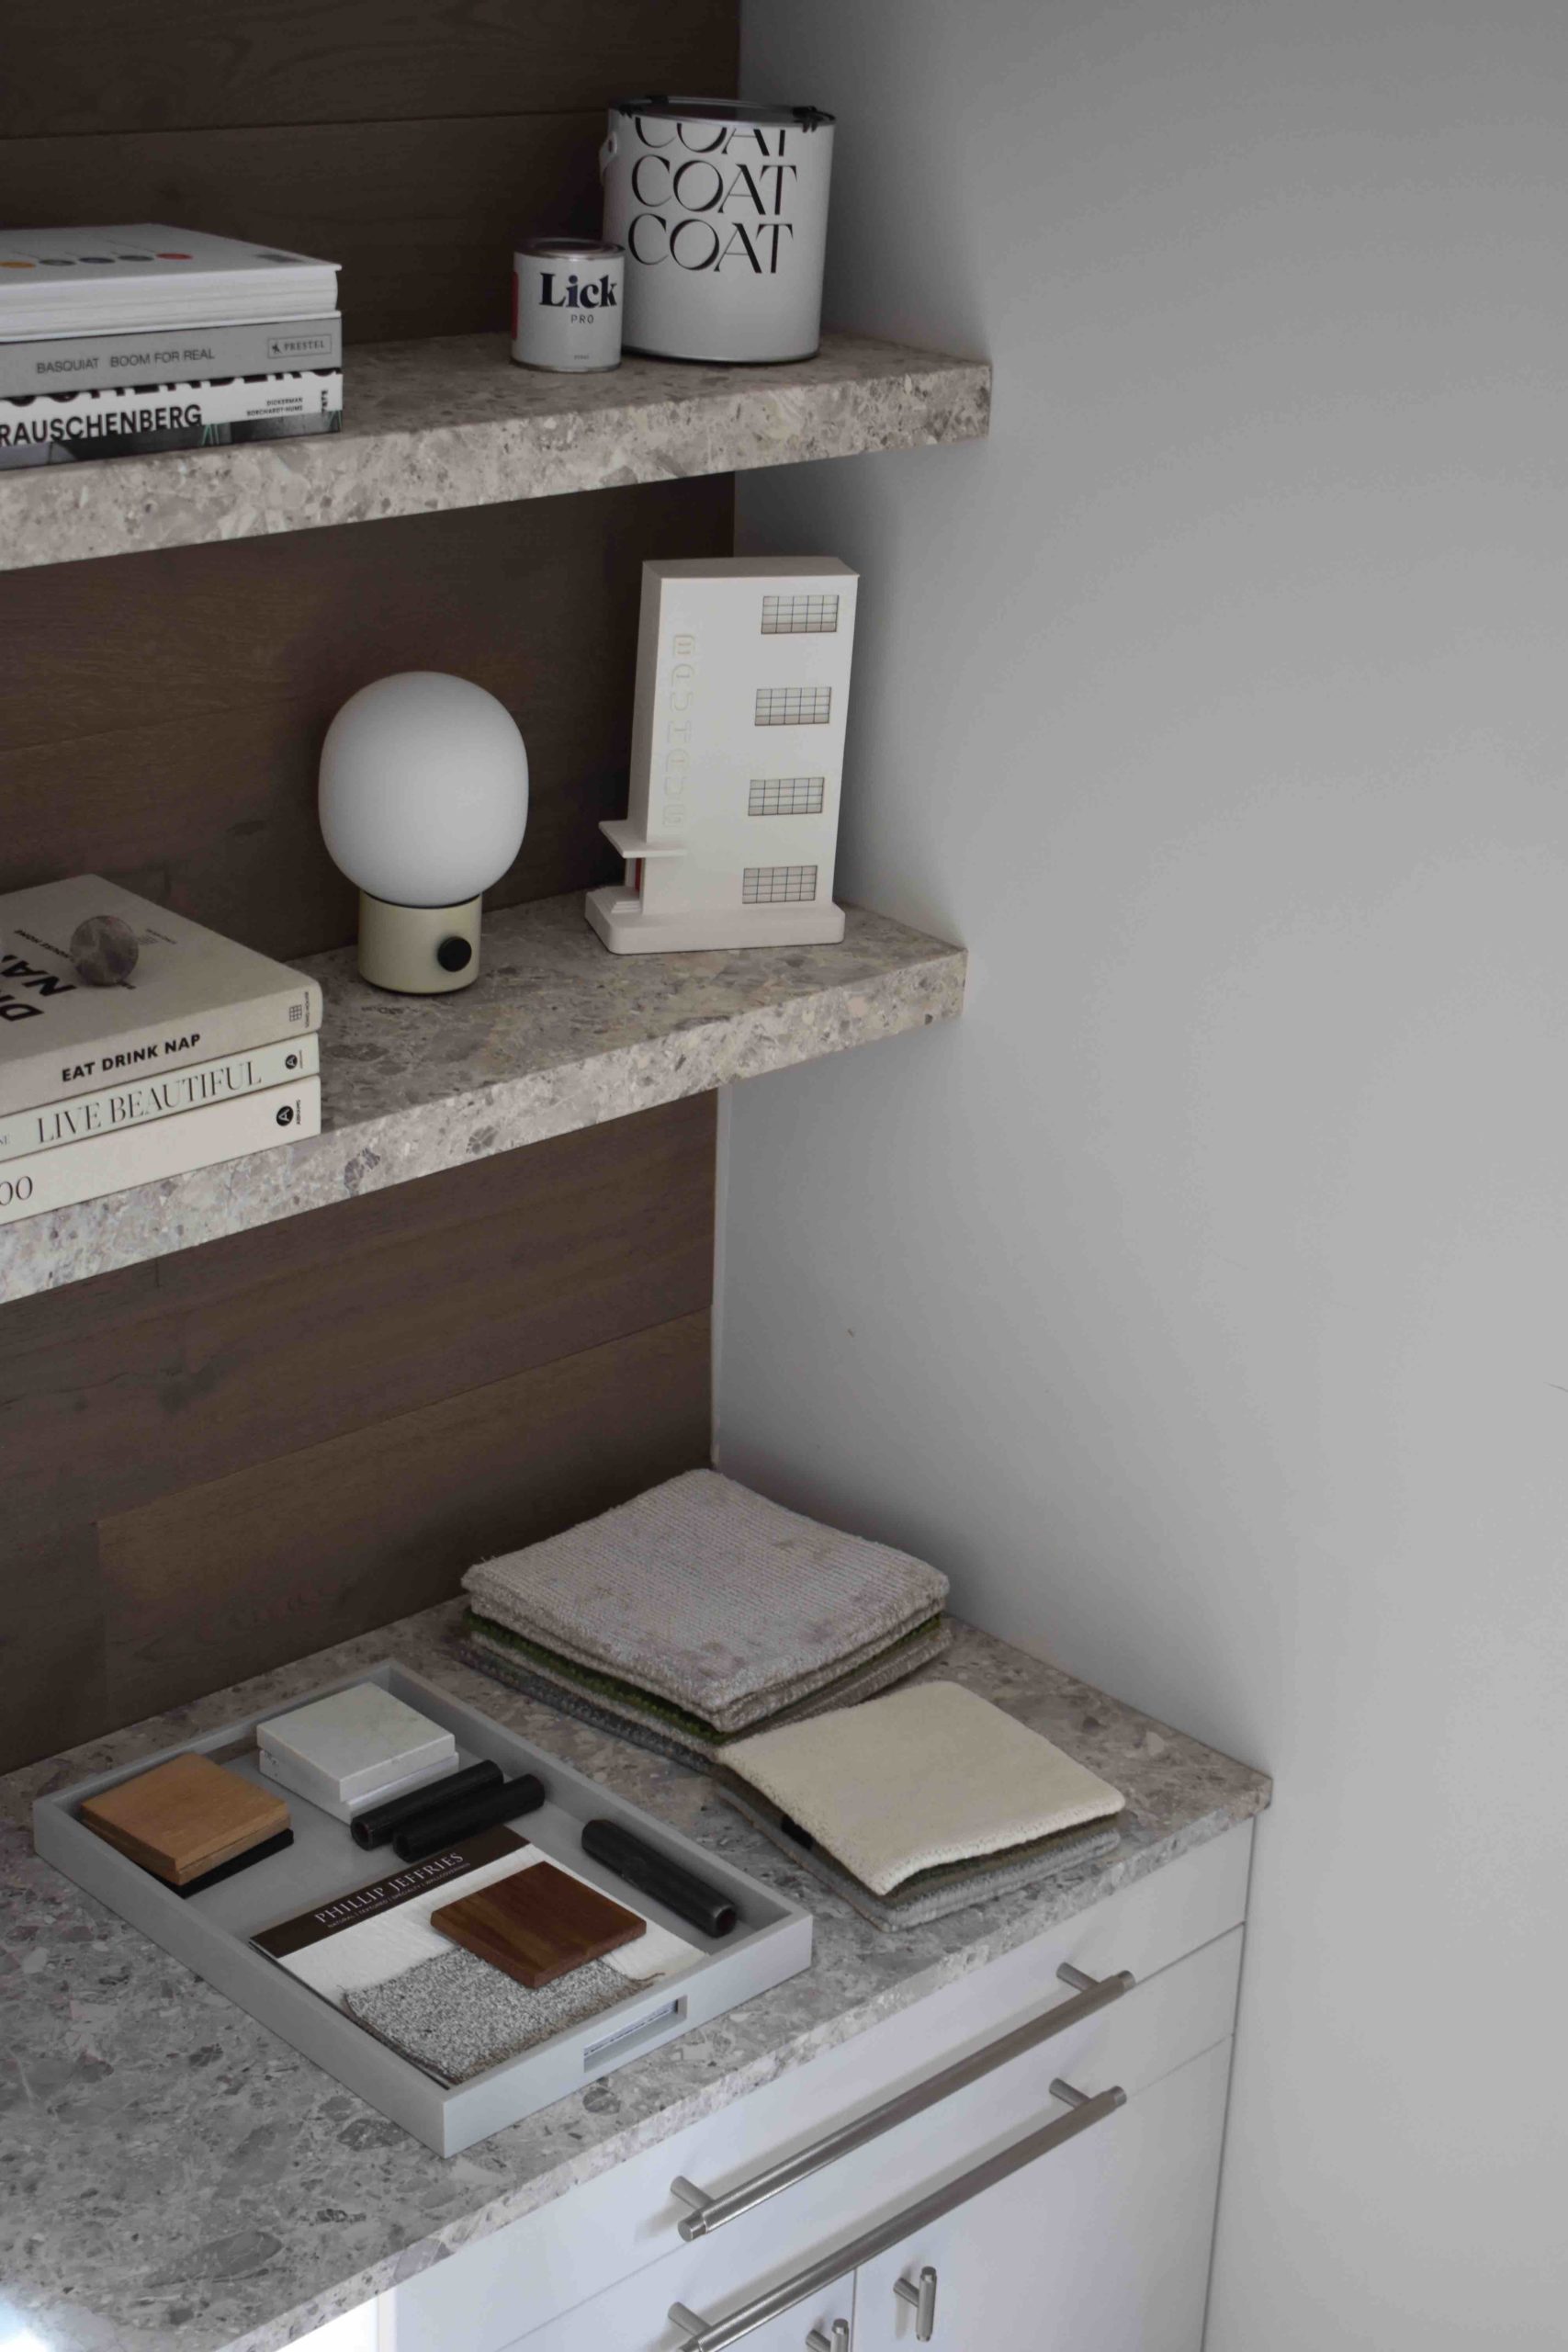
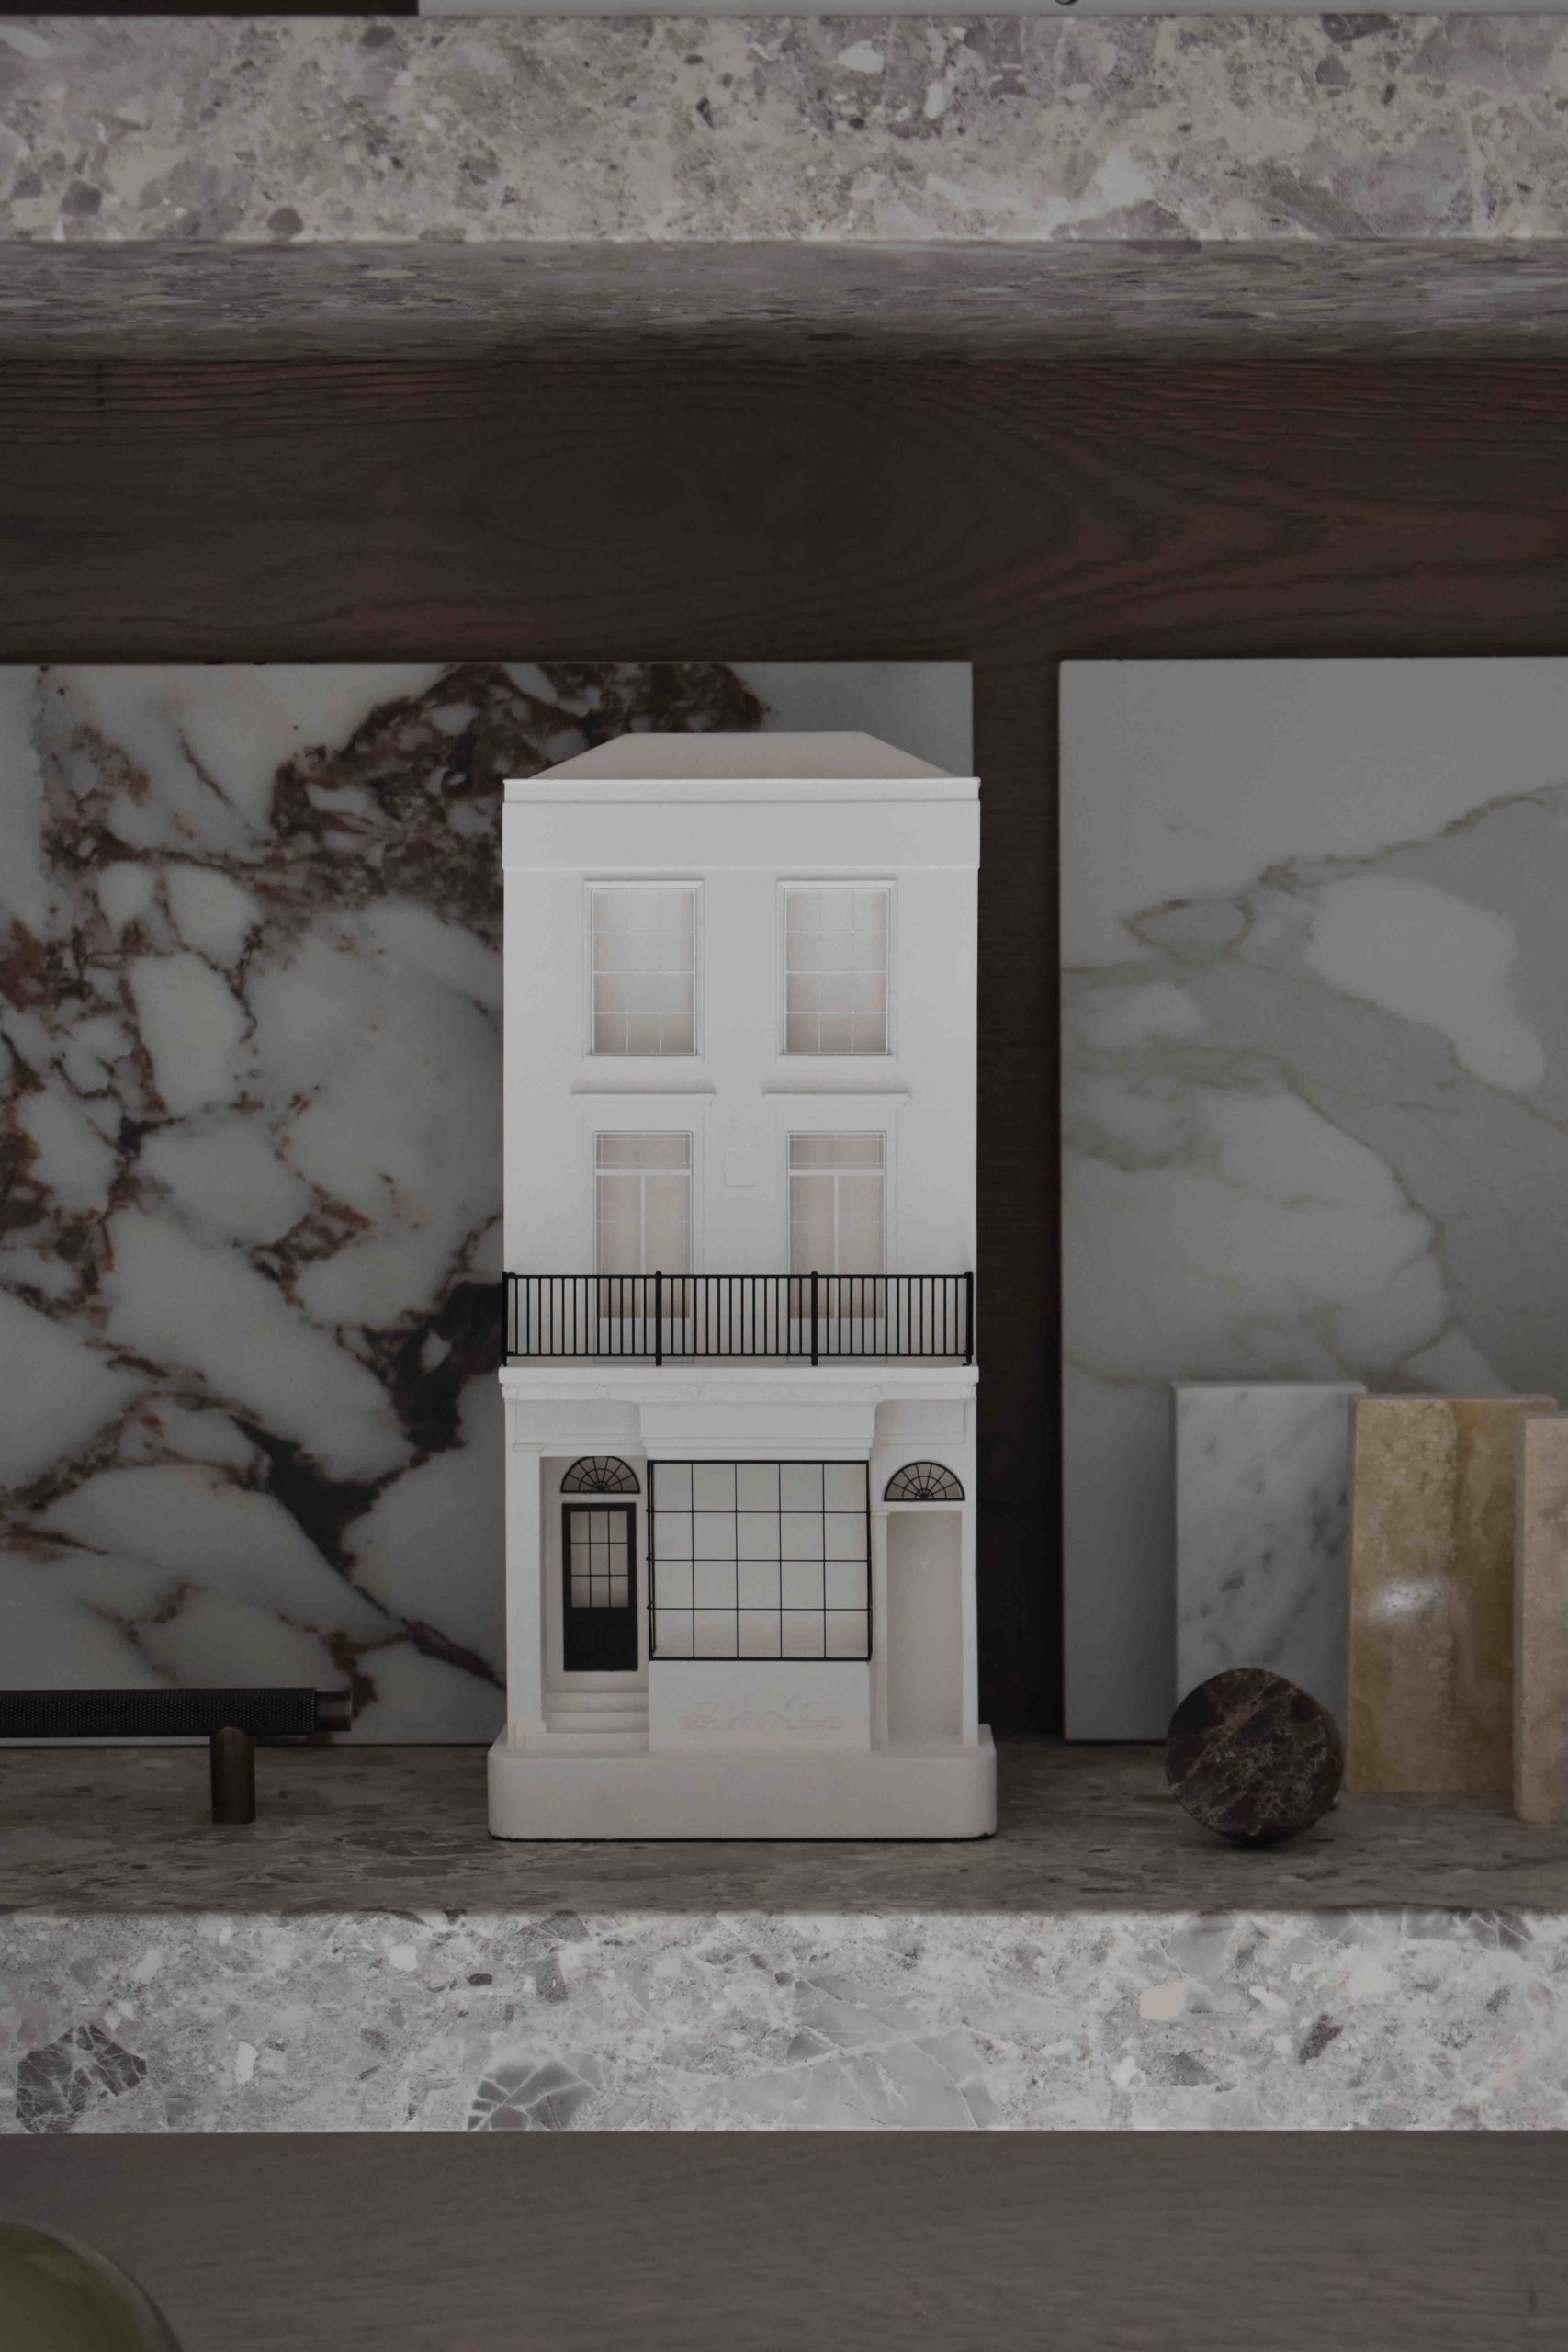
To complete the office, I received these gorgeous models from Chisel & Mouse to inspire me everyday while I work in my new office.
The first one is the iconic Bauhaus Dessau model from architect Walter Gropius. I always loved this minimal modern building which represents everything I love in design.
This beautiful reproduction is made of plaster and metal. Chisel & Mouse make hundred of stunning models and cityscapes which elevates any interiors with an emblematic contemporary touch.
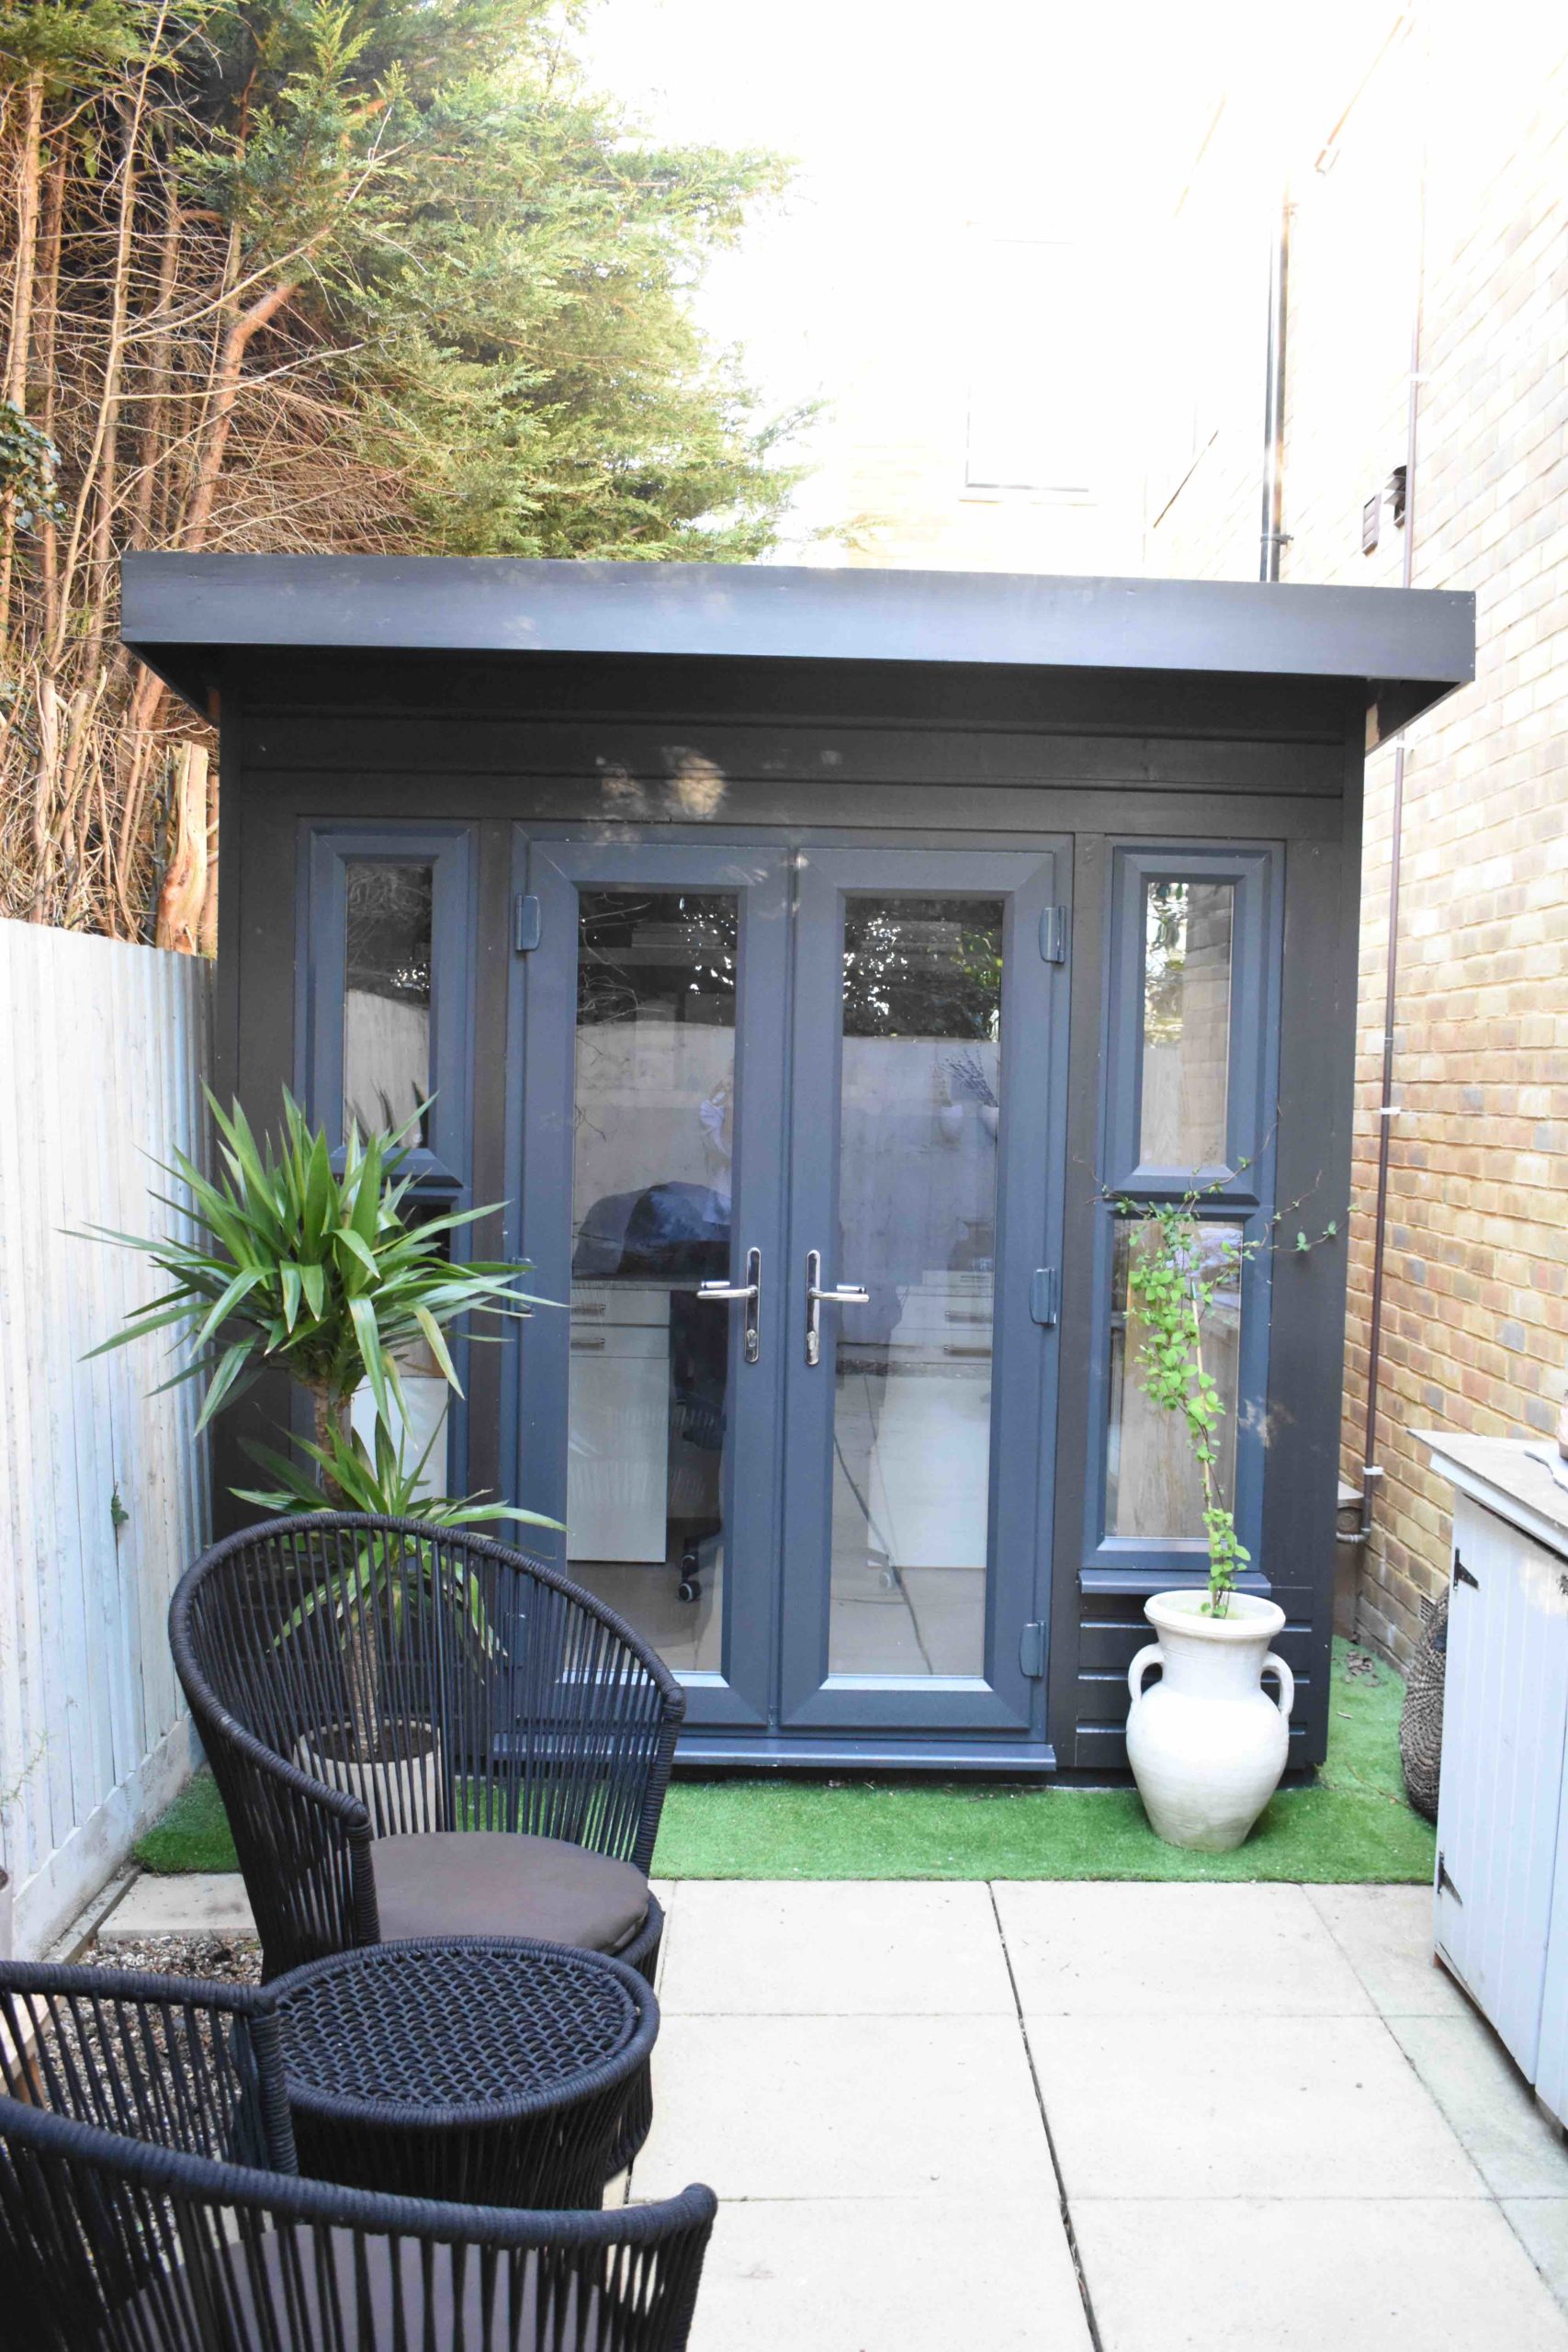
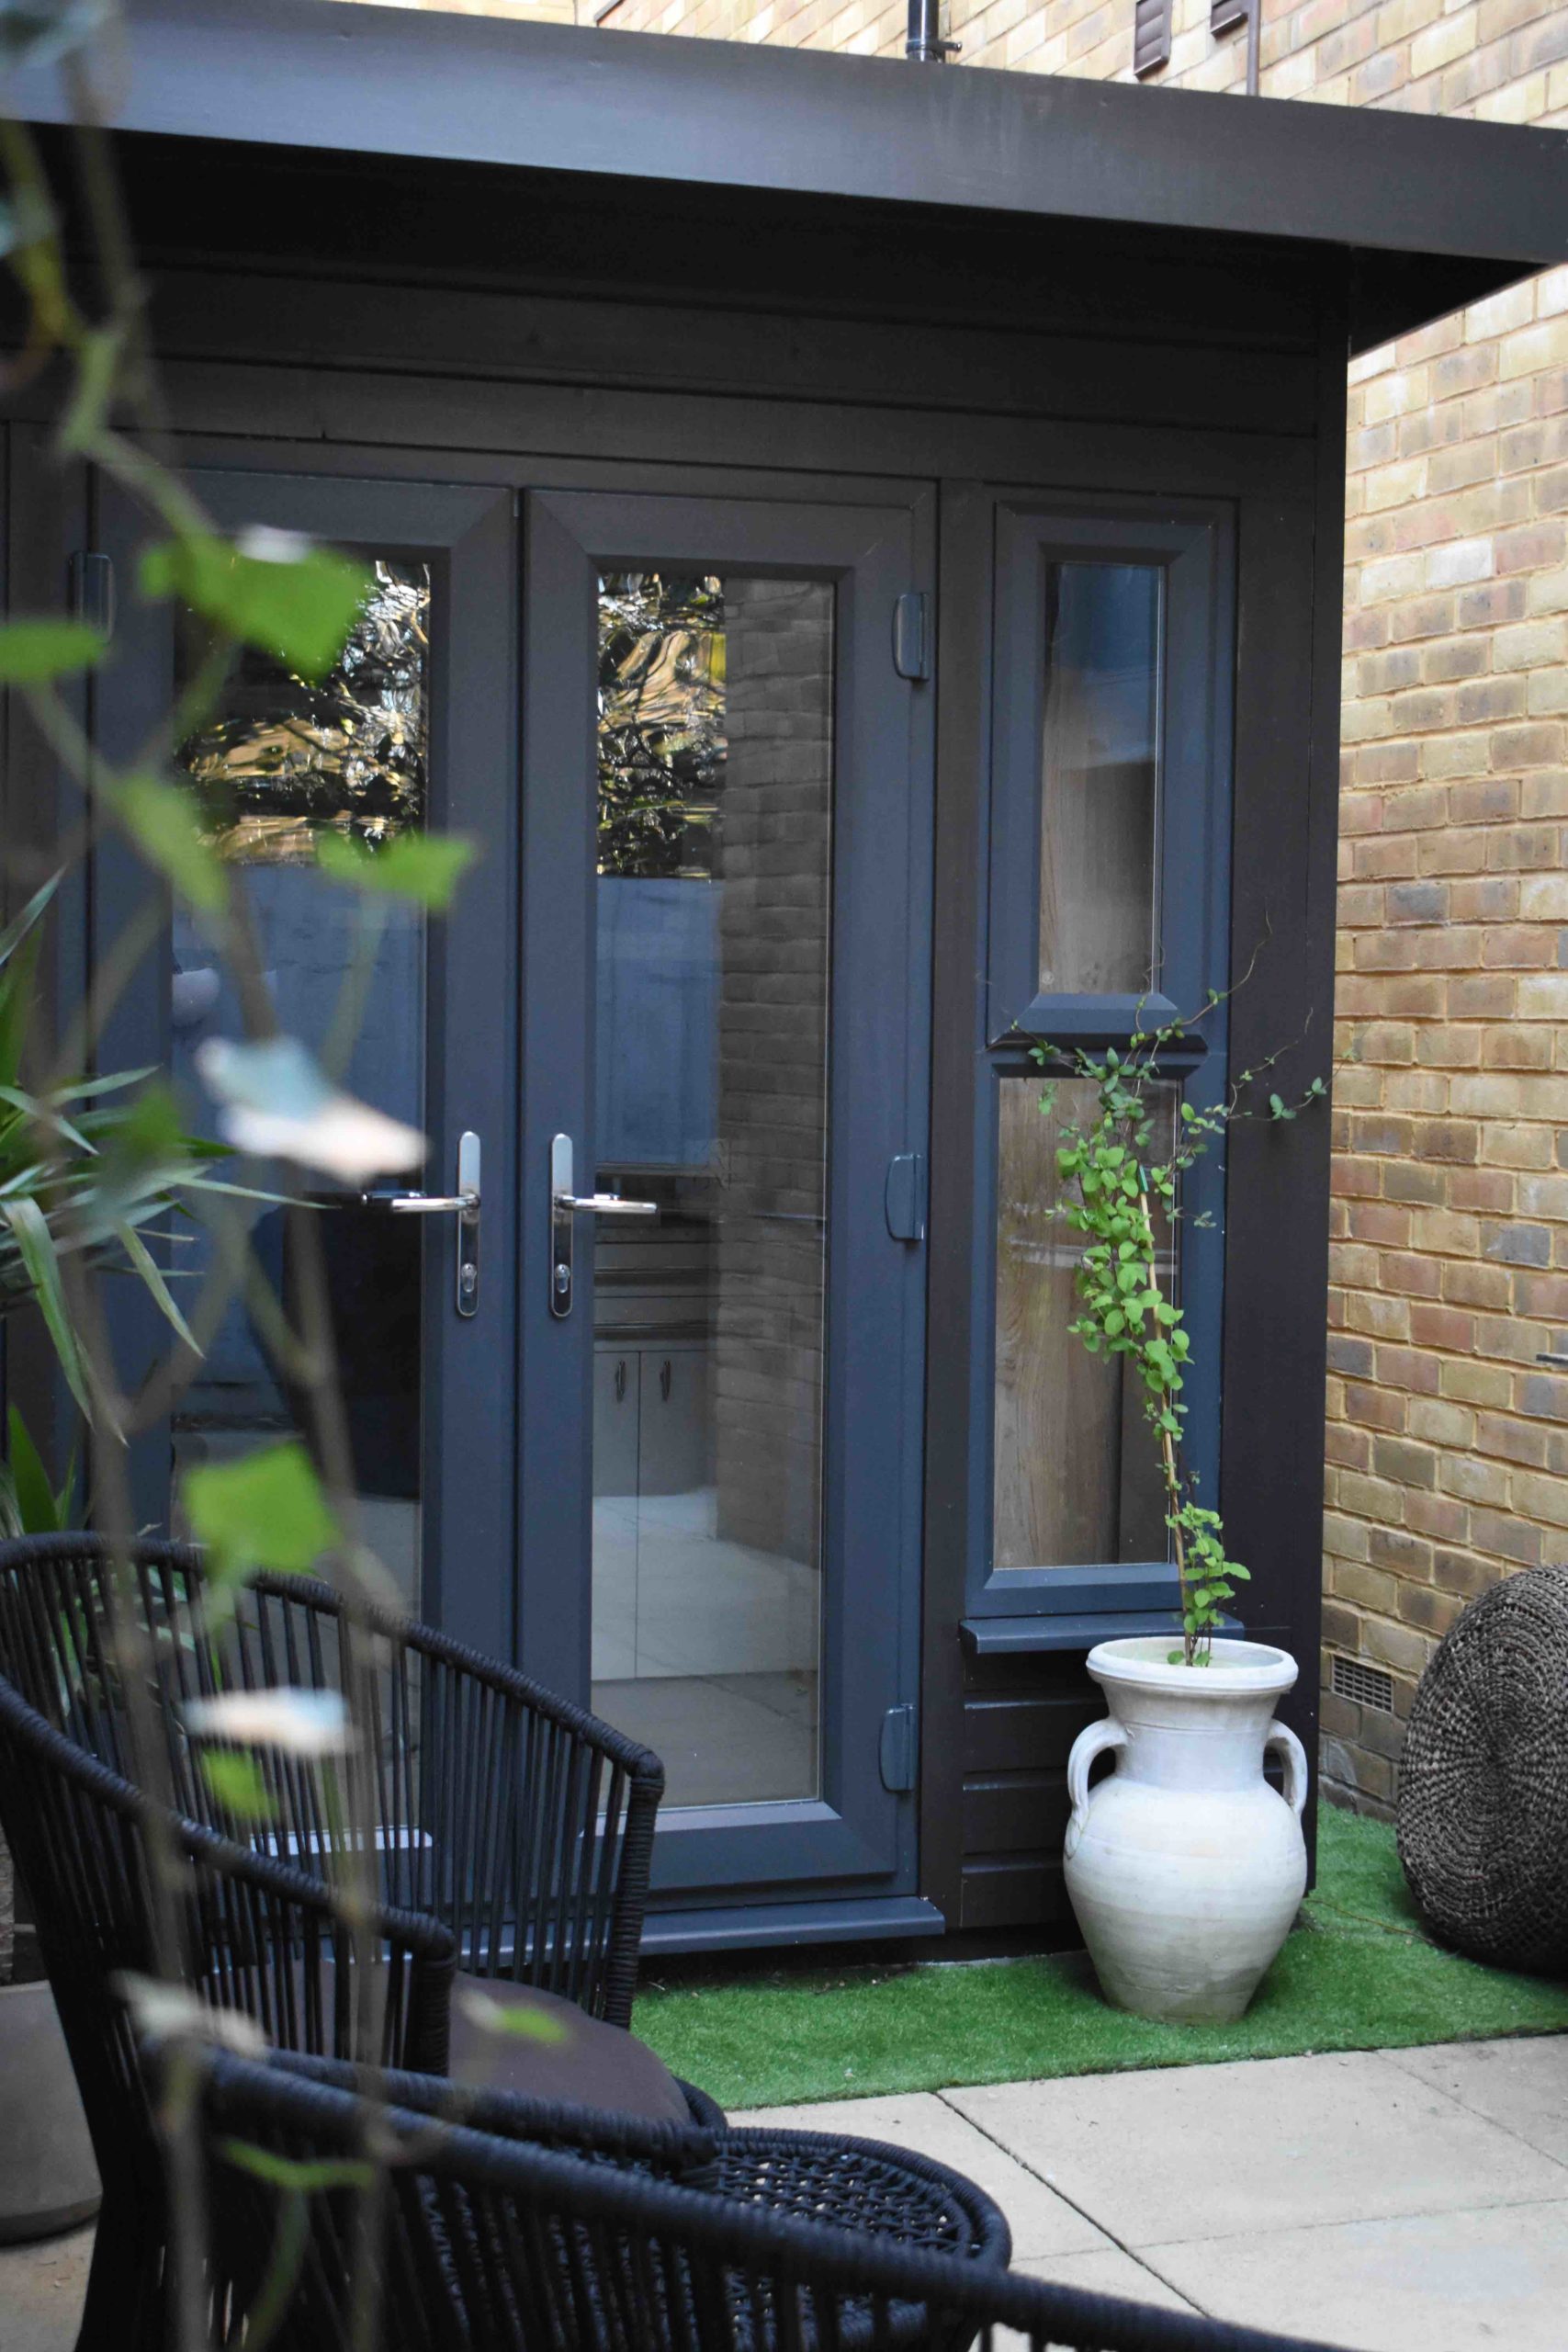
Finally, outside we used the Record Store Paint from Coat to match the dark windows & door frames. I love how this completes perfectly this project and gives it an industrial modern touch. I have selected the Exterior Eggshell for a long-lasting and matt-ish exterior finish (20% sheen). It flexes with the weather for a hardy finish. I used a primer first as recommended by Coat for bare timber.
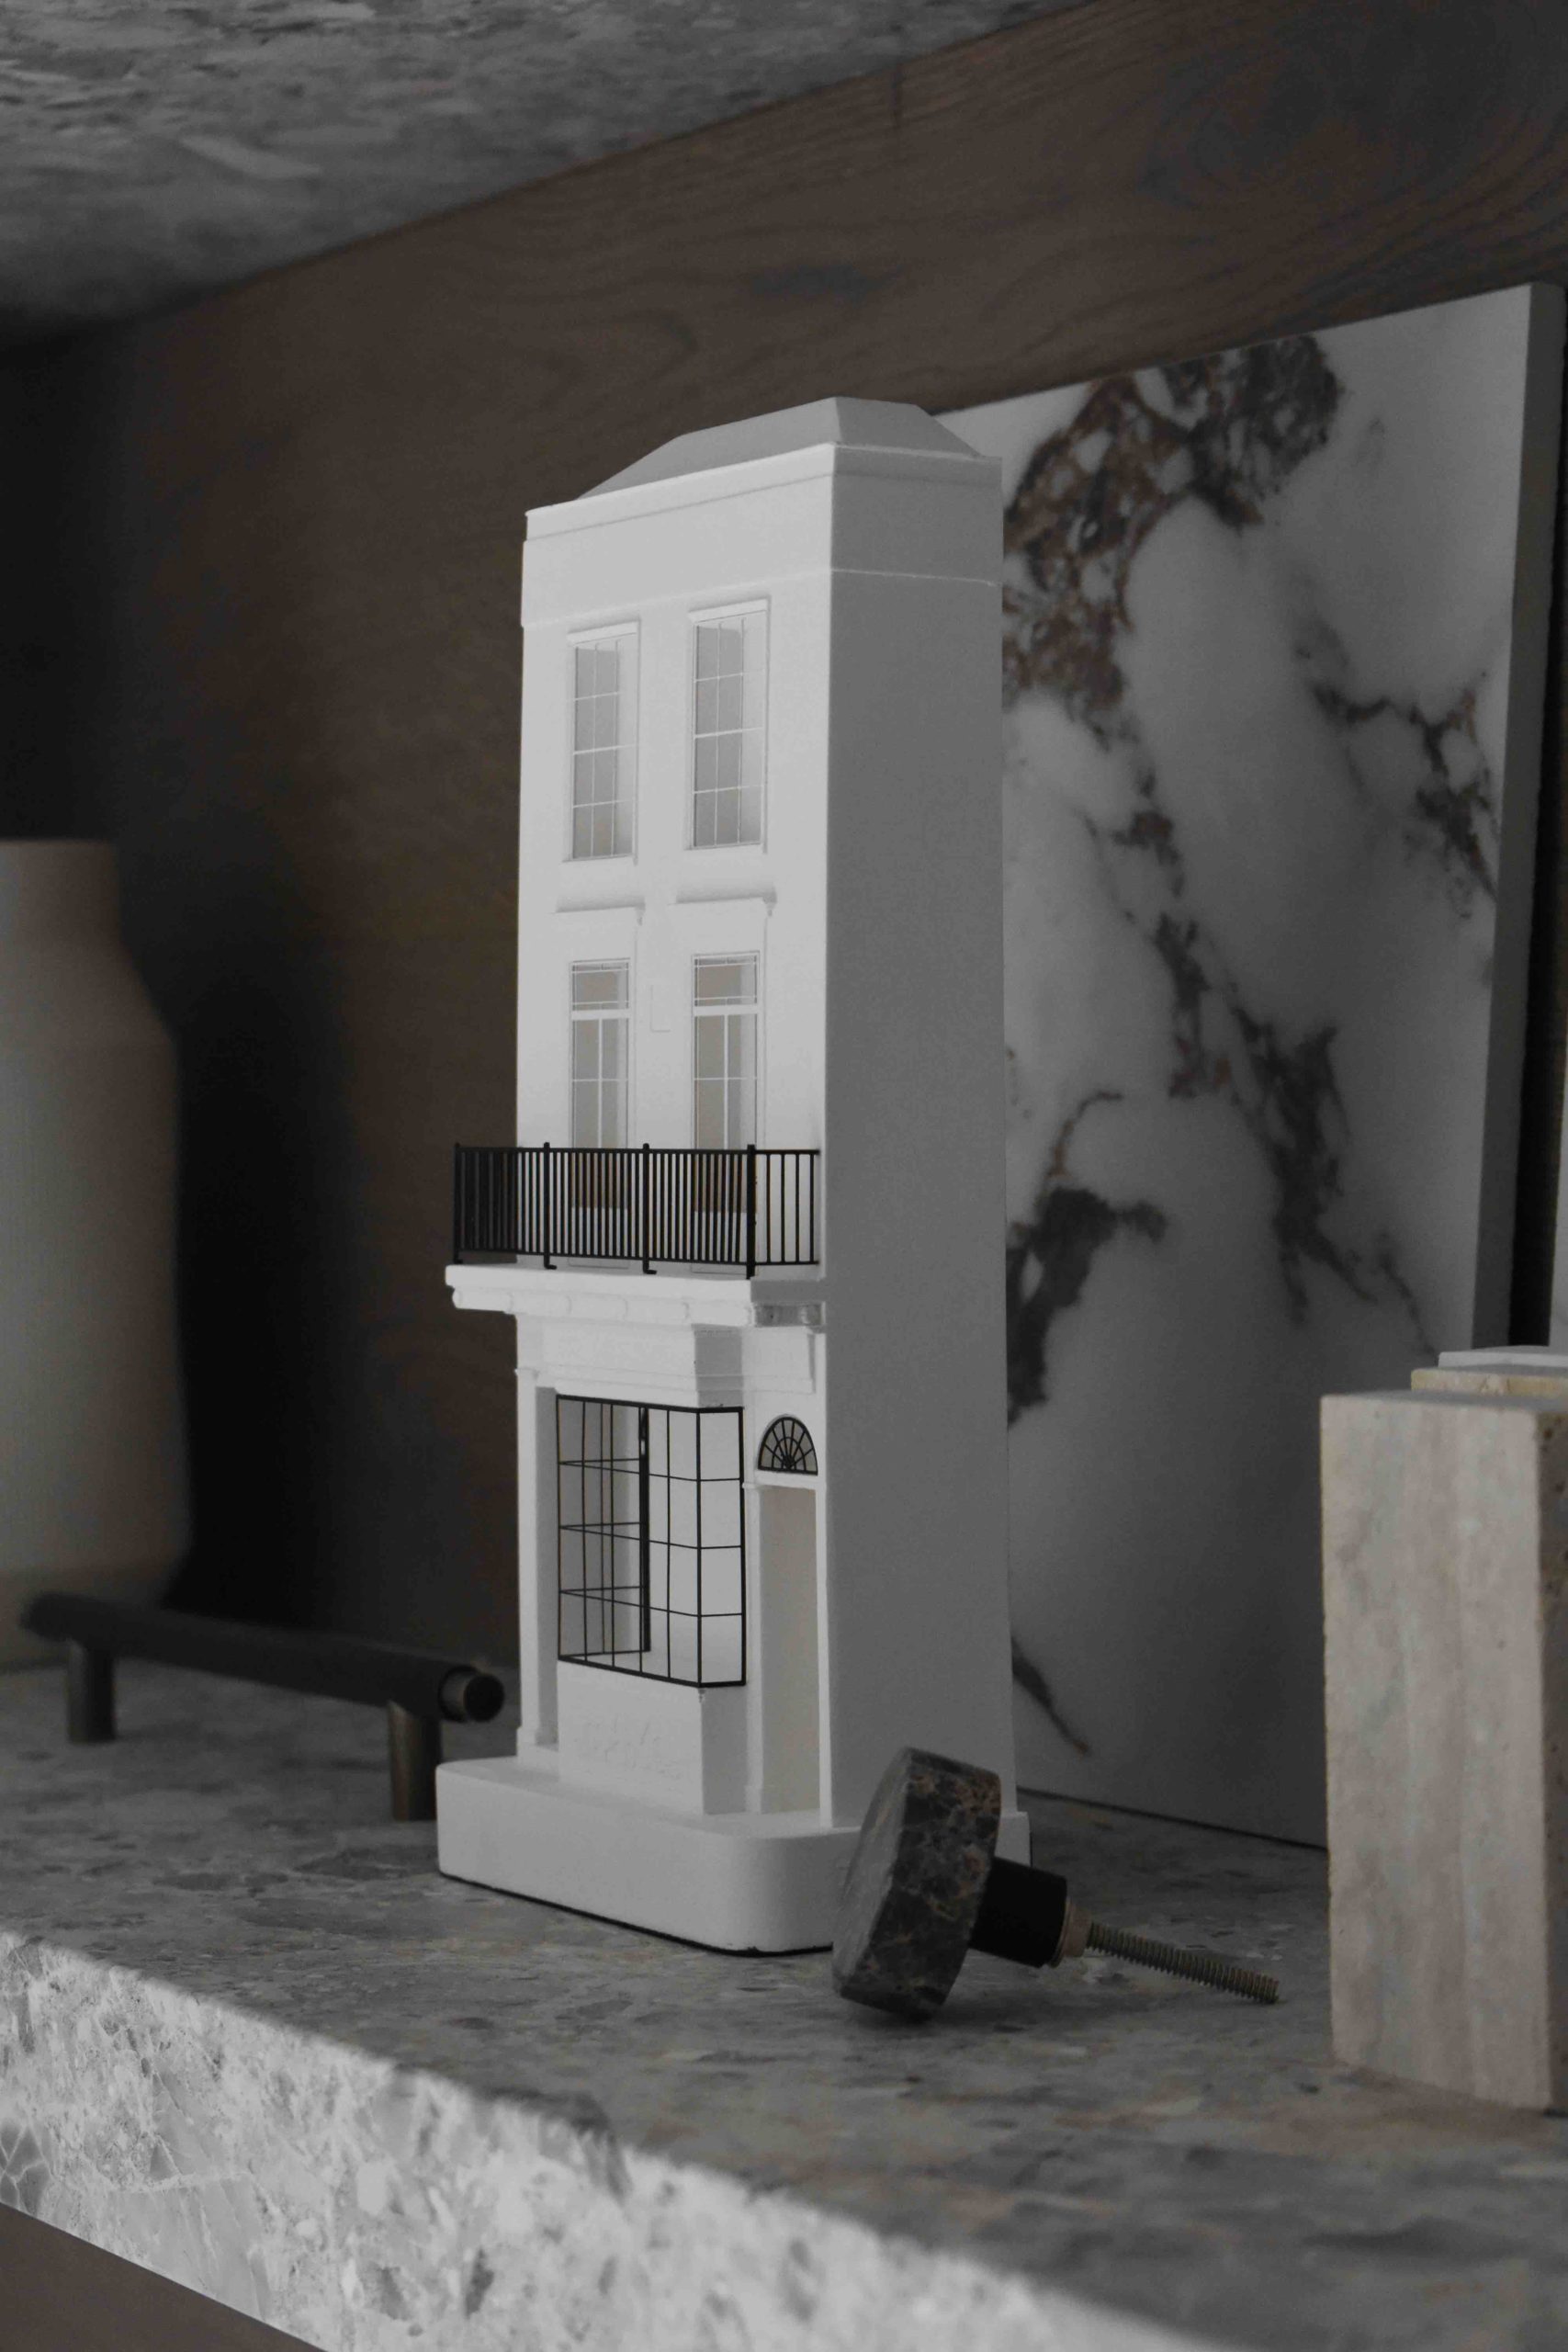
The Town House Restaurant with rooms is a splendid Regency building situated in a commanding high street position overlooking Arundel Castle. It is just a few minutes walk from a plethora of antique shops and historic sites in the beautiful Georgian town of Arundel.
Stunning architecture and elegant en-suite bedrooms set this delightful bed and breakfast establishment apart.
Disclaimer: this is not a paid post. Some of the products were kindly gifted by Quickstep, Coat & Plank for this makeover. All words and thoughts are my own. Photography © Mathilde Kubisiak/MK Design London
This post doesn't have any comment. Be the first one!